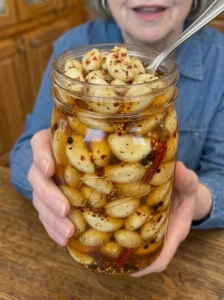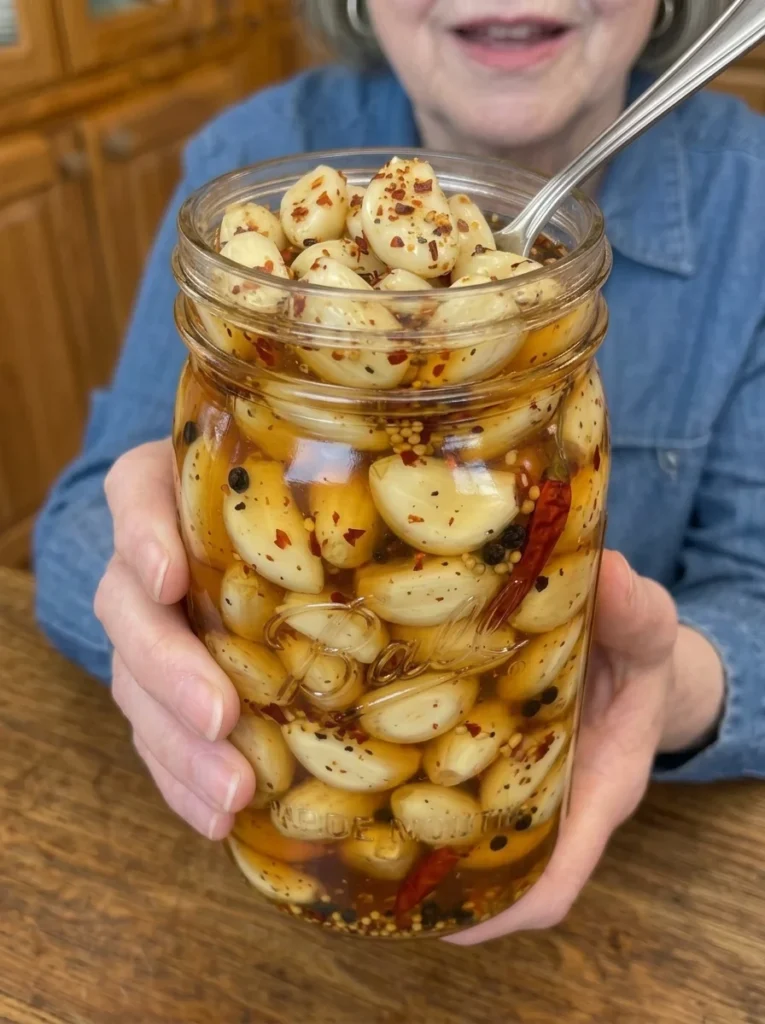
Hot Honey Pickled Garlic combines whole garlic cloves with a tangy vinegar brine, a little honey, and red pepper flakes. The honey softens the sharpness of the vinegar, while the peppers add warmth without hiding the garlic’s bold flavor.
Chop a few cloves into a sandwich, scatter thin slices over a burger, or serve a small portion alongside cheese and crackers. A little brine can also add sweetness and acidity to a dressing made just before serving.
This is a refrigerated condiment, not a shelf-stable preserve or fermented honey garlic. The supplied water-and-honey brine has not been validated for a two- to three-week shelf life. This article keeps the flavor formula but treats it as a short-storage batch rather than a long-term preservation method.
At a glance: About 10 minutes prep with peeled garlic · approximately 5 minutes heating · brief initial cooling · 48 hours refrigerated flavor development.
Why You’ll Love This Recipe
- Sweet, tangy flavor: Honey balances the vinegar without turning the brine into a thick syrup.
- Adjustable chile flavor: Red pepper flakes and an optional dried chile provide the heat.
- Whole cloves: The garlic keeps a substantial bite and can be sliced at serving.
- Simple preparation: Heat the brine, cover the garlic, and refrigerate promptly.
- Versatile use: Small portions complement sandwiches, vegetables, and cheese.
What Is Hot Honey Pickled Garlic?
Here, “hot honey” describes honey combined with chile heat. The garlic sits in a warm-poured vinegar brine, then chills while flavor develops. It is not garlic fermented in honey and should not be left on the counter to ferment.
The garlic itself is not simmered in this method, so expect firm cloves and a fairly sharp garlic flavor after 48 hours. Whole cloves do not become uniformly mild or fully acidified simply because the outside tastes tangy.
Ingredients
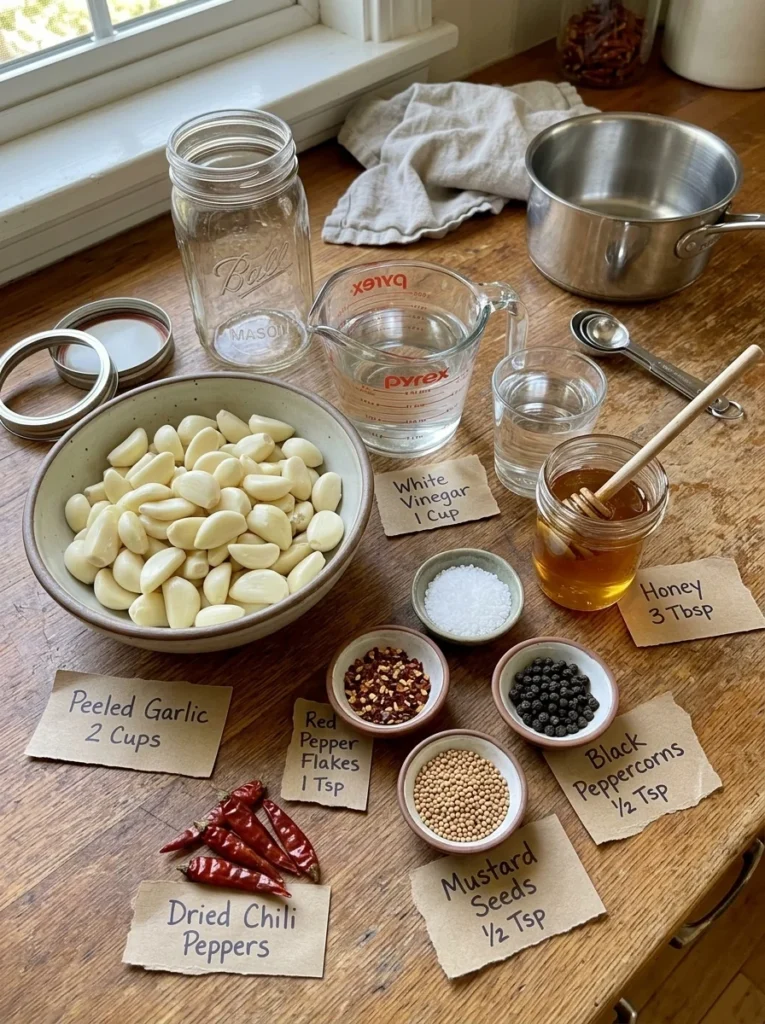
- 2 cups peeled garlic cloves
- 1 cup commercially bottled white vinegar labeled 5% acidity
- ½ cup water
- 3 tablespoons honey
- 1 teaspoon pickling salt
- 1 teaspoon red pepper flakes, or less for a gentler batch
- ½ teaspoon black peppercorns
- ½ teaspoon mustard seeds, optional
- 1 small dried chile pepper, optional
Ingredient Notes
Garlic: Choose firm, fresh cloves without mold or deteriorating areas. Trim tough root ends and remove the papery skins. If using pre-peeled garlic, follow its package storage directions and use it while fresh. Peeling two cups from whole bulbs can take longer than the listed ten minutes.
Vinegar: Use vinegar labeled 5% acidity rather than homemade vinegar or a product of unknown strength. The added water and honey dilute it; the starting vinegar strength alone does not prove a particular finished acidity or shelf life.
Honey: Three tablespoons provide gentle sweetness rather than a candy-like glaze. Stir while warming so it dissolves evenly. Honey is a flavor ingredient here, not a validated preservation treatment.
Pickling salt: Fine pickling salt dissolves easily and avoids some additives found in other salts. Coarse kosher salt is not necessarily equivalent teaspoon for teaspoon.
Red pepper flakes: Heat varies by product. Start lower if you prefer mild flavor. The optional whole dried chile adds another variable, so avoid assuming the same quantity produces identical heat in every batch.
Peppercorns and mustard seeds: They flavor the liquid but remain firm. You can leave them in the jar; avoid serving a large cluster with the cloves.
Equipment and Jar Size
Use a nonreactive saucepan, clean heat-safe glass containers, and clean utensils. A wide-mouth container makes it easier to pack and retrieve the cloves.
Have a roughly 1-quart jar or two smaller jars available. Clove size and packing affect the space needed. Use enough containers to keep the garlic submerged without overcrowding. Follow container guidance for hot filling and avoid pouring hot brine into very cold glass.
How to Make It
1. Prepare and pack the garlic
Peel, inspect, and trim the cloves. Put them in the prepared jar or divide between smaller containers. Add the optional dried chile to the garlic if using; the original method did not specify its placement, so it goes here.
2. Dissolve the honey and salt
Combine vinegar, water, honey, salt, red pepper flakes, peppercorns, and optional mustard seeds in the saucepan. Warm over medium heat, stirring until dissolved.
Bring to a brief gentle simmer, then remove from the heat. Do not reduce the brine substantially through prolonged boiling.
3. Cover the cloves
Pour the warm brine carefully over the garlic. Leave some space at the top and keep the cloves covered.
If everything will not fit, divide into smaller containers rather than discarding brine needed for coverage. Do not top up with plain water. If more liquid is necessary, prepare additional brine using the same proportions, recognizing that this remains an unvalidated storage formula.
4. Refrigerate promptly
Allow the initial heat to dissipate briefly, with a lid loosely placed to protect the contents, then refrigerate. Do not wait for a large jar to cool completely on the counter. Secure the lid as the jar chills.
Keep the batch at 40°F or below. Label it with the preparation date so the flavor-development period does not obscure how long it has been stored.
5. Wait 48 hours and serve sparingly
After 48 hours in the refrigerator, remove a small portion with a clean utensil. The cloves may still taste pungent, so slice or chop them into food rather than expecting a mellow roasted-garlic texture.
The original suggestion of four to seven days of flavor development is not retained alongside an unverified extended shelf life. Waiting longer for taste does not establish preservation safety.
Tips and Troubleshooting
| Issue | Practical guidance |
|---|---|
| Garlic remains sharp | This warm-poured method leaves a firm, pungent clove. Use smaller chopped portions. |
| Brine tastes strongly acidic | That is part of the flavor profile. Do not dilute the storage jar with extra water. |
| Garlic floats above the liquid | Repack in an appropriately sized container to maintain coverage. |
| Heat is stronger than expected | Serve a smaller amount with cheese or other savory food; use fewer flakes next time. |
| Honey settles | Stir gently with a clean utensil before serving. |
| Color changes | Garlic can change color in acidic mixtures. Color alone does not demonstrate spoilage or safety. |
Discard the batch if mold, unusual bubbling, or other signs of spoilage appear. Do not taste a questionable jar. The absence of visible spoilage does not justify extending an unverified storage period.
Flavor Variations
Gentler chile flavor: Reduce flakes to ½ teaspoon and omit the dried chile.
More pepper-forward: Include the optional dried chile, choosing a variety whose heat you know.
Without mustard: Omit the optional seeds for a simpler brine.
If you want a sweeter serving, mix a little honey into the portion you will eat rather than repeatedly changing the stored brine. Do not add oil to the storage jar; an oil-containing garlic mixture requires its own safe handling method.
Serving Ideas
Thinly slice a clove into a sandwich, chop into a grain bowl, or add a small amount to roasted vegetables. Cheese and crackers offer a rich contrast to the vinegar and chile.
For a burger or salad, begin with a few small pieces and taste before adding more. Whole raw-style garlic cloves can be stronger than a typical pickle topping.
Whisk a little fresh serving of brine into a dressing immediately before use. Do not return used serving portions to the jar, and do not use spent brine to preserve another batch of raw garlic.
Storage and Preservation
Keep at 40°F or below, submerged, and use clean utensils. Refrigerate promptly, within 2 hours of preparation, or within 1 hour if the surrounding temperature exceeds 90°F.
The supplied two- to three-week shelf life is not supported by validation of this exact formula. For a conservative short-storage approach, plan to consume a small batch within 3–4 days of preparation, including the initial 48-hour chilling period. This is a cautious handling limit, not evidence that the diluted mixture has been tested for safety or preservation.
For a longer-storage garlic pickle, use a specifically supported method and its instructions. Oregon State University Extension describes garlic refrigerated in undiluted vinegar; that guidance should not be transferred to a recipe diluted with water and honey.
This recipe is not suitable for water-bath canning or room-temperature storage. A tightly sealed lid does not establish shelf stability, and a brine pH reading alone does not show how quickly acid has reached the centers of whole cloves.
Frequently Asked Questions
Is this fermented honey garlic?
No. It contains vinegar and water and is refrigerated. Do not leave it out for fermentation.
Can I use apple cider vinegar?
Commercial 5%-acidity apple cider vinegar changes the flavor and color, but it does not validate an extended shelf life for the modified recipe. Keep any adaptation short-storage and refrigerated.
Can I remove the water for a longer shelf life?
Do not improvise a storage guarantee by altering one ingredient. Follow a supported garlic-in-vinegar method in full, including its preparation and storage guidance.
Can I make less?
Yes. Halve all ingredients and use a smaller container. A smaller batch is practical for the short refrigerated window described here.
How many servings does it make?
The supplied twelve servings would be roughly 2 tablespoons plus 2 teaspoons of garlic per serving before packing and volume changes. Condiment portions may be smaller. Define your serving by the amount actually eaten rather than the jar count.
Are the calorie numbers accurate?
They have not been calculated for this batch. How much brine and honey you consume affects the serving total, so a fixed calorie estimate is not retained.
Recipe Card
Hot Honey Pickled Garlic
Whole garlic in a warm-poured honey-and-chile vinegar brine, intended as a short-storage refrigerated condiment.
Prep: About 10 minutes with peeled cloves
Heat: Approximately 5 minutes
Initial cooling: Brief additional time before prompt refrigeration
Flavor development: 48 hours refrigerated
Yield: One batch using 2 cups garlic; portion according to use
Ingredients
- 2 cups peeled garlic cloves
- 1 cup white vinegar, labeled 5% acidity
- ½ cup water
- 3 tablespoons honey
- 1 teaspoon pickling salt
- 1 teaspoon red pepper flakes, or less to taste
- ½ teaspoon black peppercorns
- ½ teaspoon mustard seeds, optional
- 1 small dried chile, optional
Instructions
- Inspect and trim peeled garlic. Pack into clean heat-safe containers with the optional dried chile.
- Combine remaining ingredients in a nonreactive saucepan. Warm, stirring to dissolve honey and salt, and bring to a brief simmer. Remove from heat.
- Pour over garlic until covered, leaving space at the top. Divide containers if necessary; do not add plain water for coverage.
- Let initial heat dissipate briefly, then refrigerate promptly. Keep at 40°F or below.
- Wait 48 hours before tasting. Use clean utensils and consume within the conservative 3–4-day preparation-to-use window described above. This formula has not been preservation-validated.
Notes
- The original two- to three-week storage claim and four- to seven-day flavor-development advice are not retained.
- Do not can, store at room temperature, ferment on the counter, or add oil to the storage jar.
- Exact nutrition has not been calculated.
Final Thoughts
Use a small amount to bring sweet vinegar tang and chile heat to savory food. Make a modest batch, keep it refrigerated, and choose a specifically validated method when your goal is longer-term garlic preservation.
Print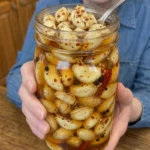
Hot Honey Pickled Garlic
Ingredients
- 2 cups peeled garlic cloves
- 1 cup white vinegar, labeled 5% acidity
- ½ cup water
- 3 tablespoons honey
- 1 teaspoon pickling salt
- 1 teaspoon red pepper flakes, or less to taste
- ½ teaspoon black peppercorns
- ½ teaspoon mustard seeds, optional
- 1 small dried chile, optional
Instructions
- Inspect and trim peeled garlic. Pack into clean heat-safe containers with the optional dried chile.
- Combine remaining ingredients in a nonreactive saucepan. Warm, stirring to dissolve honey and salt, and bring to a brief simmer. Remove from heat.
- Pour over garlic until covered, leaving space at the top. Divide containers if necessary; do not add plain water for coverage.
- Let initial heat dissipate briefly, then refrigerate promptly. Keep at 40°F or below.
- Wait 48 hours before tasting. Use clean utensils and consume within the conservative 3–4-day preparation-to-use window described above. This formula has not been preservation-validated.