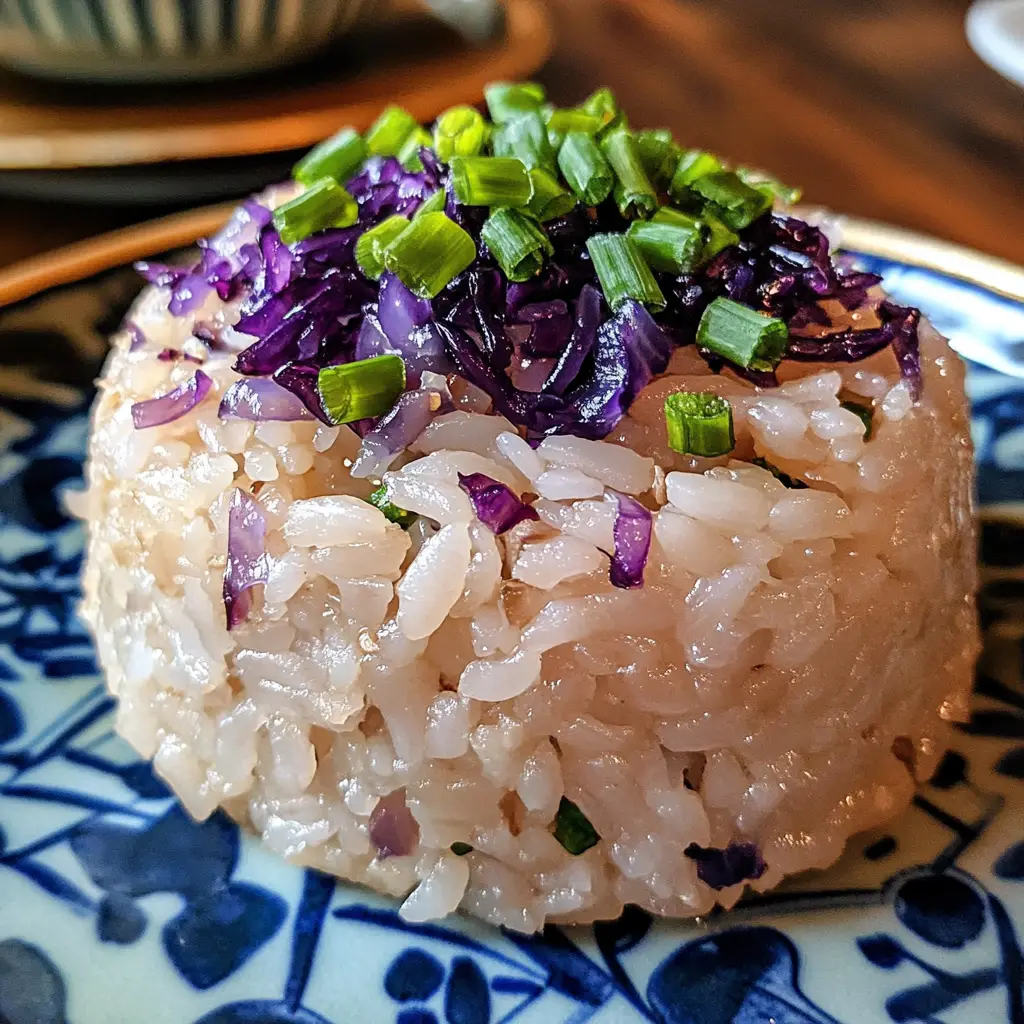
Introduction to Sticky Rice with Taro
As a busy mom, I know how precious time can be, especially when it comes to preparing meals. That’s why I absolutely adore making Sticky Rice with Taro. This delightful dish combines the sweet, earthy flavor of taro with the chewy goodness of sticky rice, creating a unique culinary experience that’s both comforting and satisfying. Whether you’re looking for a quick dessert to impress your loved ones or a special treat to enjoy after dinner, this recipe is a perfect solution. Trust me, once you try it, you’ll be hooked!
Why You’ll Love This Sticky Rice with Taro
This Sticky Rice with Taro is not just a dish; it’s a celebration of flavors and textures. It’s incredibly easy to make, even on the busiest days. The combination of sweet taro and creamy coconut milk creates a taste that dances on your palate. Plus, it’s vegan-friendly, making it a great option for everyone at the table. You’ll love how it brings smiles and satisfaction with every bite!
Ingredients for Sticky Rice with Taro
Gathering the right ingredients is key to making the perfect Sticky Rice with Taro. Here’s what you’ll need:
- Sticky Rice: This is the star of the dish, providing that delightful chewy texture. Look for glutinous or sweet rice for the best results.
- Taro: A starchy root vegetable with a subtly sweet flavor. Make sure to peel and dice it for even cooking. If you can’t find taro, sweet potatoes can be a tasty substitute.
- Coconut Milk: This creamy ingredient adds richness and a tropical flair. Opt for full-fat coconut milk for a more indulgent taste, or light coconut milk for a healthier option.
- Sugar: A touch of sweetness balances the flavors. You can use regular granulated sugar or try coconut sugar for a more caramel-like taste.
- Salt: Just a pinch enhances the overall flavor. It’s amazing how a little salt can elevate the sweetness!
- Vanilla Extract: This adds a lovely aroma and depth to the dish. If you’re feeling adventurous, try using almond extract for a different twist.
For exact measurements, check the bottom of the article where you can find everything listed for easy printing. Happy cooking!
How to Make Sticky Rice with Taro
Now that you have your ingredients ready, let’s dive into the steps to create this delightful Sticky Rice with Taro. Each step is simple, and I promise you’ll feel like a culinary rockstar by the end!
Step 1: Soak the Sticky Rice
Start by soaking the sticky rice in water for at least 4 hours, or even better, overnight. This step is crucial as it helps the rice absorb moisture, ensuring that it cooks evenly. Think of it as giving the rice a little spa day!
Step 2: Steam the Sticky Rice
Once the rice has soaked, it’s time to steam it. Place the soaked sticky rice in a steamer basket lined with cheesecloth or a clean kitchen towel. Steam for about 30 minutes until the rice is tender and sticky. The aroma that fills your kitchen will be heavenly!
Step 3: Prepare the Taro
While the rice is steaming, let’s prepare the taro. Boil the diced taro in a pot of water until it’s tender, which usually takes about 10-15 minutes. Once cooked, drain the taro and set it aside. The taro should be soft enough to mash slightly but still hold its shape.
Step 4: Mix Coconut Milk Mixture
In a separate bowl, combine the coconut milk, sugar, salt, and vanilla extract. Whisk everything together until it’s well blended. This creamy mixture is what brings the dish together, adding that luscious flavor we all love!
Step 5: Combine Rice and Taro
Now, it’s time for the grand assembly! In a large bowl, gently mix the cooked sticky rice and taro. Pour the coconut milk mixture over the top and fold everything together carefully. You want to ensure that every grain of rice and piece of taro is coated in that delicious coconut goodness.
Step 6: Serve and Enjoy
Your Sticky Rice with Taro is ready to shine! Serve it warm or at room temperature. For an extra touch, drizzle some additional coconut milk on top. This dish is perfect as a dessert or a side, and I guarantee it will be a hit at your table!
Tips for Success
- Soak the sticky rice overnight for the best texture.
- Use a steamer basket lined with cheesecloth to prevent sticking.
- Check the taro for tenderness by piercing it with a fork; it should be soft but not mushy.
- Feel free to adjust the sweetness by adding more or less sugar to the coconut milk mixture.
- For a fun twist, try adding a sprinkle of toasted sesame seeds on top before serving!
Equipment Needed
- Steamer Basket: A bamboo or metal steamer works great. If you don’t have one, a heatproof dish placed in a pot of boiling water can do the trick.
- Cheesecloth or Kitchen Towel: This helps prevent the rice from sticking. A clean dish towel can be a good substitute.
- Mixing Bowls: Use any size you have on hand for combining ingredients.
- Pot: A medium-sized pot for boiling the taro is essential.
Variations
- Fruit Additions: Consider adding diced mango or jackfruit for a tropical twist. They pair beautifully with the taro and coconut milk.
- Nuts and Seeds: Sprinkle some toasted coconut flakes or chopped nuts like almonds or cashews for added crunch and flavor.
- Spices: For a warm flavor, try adding a pinch of cinnamon or nutmeg to the coconut milk mixture. It adds a cozy touch!
- Sweetener Alternatives: Swap out sugar for maple syrup or agave nectar for a different sweetness profile.
- Colorful Presentation: Layer the sticky rice and taro in a clear glass dish for a stunning visual effect. It’s sure to impress your guests!
Serving Suggestions
- Pair your Sticky Rice with Taro with fresh fruit like sliced mango or berries for a refreshing contrast.
- Serve it alongside a cup of fragrant jasmine tea to enhance the flavors.
- For a beautiful presentation, use a clear glass dish to showcase the vibrant colors of the dish.
- Garnish with a sprinkle of toasted coconut flakes for added texture and visual appeal.
FAQs about Sticky Rice with Taro
As you embark on your culinary adventure with Sticky Rice with Taro, you might have a few questions. Here are some common queries I’ve encountered, along with helpful answers to guide you along the way!
Can I use other types of rice instead of sticky rice?
While sticky rice is the star of this dish, you can experiment with short-grain rice. However, the texture won’t be quite the same. Sticky rice gives that delightful chewiness that makes this dish special!
Is Sticky Rice with Taro gluten-free?
Yes! This recipe is naturally gluten-free, making it a great option for those with gluten sensitivities. Just ensure that all your ingredients, especially the coconut milk, are labeled gluten-free.
How do I store leftovers?
If you have any leftovers, store them in an airtight container in the fridge. They should last for about 3-4 days. Just reheat gently in the microwave or on the stovetop, adding a splash of coconut milk to keep it moist.
Can I make this dish ahead of time?
Absolutely! You can prepare the sticky rice and taro in advance. Just mix everything together right before serving for the best flavor and texture. It’s a great way to save time on busy days!
What can I serve with Sticky Rice with Taro?
This dish pairs wonderfully with fresh fruit, like mango or berries, and a cup of jasmine tea. It can also be enjoyed as a side dish alongside savory Asian meals. The possibilities are endless!
Final Thoughts
Making Sticky Rice with Taro is more than just cooking; it’s about creating a moment of joy in your busy life. The delightful combination of sweet taro and creamy coconut milk brings a smile to my face every time I serve it. Whether it’s a special occasion or a simple weeknight treat, this dish has a way of making everyone feel loved and satisfied. I hope you find as much happiness in preparing and sharing this recipe as I do. So roll up your sleeves, gather your ingredients, and let the magic of Sticky Rice with Taro brighten your day!
PrintSticky Rice with Taro: Discover Its Unique Flavors Today!
- Total Time: 4 hours 45 minutes
- Yield: 4 servings 1x
- Diet: Vegan
Description
Sticky Rice with Taro is a delicious and unique dish that combines the sweetness of taro with the chewy texture of sticky rice, creating a delightful culinary experience.
Ingredients
- 2 cups sticky rice
- 1 cup taro, peeled and diced
- 1 cup coconut milk
- 1/2 cup sugar
- 1/4 teaspoon salt
- 1/2 teaspoon vanilla extract
Instructions
- Soak the sticky rice in water for at least 4 hours or overnight.
- Steam the soaked sticky rice for about 30 minutes until cooked.
- In a separate pot, boil the diced taro until tender, then drain.
- In a bowl, mix the coconut milk, sugar, salt, and vanilla extract until well combined.
- Combine the cooked sticky rice and taro in a large bowl, then pour the coconut milk mixture over it.
- Gently mix everything together until the rice and taro are well coated.
- Serve warm or at room temperature, garnished with additional coconut milk if desired.
Notes
- For a richer flavor, you can add more coconut milk.
- Make sure the sticky rice is fully cooked before mixing with taro.
- This dish can be served as a dessert or a side dish.
- Prep Time: 15 minutes
- Cook Time: 30 minutes
- Category: Dessert
- Method: Steaming
- Cuisine: Asian
Nutrition
- Serving Size: 1 serving
- Calories: 250
- Sugar: 10g
- Sodium: 50mg
- Fat: 8g
- Saturated Fat: 7g
- Unsaturated Fat: 1g
- Trans Fat: 0g
- Carbohydrates: 45g
- Fiber: 2g
- Protein: 3g
- Cholesterol: 0mg
Keywords: Sticky Rice, Taro, Asian Dessert, Vegan Recipe


