Introduction to Lightened Key Lime Pie Bars
As a passionate home cook, I find joy in creating desserts that not only satisfy my sweet tooth but also keep my health goals in check. One of my all-time favorites is the classic Key Lime Pie. Its zesty flavor and creamy texture always remind me of sunny days spent by the beach. However, I wanted to enjoy this delightful treat without the guilt that often comes with indulgent desserts. That’s when I decided to experiment and create my own version: Lightened Key Lime Pie Bars.
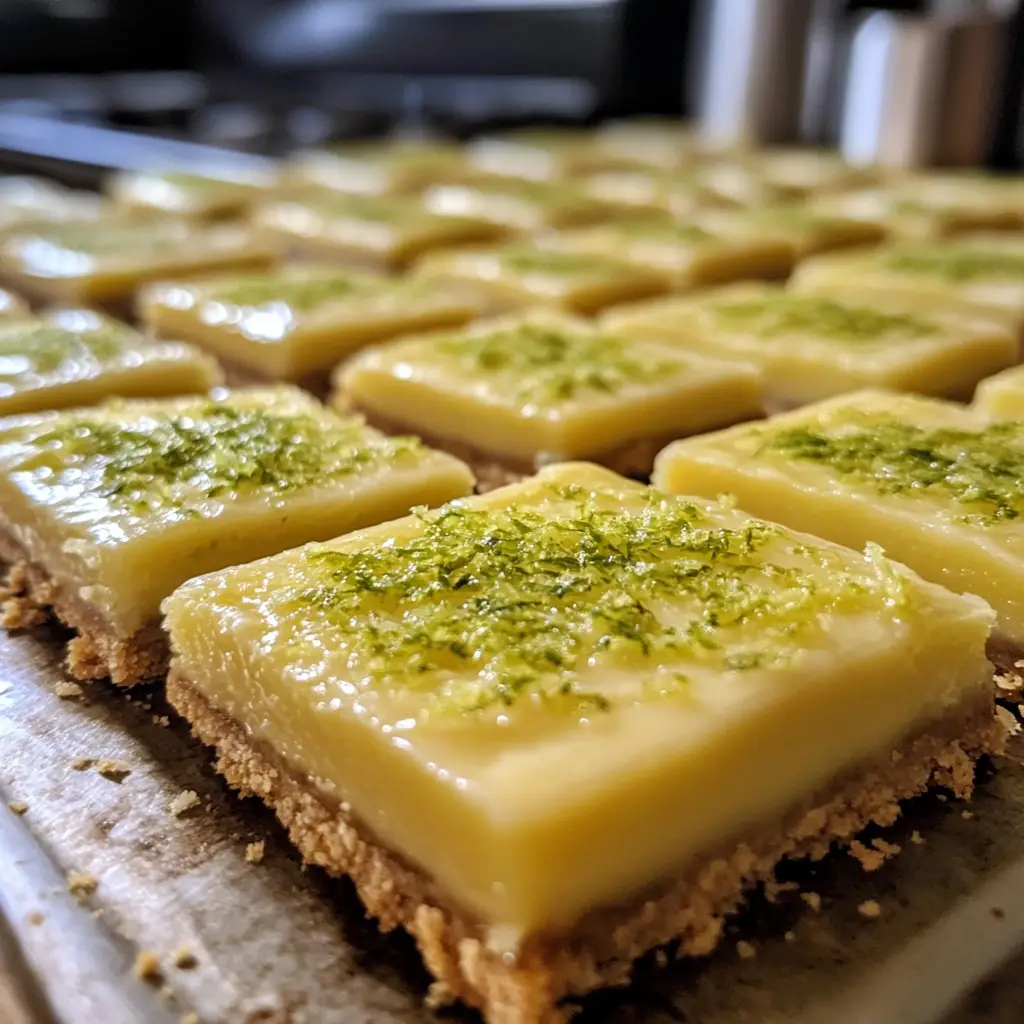
These bars are a refreshing twist on the traditional pie, offering the same tangy goodness but with a lighter touch. Imagine biting into a creamy, citrusy bar that dances on your taste buds, all while being mindful of your waistline. It’s like a mini-vacation for your palate! I remember the first time I served these at a family gathering. The moment I took them out of the fridge, the vibrant green color caught everyone’s eye. As I cut into the bars, the sweet and tart aroma filled the air, and I could see my family’s curiosity piqued.
What I love most about these Lightened Key Lime Pie Bars is how easy they are to make. With just a handful of ingredients, you can whip up a dessert that feels special without spending hours in the kitchen. Plus, they’re perfect for any occasion—whether it’s a summer barbecue, a holiday gathering, or just a cozy night in. I often find myself making a batch to share with friends, and they always ask for the recipe!
So, if you’re ready to embark on a culinary adventure that combines simplicity with deliciousness, let’s dive into the world of Lightened Key Lime Pie Bars. Trust me, your taste buds will thank you!
Ingredients for Lightened Key Lime Pie Bars
Before we dive into the delightful process of making Lightened Key Lime Pie Bars, let’s gather our ingredients. I always believe that the quality of ingredients can make or break a recipe. So, I recommend using fresh, high-quality items whenever possible. Here’s what you’ll need:
Main Ingredients
- 1 ½ cups of graham cracker crumbs
- ¼ cup of coconut oil, melted (or unsalted butter)
- 2 tablespoons of honey or maple syrup (for a vegan option)
- 1 can (14 ounces) of sweetened condensed milk (look for low-fat options)
- ½ cup of fresh key lime juice (about 4-6 limes)
- 1 tablespoon of lime zest (for that extra zing)
- 2 large egg yolks
- Pinch of salt
When I make these bars, I always opt for fresh key limes if I can find them. Their vibrant flavor is unmatched! If you can’t find key limes, regular limes work just fine. Just remember, the zest adds a lovely aroma and flavor, so don’t skip it!
Optional Add-ons
- Whipped cream (for topping)
- Fresh berries (like raspberries or blueberries for garnish)
- Shredded coconut (for a tropical twist)
- Chopped mint leaves (for a refreshing touch)
These optional add-ons can elevate your Lightened Key Lime Pie Bars even further. I love to top mine with a dollop of whipped cream and a sprinkle of fresh berries. It not only looks beautiful but also adds a burst of flavor with every bite. Feel free to get creative and make this dessert your own!
How to Prepare Lightened Key Lime Pie Bars
Now that we have our ingredients ready, it’s time to roll up our sleeves and get cooking! Making Lightened Key Lime Pie Bars is a fun and straightforward process. I promise, you’ll be amazed at how quickly these bars come together. Let’s dive into the steps!
Step 1: Prepare the Crust
First things first, we need to create a delicious crust that will hold all that zesty goodness. In a mixing bowl, combine the graham cracker crumbs, melted coconut oil (or butter), and honey (or maple syrup). Mix until everything is well combined and resembles wet sand.
Tips for a Perfect Crust
- Make sure your coconut oil is melted but not too hot. If it’s too warm, it can make the crust greasy.
- Press the mixture firmly into the bottom of your baking dish. I like to use the bottom of a measuring cup to get an even layer.
- For an extra crunch, you can toast the graham cracker crumbs in the oven for a few minutes before mixing them with the other ingredients.
Step 2: Make the Key Lime Filling
Next up is the star of the show—the key lime filling! In a separate bowl, whisk together the sweetened condensed milk, fresh key lime juice, lime zest, and egg yolks until smooth. The mixture should be creamy and slightly thick.
Tips for Achieving the Right Consistency
- Make sure to whisk the filling thoroughly to avoid any lumps. A smooth filling is key to a delightful texture!
- Don’t skimp on the lime juice; it’s what gives these bars their signature tangy flavor.
- If you prefer a sweeter filling, feel free to adjust the amount of honey or maple syrup to your taste.
Step 3: Bake the Bars
Now it’s time to bake! Pour the key lime filling over the prepared crust, spreading it evenly. Place the baking dish in a preheated oven at 350°F (175°C) and bake for about 20-25 minutes. You want the filling to be set but still slightly jiggly in the center.
Tips for Baking Time and Temperature
- Keep an eye on the bars as they bake. Ovens can vary, so check for doneness a few minutes early.
- If the edges start to brown too much, you can cover them with foil to prevent burning.
- Letting the bars cool in the oven with the door slightly ajar can help prevent cracking.
Step 4: Cool and Chill
Once baked, remove the bars from the oven and let them cool at room temperature for about 30 minutes. After that, transfer them to the fridge to chill for at least 2 hours. This step is crucial for the bars to set properly and develop their flavors.
Tips for Proper Cooling
- Be patient! Chilling the bars allows the flavors to meld together beautifully.
- For easier cutting, I recommend chilling them overnight if you can wait that long.
- When ready to serve, use a sharp knife to cut the bars into squares for a clean presentation.
Equipment Needed for Lightened Key Lime Pie Bars
Before we dive into the kitchen, let’s gather the essential tools for making these delightful Lightened Key Lime Pie Bars. Having the right equipment can make the process smoother and more enjoyable. Here’s what you’ll need:
- 9×9-inch baking dish: This is perfect for baking your bars. If you don’t have one, an 8×8-inch dish will work too; just keep an eye on the baking time.
- Mixing bowls: You’ll need a couple of these for mixing the crust and filling. I like to use glass bowls because they’re easy to clean and you can see the ingredients as you mix.
- Whisk: A good whisk is essential for blending the filling smoothly. If you don’t have one, a fork can do the trick, but it may take a bit longer.
- Measuring cups and spoons: Accurate measurements are key to a successful recipe. I always keep a set handy for both dry and liquid ingredients.
- Rubber spatula: This is great for scraping down the sides of your bowls and ensuring you get every last bit of that delicious filling.
- Sharp knife: For cutting the bars into neat squares once they’re chilled. A sharp knife makes all the difference in presentation!
With these tools in hand, you’ll be well-equipped to create your Lightened Key Lime Pie Bars. If you find yourself missing any of these items, don’t worry! You can often improvise with what you have at home. Just remember, the most important ingredient is your enthusiasm for cooking!
Variations of Lightened Key Lime Pie Bars
As I’ve experimented with my Lightened Key Lime Pie Bars, I’ve discovered that there are so many fun variations to try! Each twist brings a new flavor profile that can make this dessert even more exciting. Here are a few of my favorite variations:
- Chocolate Drizzle: For a decadent touch, melt some dark chocolate and drizzle it over the chilled bars. The rich chocolate pairs beautifully with the tangy lime.
- Berry Bliss: Add a layer of fresh berries, like strawberries or blueberries, on top of the filling before chilling. The burst of fruitiness complements the lime perfectly!
- Coconut Cream: Swap out some of the sweetened condensed milk for coconut cream. This adds a tropical flair that transports me straight to a beach paradise.
- Ginger Snap Crust: Instead of graham crackers, use crushed ginger snap cookies for the crust. The spicy kick from the ginger adds a delightful contrast to the sweet and tart filling.
- Key Lime Pie Pops: For a fun twist, pour the filling into popsicle molds instead of a baking dish. Freeze them for a refreshing treat on a hot day!
These variations not only keep things interesting but also allow you to customize the bars to suit your taste or the occasion. I love to surprise my friends with a new twist each time I make them. So, don’t hesitate to get creative and make these Lightened Key Lime Pie Bars your own!
Cooking Notes for Lightened Key Lime Pie Bars
As I’ve made my fair share of Lightened Key Lime Pie Bars, I’ve picked up a few cooking notes that can help you achieve the best results. These little tips can make a big difference in your baking journey!
- Fresh Ingredients: Always opt for fresh key limes if you can. Their vibrant flavor truly elevates the bars. If you’re using bottled juice, make sure it’s 100% pure for the best taste.
- Room Temperature Eggs: Using room temperature egg yolks helps them blend more smoothly into the filling. Just let them sit out for about 30 minutes before you start.
- Don’t Overmix: When combining the filling ingredients, mix just until smooth. Overmixing can introduce air bubbles, which may cause the bars to crack while baking.
- Cooling Time: Patience is key! Allow the bars to cool completely before chilling. This helps them set properly and enhances the flavors.
- Storage: These bars can be stored in an airtight container in the fridge for up to a week. They also freeze well, so you can enjoy them later!
With these cooking notes in mind, you’ll be well on your way to creating the perfect Lightened Key Lime Pie Bars. I can’t wait for you to experience the joy of sharing these delightful treats with your loved ones!
Serving Suggestions for Lightened Key Lime Pie Bars
When it comes to serving my Lightened Key Lime Pie Bars, I love to get a little creative! Presentation can elevate the experience, making it feel even more special. Here are some of my favorite serving suggestions that add a delightful touch:
- Chilled Delight: Serve the bars straight from the fridge for a refreshing treat. The coolness enhances the zesty flavor, making each bite a burst of sunshine!
- Garnish Galore: Top each bar with a dollop of whipped cream and a sprinkle of lime zest. It adds a beautiful contrast and a touch of elegance.
- Berry Companions: Pair the bars with fresh berries on the side. Raspberries or blueberries not only look stunning but also provide a sweet-tart balance to the tangy lime.
- Minty Freshness: Add a sprig of fresh mint on top for a pop of color and a refreshing aroma. It’s like a little garden on your plate!
- Slice and Serve: Cut the bars into small squares for easy serving. This way, guests can enjoy a bite-sized treat without feeling too indulgent.
These serving suggestions not only enhance the visual appeal but also add layers of flavor that make the Lightened Key Lime Pie Bars even more enjoyable. I often find that a little extra effort in presentation can turn a simple dessert into a memorable experience. So, get ready to impress your family and friends with these delightful treats!
Tips for Making Lightened Key Lime Pie Bars
As I’ve whipped up my fair share of Lightened Key Lime Pie Bars, I’ve gathered some handy tips that can help you achieve the best results. These little nuggets of wisdom can make your baking experience smoother and more enjoyable. Here’s what I’ve learned along the way:
- Measure Accurately: Precision is key! Use measuring cups and spoons to ensure you get the right amounts of each ingredient. This helps maintain the balance of flavors and textures.
- Use Fresh Limes: Whenever possible, opt for fresh key limes. Their bright, zesty flavor is unbeatable compared to bottled juice. Plus, squeezing them yourself is a fun part of the process!
- Chill Before Serving: Allow the bars to chill for at least two hours after baking. This not only helps them set but also enhances the flavors, making each bite even more delightful.
- Experiment with Sweetness: Feel free to adjust the sweetness to your liking. If you prefer a sweeter filling, add a bit more honey or maple syrup. Taste as you go to find your perfect balance!
- Don’t Rush the Cooling: Patience is a virtue! Let the bars cool completely before cutting. This ensures clean edges and prevents them from falling apart.
With these tips in your back pocket, you’ll be well on your way to creating the most delicious Lightened Key Lime Pie Bars. I can’t wait for you to share these delightful treats with your loved ones and see their smiles as they take that first bite!
Breakdown of Time for Lightened Key Lime Pie Bars
When it comes to making my Lightened Key Lime Pie Bars, I always appreciate knowing how much time I need to set aside. It helps me plan my baking adventures better! Here’s a quick breakdown of the time involved in creating these delightful treats:
- Prep Time: Approximately 15-20 minutes. This includes gathering your ingredients, preparing the crust, and mixing the filling. It’s a breeze!
- Cooking Time: About 20-25 minutes. This is when the magic happens in the oven, transforming your mixture into creamy, zesty bars.
- Total Time: Roughly 2 hours and 45 minutes. This includes cooling and chilling time. While the bars are chilling, you can relax or prepare for your next culinary adventure!
Knowing this time breakdown helps me stay organized and ensures I can enjoy my Lightened Key Lime Pie Bars at just the right moment. Plus, the anticipation of waiting for them to chill only adds to the excitement! I hope this helps you plan your baking session, too!
Nutritional Information for Lightened Key Lime Pie Bars
As a home cook who loves to indulge in delicious desserts, I also pay attention to the nutritional aspects of what I create. My Lightened Key Lime Pie Bars are not only a treat for the taste buds but also a lighter option compared to traditional recipes. Here’s a quick look at the nutritional information per serving (assuming you cut the bars into 12 squares):
- Calories: Approximately 150
- Protein: 2g
- Fat: 7g
- Carbohydrates: 20g
- Fiber: 1g
- Sugar: 8g
- Sodium: 50mg
These bars are a delightful way to satisfy your sweet cravings without going overboard. The use of low-fat sweetened condensed milk and natural sweeteners like honey or maple syrup helps keep the calorie count in check. Plus, the fresh key lime juice adds a burst of flavor without adding extra sugar. I love knowing that I can enjoy a slice of these bars while still being mindful of my health!
Frequently Asked Questions about Lightened Key Lime Pie Bars
As I’ve shared my recipe for Lightened Key Lime Pie Bars, I’ve received quite a few questions from fellow home cooks eager to try their hand at this delightful dessert. I love connecting with others through cooking, and I’m happy to address some of the most common queries I’ve encountered. Here are the answers to your frequently asked questions:
Can I use regular limes instead of key limes?
Absolutely! While key limes have a unique flavor, regular limes work just as well in this recipe. The bars will still be deliciously tangy and refreshing. Just remember to zest and juice them for that extra zing!
How do I store the Lightened Key Lime Pie Bars?
To keep your bars fresh, store them in an airtight container in the refrigerator. They can last up to a week, but I doubt they’ll last that long once your family gets a taste! You can also freeze them for longer storage; just make sure to wrap them tightly.
Can I make these bars vegan?
Yes! You can easily make these bars vegan by substituting the sweetened condensed milk with a plant-based alternative, like coconut condensed milk. Additionally, use flax eggs or a commercial egg replacer instead of the egg yolks. The result will still be creamy and delicious!
What can I use instead of coconut oil?
If you’re not a fan of coconut oil, unsalted butter is a great alternative. You can also use vegetable oil or even a light olive oil. Just keep in mind that the flavor may vary slightly, but the bars will still turn out wonderfully!
Can I double the recipe?
Of course! If you want to make a larger batch, simply double the ingredients and use a larger baking dish. Just be sure to adjust the baking time accordingly, as thicker bars may need a few extra minutes in the oven. Keep an eye on them to ensure they don’t overbake!
These questions reflect the curiosity and creativity of fellow home cooks, and I love sharing my insights. If you have any more questions or need further clarification, feel free to reach out! Cooking is all about learning and sharing, and I’m here to help you on your journey to making the perfect Lightened Key Lime Pie Bars.
Conclusion on Lightened Key Lime Pie Bars
In conclusion, my Lightened Key Lime Pie Bars are a delightful way to enjoy a classic dessert without the guilt. They capture the essence of the traditional Key Lime Pie, with its zesty flavor and creamy texture, but with a lighter twist that makes them perfect for any occasion. Whether you’re hosting a summer barbecue or simply treating yourself after a long day, these bars are sure to impress.
What I love most about this recipe is its simplicity. With just a handful of fresh ingredients, you can create a dessert that feels special and indulgent. Plus, the versatility of the bars allows you to customize them to your taste, whether you prefer a chocolate drizzle or a fruity topping. Each bite is a burst of sunshine, reminding me of warm beach days and happy gatherings with loved ones.
So, if you’re looking for a refreshing treat that’s easy to make and even easier to share, give my Lightened Key Lime Pie Bars a try. I promise they’ll become a favorite in your home, just as they have in mine. Happy baking!