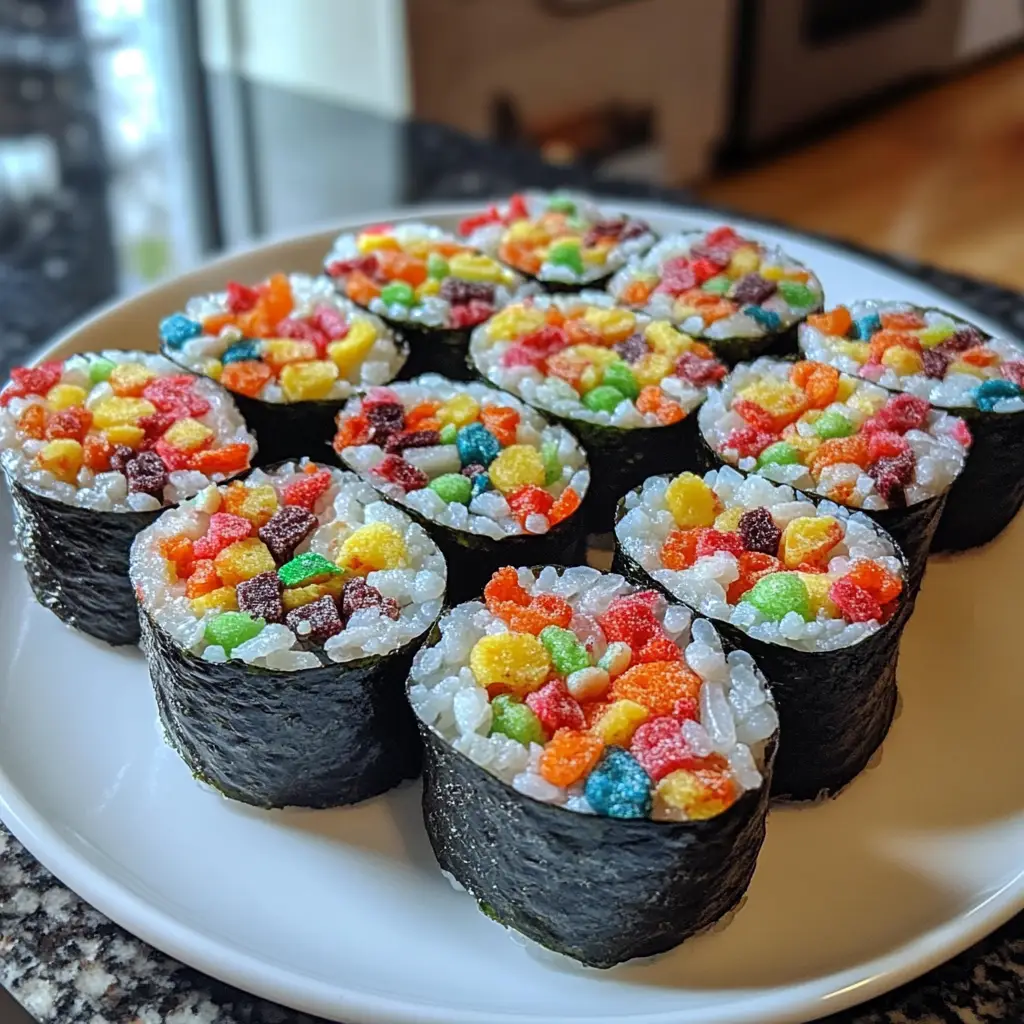
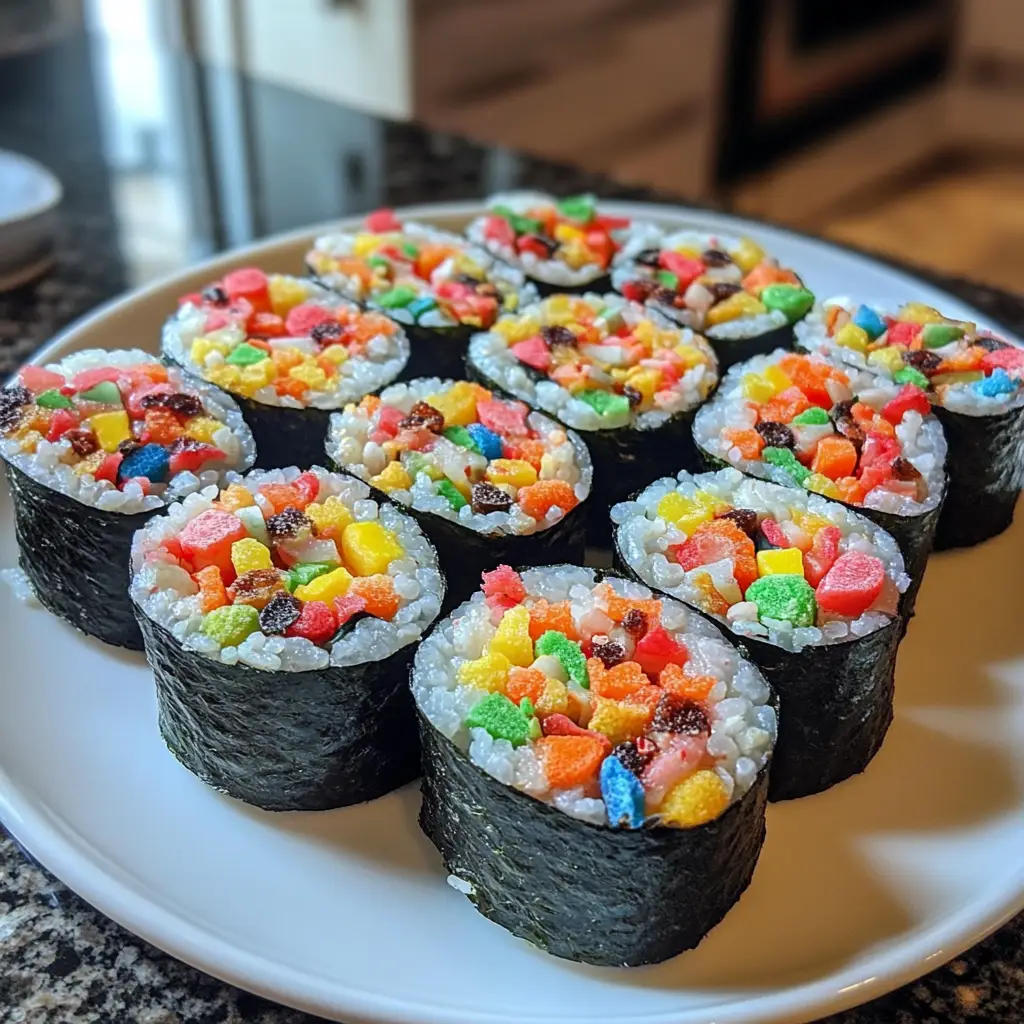
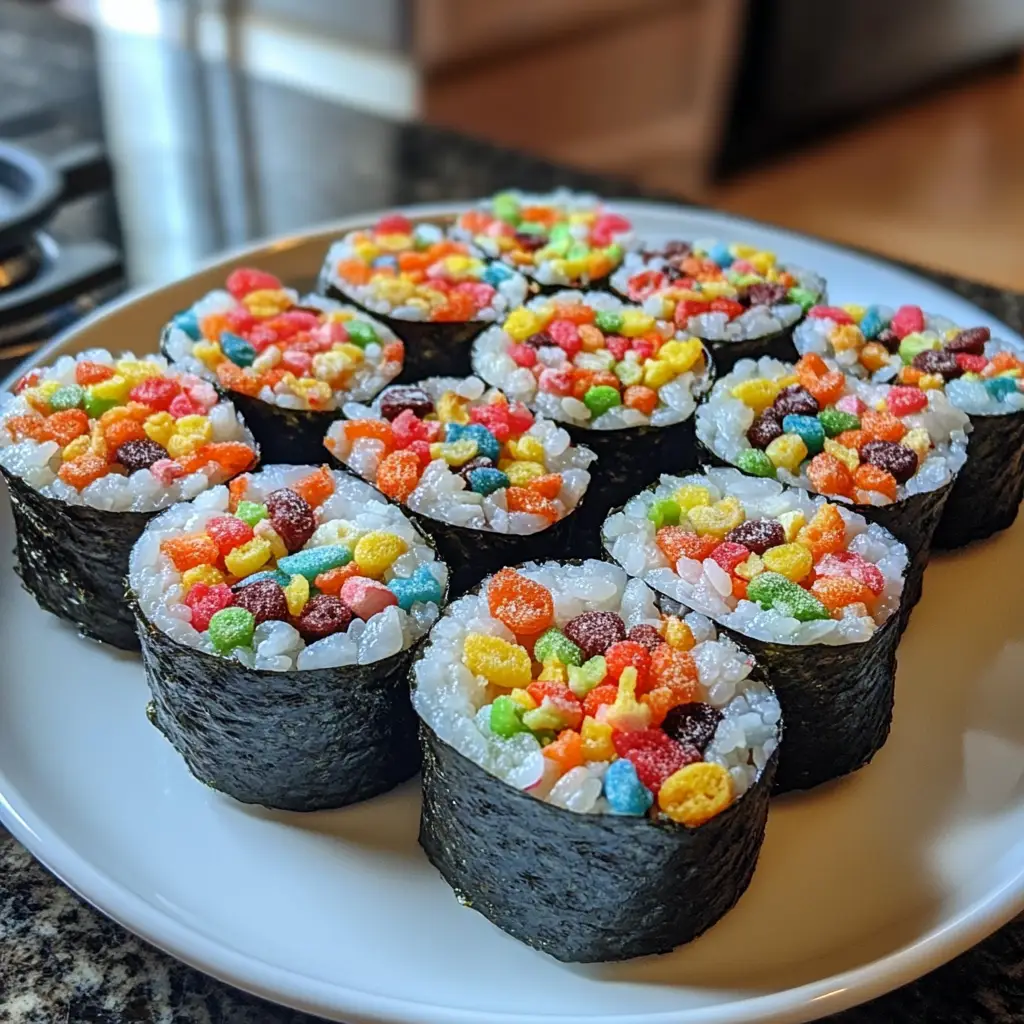
Introduction to Fruity Pebbles Sushi
Hey there, fellow food lovers! If you’re looking for a fun and colorful treat that’s sure to bring smiles, let me introduce you to Fruity Pebbles Sushi. This delightful twist on traditional sushi is not only a feast for the eyes but also a quick solution for those busy days when you want to impress your loved ones without spending hours in the kitchen. With just a handful of sweet ingredients, you can whip up this no-bake dessert in no time. Trust me, it’s a playful way to satisfy your sweet tooth and create lasting memories!
Why You’ll Love This Fruity Pebbles Sushi
This Fruity Pebbles Sushi is a game-changer for busy moms and professionals alike. It’s incredibly easy to make, taking just 20 minutes from start to finish. The vibrant colors and sweet flavors will delight both kids and adults, making it perfect for parties or a fun family treat. Plus, it’s a no-bake recipe, so you can skip the oven and enjoy a stress-free cooking experience!
Ingredients for Fruity Pebbles Sushi
Gathering the right ingredients is half the fun! Here’s what you’ll need to create your own Fruity Pebbles Sushi:
- Fruity Pebbles cereal: This colorful cereal adds a burst of flavor and vibrant hues to your sushi. It’s the star of the show!
- Marshmallows: These sweet, fluffy treats help bind everything together, creating that delightful chewy texture we all love.
- Butter: A little butter adds richness and helps melt the marshmallows smoothly. You can use unsalted butter for better control over the sweetness.
- Rice Krispies: These crispy little gems provide a satisfying crunch and balance the sweetness of the Fruity Pebbles.
- Gummy candies: Think of these as the hidden treasures inside your sushi! They add a chewy surprise and can be any flavor you like.
- Chocolate syrup: Drizzling this on top gives your sushi a decadent finish. It’s optional, but who can resist chocolate?
For those looking to mix things up, consider using different types of gummy candies for a more colorful presentation. You can also swap out the Rice Krispies for another crispy cereal if you prefer. All ingredient quantities are listed at the bottom of the article for easy printing!
How to Make Fruity Pebbles Sushi
Now that you have all your ingredients ready, let’s dive into the fun part—making your Fruity Pebbles Sushi! This no-bake recipe is as easy as pie, and I promise you’ll have a blast creating these colorful treats. Follow these simple steps, and you’ll be enjoying your sushi in no time!
Step 1: Melt the Butter
Start by grabbing a large saucepan and placing it on the stove over low heat. Add your butter and let it melt slowly. Stir it gently to help it along. The goal is to have it completely melted without browning. This buttery goodness will be the base for your sweet mixture!
Step 2: Add Marshmallows
Once the butter is melted, it’s time to add the marshmallows. Pour them into the saucepan and stir continuously. Keep stirring until the marshmallows are completely melted and smooth. This step is crucial for that gooey texture we all love in treats!
Step 3: Mix in Cereals
Now, remove the saucepan from the heat. It’s time to mix in the star ingredients—Fruity Pebbles and Rice Krispies! Pour both cereals into the melted marshmallow mixture. Stir gently but thoroughly until everything is well combined. You want every piece of cereal coated in that sweet, sticky goodness!
Step 4: Shape the Mixture
Next, grab a sheet of parchment paper and lay it out on a clean surface. Carefully pour the cereal mixture onto the parchment. Using your hands or a spatula, spread it out into a rectangle. Aim for about half an inch thick. This will be the canvas for your sushi rolls!
Step 5: Add Gummy Candies
Now comes the fun part! Take your gummy candies and line them up along one edge of the rectangle. Feel free to mix and match flavors for a colorful surprise. This is where the magic happens, as these candies will be the filling of your sushi rolls!
Step 6: Roll the Sushi
With the gummy candies in place, it’s time to roll! Starting from the edge with the candies, carefully roll the mixture tightly. Use the parchment paper to help guide the roll. Keep it snug but not too tight, or the filling might squish out. Once rolled, pinch the ends to seal it up!
Step 7: Slice and Serve
Finally, it’s time to slice your sushi! Using a sharp knife, cut the roll into bite-sized pieces. Aim for about an inch thick. For an extra touch, drizzle some chocolate syrup over the top before serving. Your Fruity Pebbles Sushi is now ready to impress!
Tips for Success
- Make sure to work quickly when mixing the cereals; the marshmallow mixture will start to set as it cools.
- Use a spatula or greased hands to spread the mixture evenly on the parchment paper.
- For cleaner cuts, lightly grease your knife before slicing the sushi rolls.
- Experiment with different gummy candies for unique flavors and colors.
- Store any leftovers in an airtight container to keep them fresh and chewy.
Equipment Needed
- Large saucepan: A medium-sized pot works too if you don’t have a large one.
- Spatula: A wooden spoon can also do the trick for mixing.
- Parchment paper: Wax paper is a suitable alternative for shaping the mixture.
- Sharp knife: A pizza cutter can be used for slicing the rolls.
Variations of Fruity Pebbles Sushi
- Chocolate Fruity Pebbles Sushi: Swap out some of the Fruity Pebbles for chocolate-flavored cereal for a delicious twist.
- Nut Butter Addition: Spread a thin layer of peanut butter or almond butter on the rectangle before adding gummy candies for a nutty flavor.
- Fruit-Infused: Incorporate dried fruits like raisins or cranberries for an extra burst of flavor and texture.
- Vegan Option: Use vegan marshmallows and dairy-free butter to make this treat suitable for a vegan diet.
- Gluten-Free Version: Ensure that the cereals and gummy candies are gluten-free for a safe treat for those with gluten sensitivities.
Serving Suggestions for Fruity Pebbles Sushi
- Pair your Fruity Pebbles Sushi with a refreshing fruit salad for a colorful contrast.
- Serve with a scoop of vanilla ice cream for an indulgent dessert experience.
- For drinks, consider a fruity punch or sparkling lemonade to complement the sweetness.
- Present on a vibrant platter to showcase the colorful sushi rolls beautifully.
FAQs about Fruity Pebbles Sushi
Can I make Fruity Pebbles Sushi ahead of time?
Absolutely! You can prepare the sushi rolls a day in advance. Just store them in an airtight container to keep them fresh. This makes it a perfect treat for parties or family gatherings!
What can I use instead of gummy candies?
If gummy candies aren’t your thing, feel free to use chocolate chips, dried fruits, or even mini marshmallows. The key is to add something chewy or sweet for that delightful surprise!
Is Fruity Pebbles Sushi suitable for kids?
<pDefinitely! This fun treat is a hit with kids. It’s colorful, sweet, and easy to make, making it a great activity to do together. Just keep an eye on the little ones with the sharp knife during slicing!
Can I customize the flavors?
<pYes! You can mix in different cereals or even add flavor extracts like vanilla or almond to the marshmallow mixture. The possibilities are endless, so get creative!
How should I store leftovers?
Store any leftover Fruity Pebbles Sushi in an airtight container at room temperature. They’ll stay fresh for a few days, but trust me, they won’t last long!
Final Thoughts
Creating Fruity Pebbles Sushi is more than just making a dessert; it’s about bringing joy and laughter into your kitchen. This colorful treat is perfect for family gatherings, birthday parties, or simply a fun afternoon with the kids. The smiles on their faces as they enjoy these delightful rolls are priceless. Plus, the ease of preparation means you can whip them up even on the busiest days. So, gather your ingredients, unleash your creativity, and let this playful recipe become a cherished memory in your home. Trust me, you’ll be making it again and again!
Print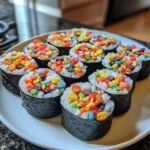
Fruity Pebbles Sushi: A Fun Twist on Classic Treats!
- Total Time: 20 minutes
- Yield: 12 pieces 1x
- Diet: Vegetarian
Description
Fruity Pebbles Sushi is a fun and colorful twist on traditional sushi, made with sweet ingredients that resemble sushi rolls.
Ingredients
- 2 cups of Fruity Pebbles cereal
- 1 cup of marshmallows
- 2 tablespoons of butter
- 1 cup of rice krispies
- 1/2 cup of gummy candies (like fruit snacks)
- 1/2 cup of chocolate syrup (for drizzling)
Instructions
- In a large saucepan, melt the butter over low heat.
- Add the marshmallows and stir until completely melted.
- Remove from heat and mix in the Fruity Pebbles and rice krispies until well combined.
- Spread the mixture onto a sheet of parchment paper and flatten it into a rectangle.
- Place gummy candies in a line along one edge of the rectangle.
- Roll the mixture tightly around the gummy candies to form a sushi roll.
- Slice the roll into bite-sized pieces.
- Drizzle with chocolate syrup before serving.
Notes
- For a more colorful presentation, use different types of gummy candies.
- Store leftovers in an airtight container to keep them fresh.
- This recipe can be easily doubled for larger gatherings.
- Prep Time: 15 minutes
- Cook Time: 5 minutes
- Category: Dessert
- Method: No-Bake
- Cuisine: American
Nutrition
- Serving Size: 1 piece
- Calories: 120
- Sugar: 10g
- Sodium: 50mg
- Fat: 3g
- Saturated Fat: 1g
- Unsaturated Fat: 2g
- Trans Fat: 0g
- Carbohydrates: 22g
- Fiber: 0g
- Protein: 1g
- Cholesterol: 5mg
Keywords: Fruity Pebbles, Sushi, Dessert, Fun Treats