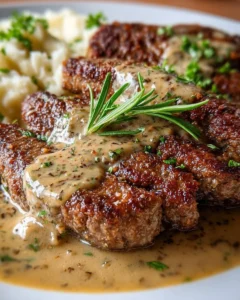
Introduction to Crispy Buttermilk Fried Chicken Thighs
Welcome to the world of Crispy Buttermilk Fried Chicken Thighs! If you’re like me, juggling a busy schedule while trying to whip up something delicious can feel overwhelming. This recipe is a lifesaver, perfect for those hectic weeknights or when you want to impress family and friends. The juicy, flavorful chicken, enveloped in a perfectly crispy crust, is sure to become a favorite at your dinner table. Trust me, once you try this dish, it’ll be your go-to for any occasion, bringing smiles and satisfaction to everyone around!
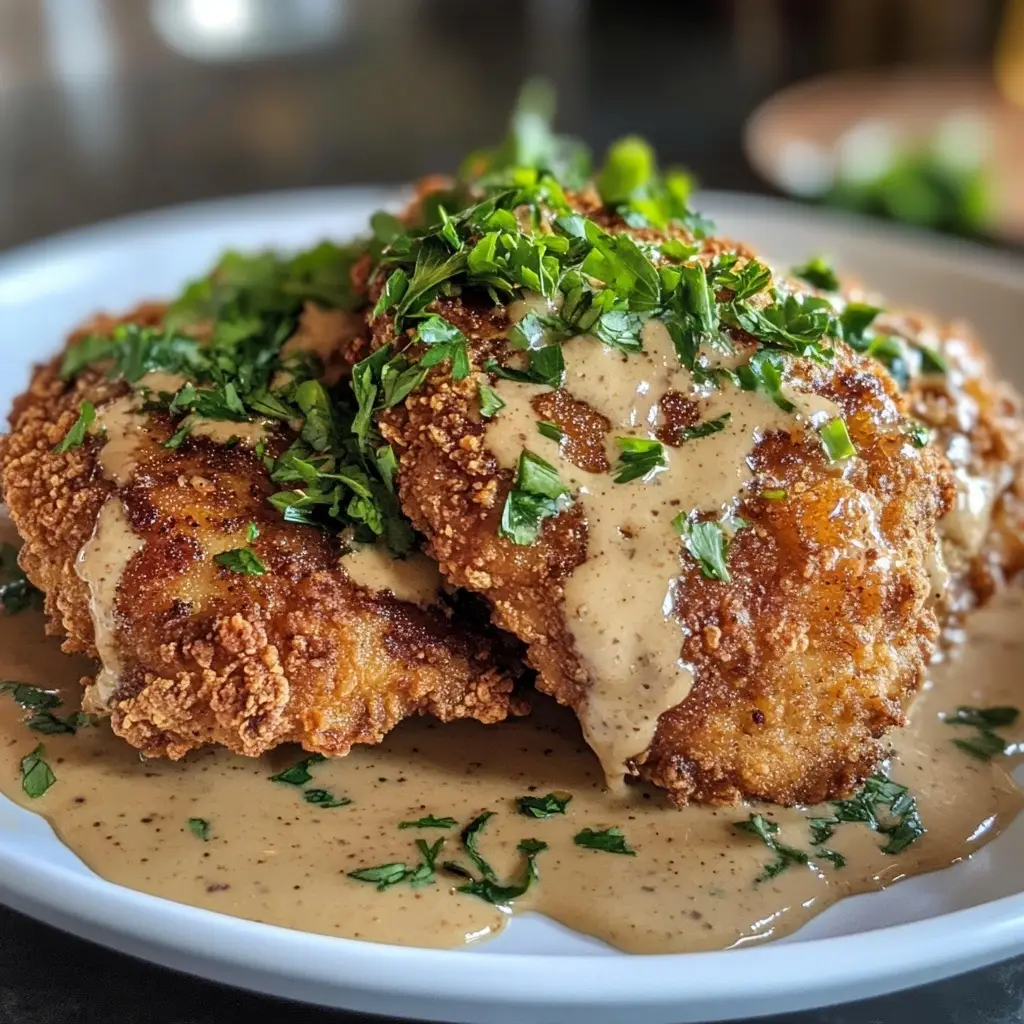
Why You’ll Love This Crispy Buttermilk Fried Chicken Thighs
Let’s be honest—who doesn’t love a dish that’s both easy to make and absolutely delicious? These Crispy Buttermilk Fried Chicken Thighs are a breeze to prepare, making them perfect for busy moms like us. The marinating process infuses the chicken with flavor, while the crispy coating adds that satisfying crunch. Plus, they’re versatile enough to please even the pickiest eaters in your family. You’ll find yourself making this recipe again and again!
Ingredients for Crispy Buttermilk Fried Chicken Thighs
Gathering the right ingredients is the first step to creating these mouthwatering Crispy Buttermilk Fried Chicken Thighs. Here’s what you’ll need:
- Chicken Thighs: Juicy and flavorful, they’re the star of the show. Bone-in, skin-on thighs work best for that crispy texture.
- Buttermilk: This tangy liquid not only tenderizes the chicken but also adds a rich flavor. If you don’t have buttermilk, you can make a quick substitute by mixing milk with a splash of vinegar or lemon juice.
- All-Purpose Flour: The base for your crispy coating. It creates that golden crust we all crave. You can use gluten-free flour if needed.
- Paprika: Adds a lovely color and a hint of smokiness. Feel free to use smoked paprika for an extra kick.
- Garlic Powder: A must-have for flavor. It brings a savory depth to the dish.
- Onion Powder: Complements the garlic and enhances the overall taste.
- Salt: Essential for seasoning. It brings out the flavors of the chicken and spices.
- Black Pepper: Adds a bit of heat and balances the flavors.
- Oil for Frying: Choose a high smoke point oil like vegetable or canola oil for frying. This ensures your chicken gets crispy without burning.
For those who like a little heat, consider adding cayenne pepper to the flour mixture. It’s a simple way to spice things up! You can find the exact quantities for each ingredient at the bottom of the article, ready for printing.
How to Make Crispy Buttermilk Fried Chicken Thighs
Now that you have your ingredients ready, let’s dive into the steps for making these Crispy Buttermilk Fried Chicken Thighs. Each step is simple, and I promise you’ll feel like a kitchen pro by the end!
Step 1: Marinate the Chicken Thighs
Start by placing the chicken thighs in a bowl and pouring the buttermilk over them. Make sure they’re fully submerged. This is where the magic happens! The buttermilk tenderizes the meat and infuses it with flavor. Cover the bowl and let it marinate for at least 2 hours, or even better, overnight. Trust me, the longer, the better!
Step 2: Prepare the Flour Mixture
While the chicken is soaking up all that goodness, it’s time to prepare the flour mixture. In a separate bowl, combine the all-purpose flour, paprika, garlic powder, onion powder, salt, and black pepper. Mix it well until everything is evenly distributed. This blend will create that irresistible crispy coating we all love!
Step 3: Heat the Oil
Next, grab a deep skillet and pour in enough oil to cover the bottom, about an inch deep. Heat the oil over medium-high heat. You want it hot enough to sizzle when you add the chicken. A good test is to drop a small pinch of flour into the oil; if it bubbles, you’re ready to fry!
Step 4: Dredge the Chicken
Once the chicken has marinated, take each thigh out of the buttermilk, letting the excess drip off. Then, dredge it in the flour mixture, making sure it’s fully coated. This step is crucial for that crispy texture. Don’t be shy—press the flour onto the chicken to ensure it sticks!
Step 5: Fry the Chicken Thighs
Carefully place the coated chicken thighs into the hot oil, skin side down. Fry them for about 8-10 minutes on each side, or until they’re golden brown and cooked through. Keep an eye on the temperature; if the oil starts to smoke, it’s too hot. Adjust the heat as needed to maintain that perfect frying temperature.
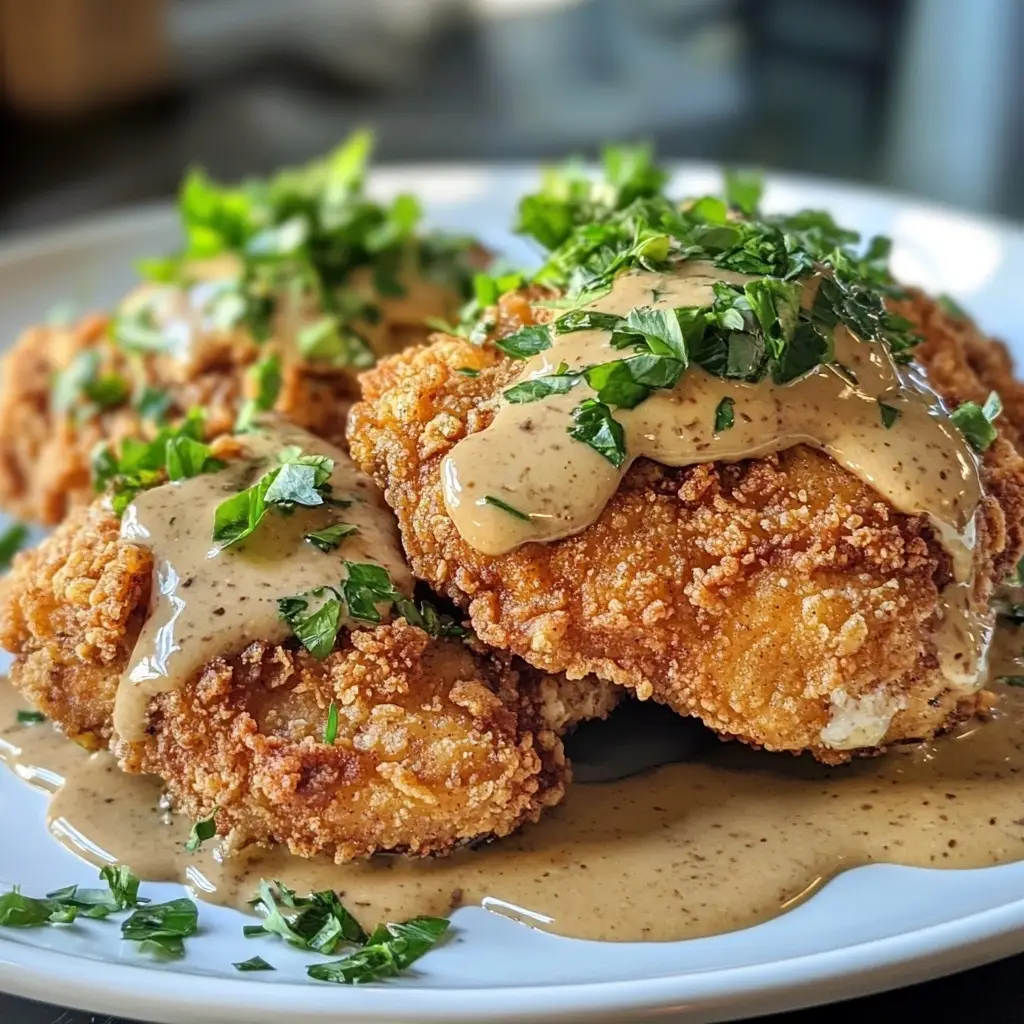
Step 6: Drain and Serve
Once the chicken is beautifully golden, use tongs to remove it from the oil. Place the fried chicken thighs on a plate lined with paper towels to drain any excess oil. Let them rest for a few minutes before serving. This resting time helps keep the chicken juicy and delicious!
Tips for Success
- Always marinate the chicken overnight for maximum flavor and tenderness.
- Use a thermometer to check the oil temperature; it should be around 350°F for frying.
- Don’t overcrowd the skillet; fry in batches if necessary to maintain heat.
- Let the chicken rest after frying to lock in juices.
- Experiment with spices in the flour for a unique twist!
Equipment Needed
- Deep Skillet: A cast-iron skillet works wonders, but any deep skillet will do.
- Tongs: Essential for flipping and removing the chicken safely.
- Mixing Bowls: Use two bowls for marinating and mixing the flour.
- Meat Thermometer: Optional, but great for checking chicken doneness.
- Paper Towels: For draining excess oil after frying.
Variations
- Spicy Buttermilk Fried Chicken: Add cayenne pepper or hot sauce to the buttermilk for a fiery kick.
- Herb-Infused Chicken: Mix dried herbs like thyme, rosemary, or oregano into the flour for a fragrant twist.
- Gluten-Free Option: Substitute all-purpose flour with a gluten-free flour blend for a delicious alternative.
- Oven-Baked Version: For a healthier take, bake the coated chicken thighs at 400°F for 25-30 minutes, flipping halfway through.
- Asian-Inspired Chicken: Add soy sauce and ginger to the buttermilk for a unique flavor profile.
Serving Suggestions
- Classic Sides: Pair your Crispy Buttermilk Fried Chicken Thighs with creamy coleslaw or buttery mashed potatoes for a comforting meal.
- Fresh Salads: A light garden salad with a tangy vinaigrette balances the richness of the chicken.
- Drinks: Serve with sweet tea or lemonade for a refreshing touch.
- Presentation: Arrange the chicken on a rustic platter, garnished with fresh herbs for a beautiful display.
FAQs about Crispy Buttermilk Fried Chicken Thighs
Can I use chicken breasts instead of thighs? Absolutely! While chicken thighs are juicier and more flavorful, you can use chicken breasts. Just be mindful that they may cook faster, so adjust your frying time accordingly.
How do I store leftovers? If you have any leftovers (which is rare!), let the chicken cool completely. Then, store it in an airtight container in the fridge for up to 3 days. Reheat in the oven to maintain that crispy texture.
Can I freeze the fried chicken? Yes! After frying, let the chicken cool completely, then place it in a freezer-safe bag. It can be frozen for up to 3 months. Reheat directly from the freezer in the oven for best results.
What can I serve with Crispy Buttermilk Fried Chicken Thighs? These delicious thighs pair wonderfully with classic sides like coleslaw, mashed potatoes, or cornbread. A fresh salad or some roasted veggies can also balance the meal nicely.
How can I make the chicken extra crispy? For an extra crispy coating, double-dip the chicken. After dredging in the flour mixture, dip it back into the buttermilk and then back into the flour before frying. This creates a thicker, crunchier crust!
Final Thoughts
Making Crispy Buttermilk Fried Chicken Thighs is more than just cooking; it’s about creating memories around the dinner table. The joy of biting into that crispy, flavorful crust, followed by the tender, juicy meat, is simply unbeatable. This recipe is a celebration of comfort food that brings families together, even on the busiest of nights. I hope you find as much happiness in preparing and sharing this dish as I do. So roll up your sleeves, embrace the mess, and enjoy every delicious moment with your loved ones. Happy cooking!
Print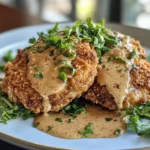
Crispy Buttermilk Fried Chicken Thighs You’ll Love!
- Total Time: 2 hours 35 minutes
- Yield: 4 servings 1x
- Diet: Gluten Free
Description
Crispy Buttermilk Fried Chicken Thighs are juicy, flavorful, and coated in a perfectly crispy crust, making them a favorite for any meal.
Ingredients
- 4 chicken thighs
- 1 cup buttermilk
- 1 cup all-purpose flour
- 1 teaspoon paprika
- 1 teaspoon garlic powder
- 1 teaspoon onion powder
- 1/2 teaspoon salt
- 1/2 teaspoon black pepper
- Oil for frying
Instructions
- In a bowl, marinate the chicken thighs in buttermilk for at least 2 hours or overnight.
- In another bowl, mix flour, paprika, garlic powder, onion powder, salt, and pepper.
- Heat oil in a deep skillet over medium-high heat.
- Remove chicken from buttermilk, allowing excess to drip off, then dredge in the flour mixture.
- Fry the chicken thighs in hot oil until golden brown and cooked through, about 8-10 minutes per side.
- Drain on paper towels and serve hot.
Notes
- For extra flavor, add cayenne pepper to the flour mixture.
- Ensure the oil is hot enough before frying to achieve a crispy texture.
- Let the chicken rest for a few minutes after frying for better juiciness.
- Prep Time: 15 minutes
- Cook Time: 20 minutes
- Category: Main Course
- Method: Frying
- Cuisine: American
Nutrition
- Serving Size: 1 chicken thigh
- Calories: 350
- Sugar: 1g
- Sodium: 600mg
- Fat: 20g
- Saturated Fat: 5g
- Unsaturated Fat: 15g
- Trans Fat: 0g
- Carbohydrates: 20g
- Fiber: 1g
- Protein: 25g
- Cholesterol: 100mg
Keywords: Crispy Buttermilk Fried Chicken Thighs, Fried Chicken, Buttermilk Chicken