Introduction to Taro Chips
As a busy mom, I know how challenging it can be to find a snack that’s both delicious and easy to make. That’s where Taro Chips come in! These crunchy delights are not only simple to whip up, but they also offer a unique flavor that will impress your family and friends. Imagine serving a snack that’s both satisfying and healthy, all while keeping your kitchen time to a minimum. With just a few ingredients and a little love, you can create a treat that everyone will adore. Let’s dive into this delightful recipe!
Why You’ll Love This Taro Chips
These Taro Chips are a game-changer for busy days! They come together in just 30 minutes, making them perfect for a quick snack or a last-minute party treat. The crispy texture and unique flavor will have your taste buds dancing with joy. Plus, they’re vegan, so everyone can enjoy them. Trust me, once you try these, you’ll be hooked and craving more!
Ingredients for Taro Chips
To make these delightful Taro Chips, you’ll need just a few simple ingredients that pack a punch of flavor. Here’s what you’ll need:
- Taro Roots: The star of the show! Taro roots are starchy and slightly nutty, giving the chips their unique taste and texture. Look for firm, unblemished roots at your local grocery store or Asian market.
- Vegetable Oil: This is essential for frying. Choose a neutral oil like canola or peanut oil, which can withstand high heat without burning. If you prefer a healthier option, you can also use an air fryer!
- Salt: A sprinkle of salt enhances the flavor of the chips. Feel free to adjust the amount to your taste. You can also experiment with flavored salts for a twist!
For those who want to get creative, consider adding spices like paprika, garlic powder, or even a dash of cayenne for some heat. The exact quantities of these ingredients are listed at the bottom of the article for your convenience, so you can easily print them out and get cooking!
How to Make Taro Chips
Now that you have your ingredients ready, let’s get cooking! Making Taro Chips is a fun and straightforward process. Follow these simple steps to create a crunchy snack that will have everyone coming back for more.
Step 1: Prepare the Taro Roots
Start by peeling the taro roots. Use a vegetable peeler to remove the skin, which can be tough. Once peeled, slice the taro into thin rounds. Aim for about 1/8 inch thick. The thinner the slices, the crispier your chips will be. A mandoline slicer works wonders here, but a sharp knife will do just fine if you’re careful.
Step 2: Soak the Slices
Next, soak the taro slices in a bowl of cold water for about 30 minutes. This step is crucial! Soaking helps to remove excess starch, which can make your chips gummy instead of crispy. Plus, it helps to keep the color bright. After soaking, drain the slices and get ready for the next step.
Step 3: Dry the Slices
Once drained, it’s time to dry the slices thoroughly. Use a clean kitchen towel or paper towels to pat them dry. This step is essential because any moisture left on the slices can cause the oil to splatter and prevent them from getting that perfect crunch. Trust me, you want these chips to be as crispy as possible!
Step 4: Heat the Oil
Now, let’s heat the oil! Pour vegetable oil into a deep frying pan, filling it about 2 inches deep. Heat the oil over medium heat. To check if it’s hot enough, drop a small piece of taro into the oil. If it sizzles immediately, you’re ready to fry. If not, give it a few more minutes. Patience is key here!
Step 5: Fry the Taro Slices
Carefully add the dried taro slices to the hot oil in batches. Don’t overcrowd the pan; this can lower the oil temperature and lead to soggy chips. Fry them for about 3-4 minutes, or until they turn golden brown and crispy. Use a slotted spoon to flip them halfway through for even cooking. The aroma will be heavenly!
Step 6: Drain and Season
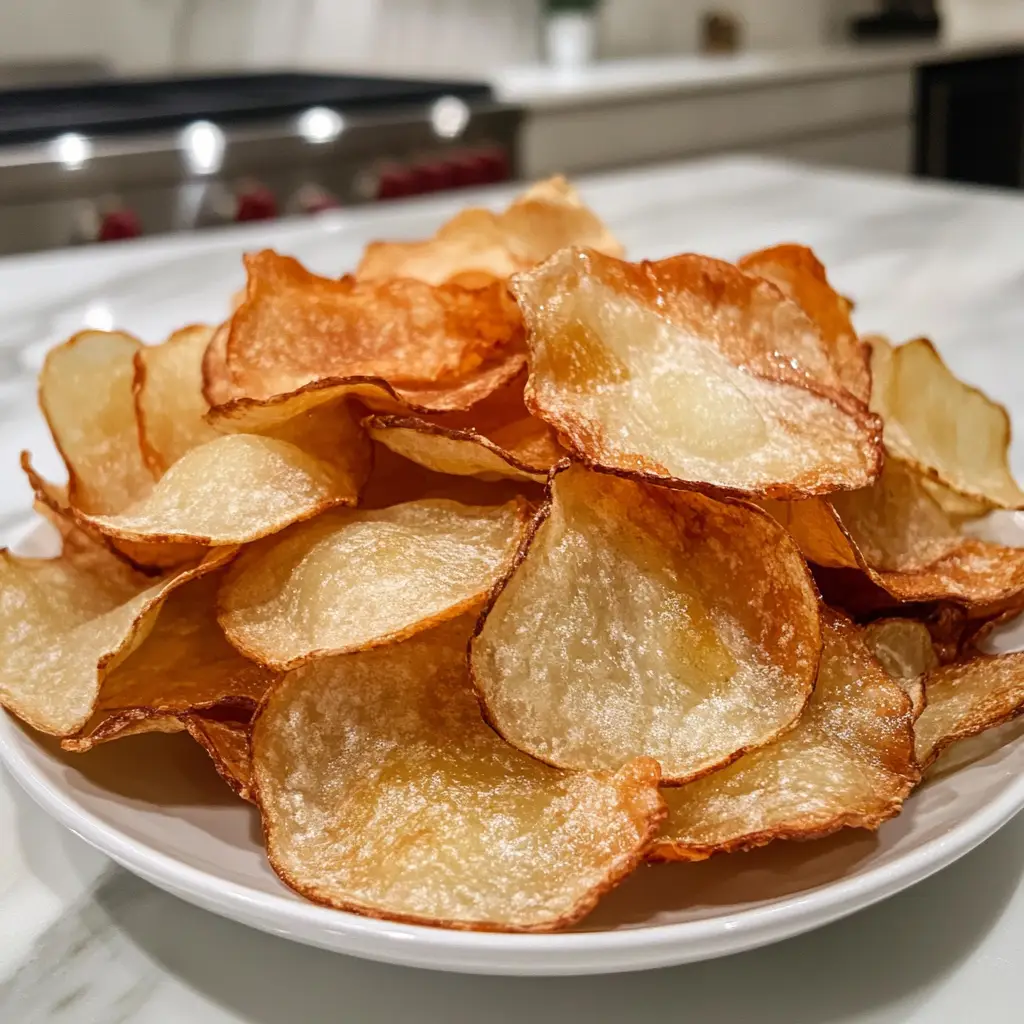
Once fried, remove the chips from the oil and place them on a plate lined with paper towels to drain excess oil. While they’re still warm, sprinkle with salt to taste. This is the moment to get creative! You can add other seasonings if you like. Enjoy your homemade Taro Chips fresh and crispy!
Tips for Success
- Always slice the taro as thinly as possible for maximum crunch.
- Make sure the oil is hot enough before frying to avoid soggy chips.
- Fry in small batches to maintain the oil temperature.
- Experiment with different seasonings like chili powder or herbs for a unique twist.
- Store leftover chips in an airtight container to keep them crispy.
Equipment Needed
- Mandoline Slicer: Perfect for achieving thin, even slices. A sharp knife works too!
- Deep Frying Pan: Essential for frying. A heavy-bottomed pot can be a good alternative.
- Slotted Spoon: Great for flipping and removing chips. Tongs can also do the job.
- Paper Towels: Useful for draining excess oil. A clean kitchen towel works as well.
Variations of Taro Chips
- Spicy Taro Chips: Add a sprinkle of cayenne pepper or chili powder before frying for a kick of heat.
- Herb-Infused Chips: Toss the dried taro slices with dried herbs like rosemary or thyme for a fragrant twist.
- Sweet Taro Chips: Dust with cinnamon and sugar after frying for a sweet treat that’s perfect for dessert.
- Garlic Taro Chips: Mix garlic powder with salt before seasoning the chips for a savory flavor boost.
- Cheesy Taro Chips: Sprinkle nutritional yeast on the warm chips for a cheesy flavor without dairy.
Serving Suggestions for Taro Chips
- Pair your Taro Chips with a zesty salsa or guacamole for a delightful dip.
- Serve alongside a refreshing cucumber salad to balance the crunch.
- Enjoy with a chilled glass of iced tea or lemonade for a perfect snack combo.
- Present them in a colorful bowl for a vibrant table display.
FAQs about Taro Chips
As you embark on your journey to make Taro Chips, you might have a few questions. Here are some common queries I’ve encountered, along with helpful answers to guide you along the way.
Can I bake Taro Chips instead of frying them?
Absolutely! If you prefer a healthier option, you can bake the taro slices. Just toss them in a little oil and spread them on a baking sheet. Bake at 400°F for about 20-25 minutes, flipping halfway through, until they’re crispy.
How do I store leftover Taro Chips?
To keep your Taro Chips crispy, store them in an airtight container at room temperature. Avoid refrigerating them, as moisture can make them soggy. They’re best enjoyed fresh, but they can last a few days if stored properly.
What can I serve with Taro Chips?
Taro Chips pair wonderfully with dips like guacamole, salsa, or hummus. You can also enjoy them alongside a refreshing salad or as a crunchy topping on soups. The possibilities are endless!
Are Taro Chips gluten-free?
Yes! Taro Chips are naturally gluten-free, making them a great snack for those with gluten sensitivities. Just be sure to check any additional seasonings or dips for gluten content.
Can I use other oils for frying?
Definitely! While vegetable oil is a popular choice, you can use oils like coconut, avocado, or peanut oil. Just ensure they can handle high heat for frying. Each oil will add its unique flavor to the chips!
Final Thoughts
Making Taro Chips is more than just a cooking task; it’s a delightful experience that brings joy to both the cook and the snackers. The satisfying crunch and unique flavor will have your family reaching for more, and the best part? You can whip them up in no time! Whether you’re enjoying them during a cozy movie night or serving them at a gathering, these chips are sure to impress. So, roll up your sleeves, embrace the process, and savor the deliciousness of homemade taro chips. Trust me, you’ll be glad you did!
PrintTaro Chips: Discover the Crunchy Snack You’ll Love!
- Total Time: 30 minutes
- Yield: 4 servings 1x
- Diet: Vegan
Description
Taro chips are a delicious and crunchy snack made from taro root, offering a unique flavor and texture that is perfect for snacking.
Ingredients
- 2 large taro roots
- Vegetable oil for frying
- Salt to taste
Instructions
- Peel the taro roots and slice them thinly using a mandoline or sharp knife.
- Soak the taro slices in water for about 30 minutes to remove excess starch.
- Drain and pat the slices dry with a paper towel.
- Heat vegetable oil in a deep frying pan over medium heat.
- Fry the taro slices in batches until they are golden brown and crispy.
- Remove the chips from the oil and drain on paper towels.
- Sprinkle with salt while still warm and serve.
Notes
- Ensure the oil is hot enough before frying to achieve a crispy texture.
- Store any leftover chips in an airtight container to maintain their crunch.
- Experiment with different seasonings for added flavor.
- Prep Time: 15 minutes
- Cook Time: 15 minutes
- Category: Snack
- Method: Frying
- Cuisine: Asian
Nutrition
- Serving Size: 1 ounce
- Calories: 150
- Sugar: 0g
- Sodium: 200mg
- Fat: 8g
- Saturated Fat: 1g
- Unsaturated Fat: 7g
- Trans Fat: 0g
- Carbohydrates: 18g
- Fiber: 2g
- Protein: 2g
- Cholesterol: 0mg
Keywords: Taro Chips, Snack, Crunchy Snack, Vegan Snack


