Introduction to Roasted Garlic Butternut Mash
As a busy mom, I know how precious time can be, especially when it comes to preparing meals. That’s why I absolutely adore my Roasted Garlic Butternut Mash. This creamy delight is not just a side dish; it’s a warm hug on a plate! The sweet, nutty flavor of butternut squash combined with the rich, aromatic essence of roasted garlic makes it a perfect companion for any meal. Whether you’re looking to impress your family or simply want a quick solution for a hectic weeknight dinner, this dish is sure to become a favorite in your home.
Why You’ll Love This Roasted Garlic Butternut Mash
This Roasted Garlic Butternut Mash is a game-changer for busy nights. It’s incredibly easy to whip up, taking just 45 minutes from start to finish. The creamy texture and rich flavor will have your family asking for seconds! Plus, it’s versatile enough to pair with any main dish, making it a go-to side that never disappoints. Trust me, once you try it, you’ll wonder how you ever lived without it!
Ingredients for Roasted Garlic Butternut Mash
Gathering the right ingredients is the first step to creating this delightful dish. Here’s what you’ll need:
- Butternut Squash: The star of the show! Its natural sweetness and creamy texture make it perfect for mashing.
- Garlic: Roasting garlic transforms its sharpness into a mellow, rich flavor that elevates the mash.
- Olive Oil: This adds a lovely richness and helps the squash roast beautifully, enhancing its flavor.
- Salt and Pepper: Essential for seasoning, these simple ingredients bring out the natural flavors of the squash and garlic.
- Heavy Cream: For a luscious, creamy texture. If you prefer a vegan option, coconut milk works wonderfully!
- Fresh Herbs (optional): A sprinkle of fresh herbs like parsley or thyme can add a pop of color and freshness to your dish.
For exact measurements, check the bottom of the article where you can find everything listed for easy printing. Happy cooking!
How to Make Roasted Garlic Butternut Mash
Now that you have your ingredients ready, let’s dive into the steps to create this creamy masterpiece. Follow along, and I promise you’ll have a dish that’s not only delicious but also a joy to make!
Step 1: Preheat the Oven
First things first, preheat your oven to 400°F (200°C). Preheating is crucial because it ensures that your butternut squash roasts evenly. A hot oven helps caramelize the sugars in the squash, giving it that lovely sweetness we all adore. Trust me, you don’t want to skip this step!
Step 2: Prepare the Butternut Squash
Next, let’s tackle that butternut squash. Start by peeling it with a vegetable peeler. Be careful; those skins can be tough! Once peeled, cut the squash in half lengthwise and scoop out the seeds. Then, cube the squash into even pieces, about 1-inch cubes. This uniformity is key for even cooking. If the pieces are too big, they’ll take longer to roast, and if they’re too small, they might burn.
Step 3: Season the Squash
Now it’s time to season! In a large bowl, toss the cubed squash with olive oil, salt, and pepper. The olive oil not only adds flavor but also helps the squash caramelize beautifully in the oven. Don’t be shy with the seasoning; it enhances the natural sweetness of the squash and the richness of the roasted garlic.
Step 4: Roast the Vegetables
Spread the seasoned squash and unpeeled garlic cloves on a baking sheet in a single layer. Roast them in the preheated oven for about 25-30 minutes. Keep an eye on them! You’ll know they’re done when the squash is tender and can be easily pierced with a fork, and the garlic is golden brown. The aroma wafting through your kitchen will be heavenly!
Step 5: Combine and Mash
Once roasted, remove the baking sheet from the oven and let it cool slightly. Squeeze the roasted garlic out of its skin and into a mixing bowl with the butternut squash. Using a potato masher or fork, mash everything together until you achieve a smooth and creamy texture. If you prefer a chunkier mash, feel free to leave some pieces intact for added texture!
Step 6: Adjust Seasoning
Finally, it’s time to taste! Add the heavy cream (or coconut milk for a vegan option) to the mash and mix well. This will give it that luscious creaminess we all crave. Don’t forget to adjust the seasoning with more salt and pepper if needed. A little taste test goes a long way in ensuring your Roasted Garlic Butternut Mash is just right!
Tips for Success
- Always preheat your oven for even roasting.
- Use a sharp knife for peeling and cubing the butternut squash; it makes the job easier.
- Don’t rush the roasting; let the squash caramelize for maximum flavor.
- For a creamier texture, mash while the ingredients are still warm.
- Experiment with different herbs for a unique twist!
Equipment Needed
- Baking Sheet: A standard baking sheet works well, but a roasting pan can also be used for larger batches.
- Vegetable Peeler: Essential for peeling the butternut squash; a sharp knife can work in a pinch.
- Mixing Bowl: Any large bowl will do for combining and mashing the ingredients.
- Potato Masher or Fork: Use a potato masher for a smooth texture; a fork gives a chunkier mash.
Variations of Roasted Garlic Butternut Mash
- Spicy Kick: Add a pinch of cayenne pepper or red pepper flakes for a spicy twist that will wake up your taste buds!
- Herb Infusion: Mix in fresh herbs like rosemary or sage for an aromatic flavor that complements the sweetness of the squash.
- Cheesy Delight: Stir in some grated Parmesan or cheddar cheese for a rich, cheesy version that’s sure to please cheese lovers.
- Nutty Flavor: Incorporate toasted walnuts or pecans for a delightful crunch and nutty flavor that adds texture.
- Maple Sweetness: Drizzle a bit of maple syrup into the mash for a sweet and savory combination that’s perfect for fall.
Serving Suggestions for Roasted Garlic Butternut Mash
- Pair with Roasted Chicken: This mash complements the savory flavors of roasted chicken beautifully.
- Serve with Grilled Steak: The creamy texture balances the richness of grilled meats.
- Garnish with Fresh Herbs: A sprinkle of parsley or thyme adds a pop of color and freshness.
- Enjoy with a Glass of Chardonnay: A crisp white wine enhances the dish’s flavors.
- Present in a Beautiful Bowl: Serve in a rustic bowl for a warm, inviting look.
FAQs about Roasted Garlic Butternut Mash
Can I make Roasted Garlic Butternut Mash ahead of time?
Absolutely! You can prepare the mash a day in advance. Just store it in an airtight container in the refrigerator. When you’re ready to serve, reheat it gently on the stove or in the microwave, adding a splash of cream if it seems too thick.
What can I substitute for heavy cream?
If you’re looking for a lighter option, you can use coconut milk or almond milk. Both will give you a creamy texture without the dairy. For a richer flavor, try using sour cream or Greek yogurt!
How do I store leftovers of Roasted Garlic Butternut Mash?
Leftovers can be stored in the refrigerator for up to three days. Just make sure to keep it in an airtight container. You can also freeze it for up to a month. Just thaw and reheat when you’re ready to enjoy it again!
Can I add other vegetables to the mash?
Definitely! Feel free to mix in other roasted vegetables like carrots or sweet potatoes for added flavor and nutrition. Just keep in mind that the cooking times may vary, so adjust accordingly.
Is Roasted Garlic Butternut Mash suitable for a vegan diet?
Yes! Simply substitute the heavy cream with coconut milk or a plant-based cream. This way, you can enjoy the creamy goodness without any dairy. It’s a delicious vegan side dish that everyone will love!
Final Thoughts
Creating Roasted Garlic Butternut Mash is more than just cooking; it’s about bringing warmth and joy to your table. The creamy texture and rich flavors make it a comforting side dish that can elevate any meal. I love how it transforms simple ingredients into something truly special. Whether it’s a weeknight dinner or a holiday feast, this mash is sure to impress. Plus, it’s a fantastic way to sneak in some veggies for the family! So, roll up your sleeves and enjoy the delightful experience of making this dish. Your taste buds will thank you!
Print
Roasted Garlic Butternut Mash: A Creamy Delight Awaits!
- Total Time: 45 minutes
- Yield: 4 servings 1x
- Diet: Vegetarian
Description
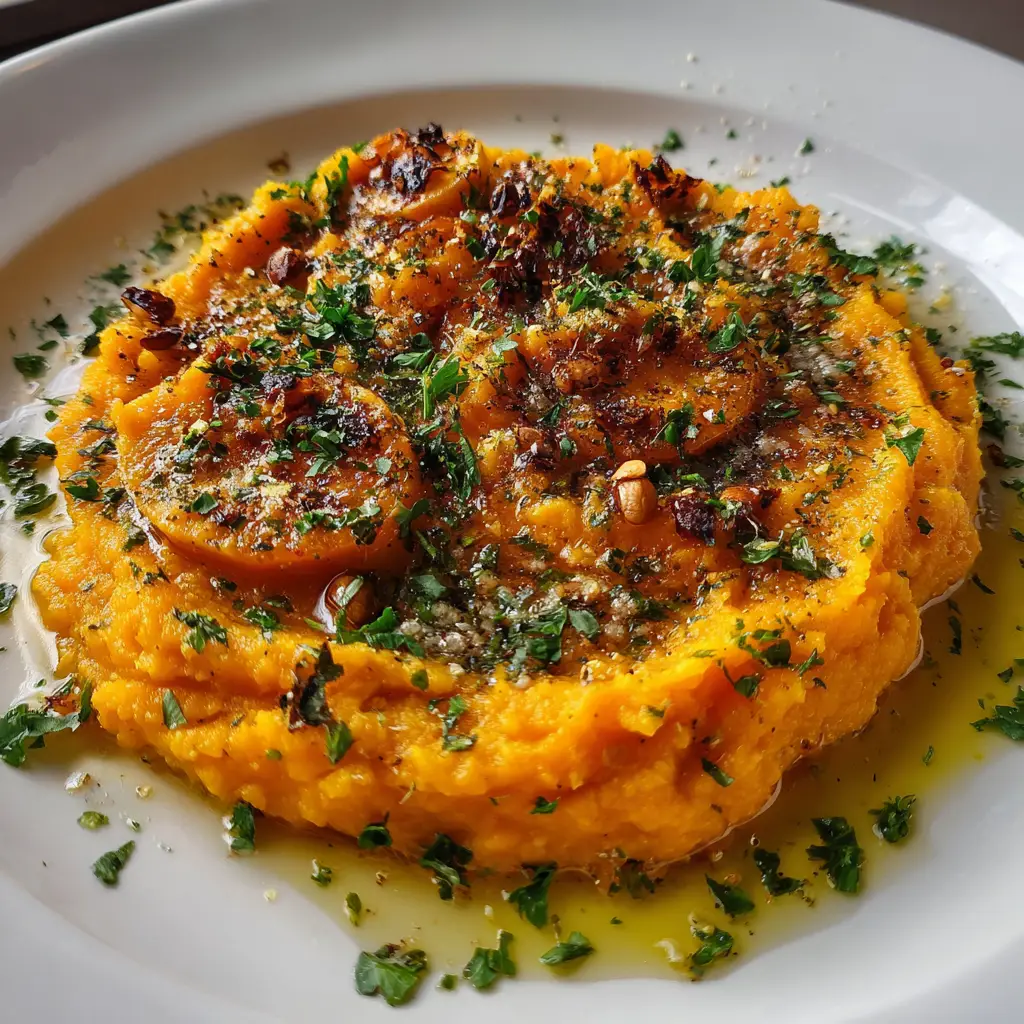
Roasted Garlic Butternut Mash is a creamy and flavorful side dish that combines the sweetness of butternut squash with the rich taste of roasted garlic.
Ingredients
- 1 medium butternut squash, peeled and cubed
- 4 cloves of garlic, unpeeled
- 2 tablespoons olive oil
- Salt, to taste
- Pepper, to taste
- 1/4 cup heavy cream (or coconut milk for a vegan option)
- Fresh herbs (optional, for garnish)
Instructions
- Preheat the oven to 400°F (200°C).
- Toss the butternut squash cubes with olive oil, salt, and pepper on a baking sheet.
- Add the unpeeled garlic cloves to the baking sheet.
- Roast in the oven for about 25-30 minutes, or until the squash is tender and the garlic is golden.
- Remove from the oven and let cool slightly.
- In a mixing bowl, combine the roasted butternut squash and garlic (squeeze the garlic out of its skin).
- Add the heavy cream and mash until smooth and creamy.
- Adjust seasoning with more salt and pepper if needed.
- Serve warm, garnished with fresh herbs if desired.
Notes
- For a vegan version, substitute heavy cream with coconut milk or a plant-based cream.
- This dish pairs well with roasted meats or as a vegetarian main dish.
- Leftovers can be stored in the refrigerator for up to 3 days.
- Prep Time: 15 minutes
- Cook Time: 30 minutes
- Category: Side Dish
- Method: Roasting and Mashing
- Cuisine: American
Nutrition
- Serving Size: 1 cup
- Calories: 180
- Sugar: 4g
- Sodium: 150mg
- Fat: 8g
- Saturated Fat: 3g
- Unsaturated Fat: 4g
- Trans Fat: 0g
- Carbohydrates: 25g
- Fiber: 4g
- Protein: 3g
- Cholesterol: 15mg
Keywords: Roasted Garlic Butternut Mash, Butternut Squash, Creamy Side Dish


