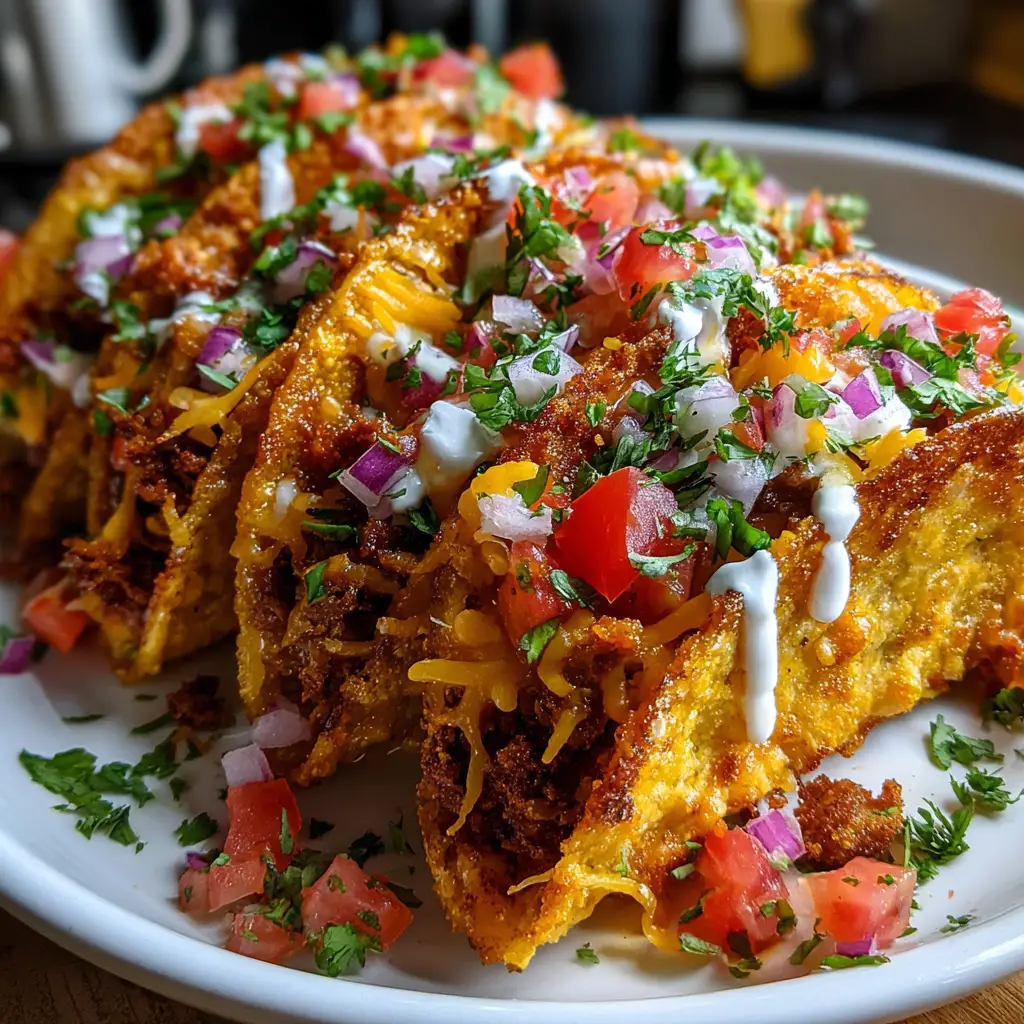
Introduction to Oven-Baked Cheesy Tacos (Crispy & Loaded)
Hey there, fellow food lovers! If you’re anything like me, you know that life can get pretty hectic. Between juggling work, family, and everything in between, finding time to whip up a delicious meal can feel like a daunting task. That’s where my Oven-Baked Cheesy Tacos (Crispy & Loaded) come to the rescue! These delightful tacos are not only quick to prepare but also loaded with cheesy goodness that will make your taste buds dance. Perfect for a busy weeknight or a fun family gathering, this recipe is sure to impress your loved ones without breaking a sweat!
Why You’ll Love This Oven-Baked Cheesy Tacos (Crispy & Loaded)
These Oven-Baked Cheesy Tacos (Crispy & Loaded) are a game-changer for busy nights! They come together in just 30 minutes, making them a quick and satisfying meal. The crispy taco shells, combined with gooey cheese and flavorful fillings, create a taste explosion that everyone will love. Plus, you can customize them to suit your family’s preferences, ensuring that even the pickiest eaters will be happy at the dinner table!
Ingredients for Oven-Baked Cheesy Tacos (Crispy & Loaded)
Gathering the right ingredients is the first step to taco perfection! Here’s what you’ll need for these Oven-Baked Cheesy Tacos (Crispy & Loaded):
- Taco shells: Choose your favorite brand or go for whole grain for a healthier twist.
- Shredded cheese: I love using a blend of cheddar and Mexican cheese for that melty goodness.
- Ground beef or turkey: This is the heart of your tacos. Ground turkey is a leaner option if you prefer.
- Taco seasoning: A packet makes it easy, but you can also make your own with spices like cumin and chili powder.
- Diced tomatoes: Fresh or canned, they add a juicy burst of flavor to your tacos.
- Shredded lettuce: This adds a nice crunch and freshness to balance the richness of the cheese.
- Sour cream: A dollop on top brings creaminess and tang that complements the flavors beautifully.
- Sliced jalapeños (optional): For those who like a kick, these spicy slices are a fantastic addition!
Feel free to customize the toppings based on your preferences. You can even swap the meat for black beans or lentils for a vegetarian option. If you want to get ahead, these tacos can be prepped in advance and reheated in the oven. For exact quantities, check the bottom of the article where you can find everything available for printing!
How to Make Oven-Baked Cheesy Tacos (Crispy & Loaded)
Now that you have all your ingredients ready, let’s dive into the fun part—making these Oven-Baked Cheesy Tacos (Crispy & Loaded)! Follow these simple steps, and you’ll have a delicious meal in no time.
Step 1: Preheat the Oven
First things first, preheat your oven to 400°F (200°C). This step is crucial for achieving those perfectly crispy taco shells. A hot oven ensures that the cheese melts beautifully and the shells get that delightful crunch. Trust me, you don’t want to skip this part!
Step 2: Cook the Meat
In a skillet over medium heat, cook your ground beef or turkey until it’s nicely browned. This usually takes about 5-7 minutes. Make sure to break it up with a spatula as it cooks. Once browned, sprinkle in the taco seasoning and follow the package instructions. This is where the magic happens! The seasoning adds a burst of flavor that will make your tacos irresistible.
Step 3: Prepare the Taco Shells
While the meat is cooking, grab a baking dish and arrange your taco shells upright. This helps them hold all the delicious fillings without spilling. If you’re using soft taco shells, you can lightly toast them in the oven for a few minutes to make them sturdier. Just be careful not to overdo it!
Step 4: Fill the Tacos
Now comes the fun part—filling the tacos! Start by spooning the meat mixture into each shell. Don’t be shy; fill them generously! Then, top each taco with a handful of shredded cheese. The more cheese, the better, right? This will melt into gooey perfection as they bake.
Step 5: Bake the Tacos
Place the filled taco shells in the preheated oven and bake for 10-12 minutes. Keep an eye on them! You’ll know they’re done when the cheese is melted and bubbly, and the taco shells are golden brown. The aroma wafting through your kitchen will be absolutely mouthwatering!
Step 6: Add Toppings
Once your tacos are out of the oven, it’s time to get creative with toppings! Add diced tomatoes, shredded lettuce, and a dollop of sour cream on top. If you’re feeling adventurous, throw on some sliced jalapeños for a spicy kick. These toppings not only enhance the flavor but also make your tacos look vibrant and inviting!
Tips for Success
- Use a mix of cheeses for extra flavor and creaminess.
- Don’t overfill the taco shells; they need room to crisp up!
- For a crunchier shell, bake the empty taco shells for a few minutes before filling.
- Experiment with different proteins like chicken or beans for variety.
- Make a double batch and freeze leftovers for a quick meal later!
Equipment Needed
- Baking dish: A 9×13 inch dish works great, but any oven-safe dish will do.
- Skillet: A non-stick skillet makes cooking the meat a breeze.
- Spatula: Use this to break up the meat while cooking.
- Measuring cups: Handy for portioning out ingredients.
Variations of Oven-Baked Cheesy Tacos (Crispy & Loaded)
- Vegetarian Tacos: Swap the meat for black beans, lentils, or sautéed mushrooms for a hearty, plant-based option.
- Spicy Tacos: Add diced green chilies or a sprinkle of cayenne pepper to the meat mixture for an extra kick.
- Cheesy Veggie Tacos: Mix in some sautéed bell peppers, onions, or zucchini with the meat for added nutrition and flavor.
- Gluten-Free Tacos: Use corn taco shells or lettuce wraps to keep it gluten-free while still enjoying all the deliciousness.
- Breakfast Tacos: Substitute the ground meat with scrambled eggs and add toppings like avocado and salsa for a delightful breakfast twist.
Serving Suggestions for Oven-Baked Cheesy Tacos (Crispy & Loaded)
- Side Salad: Pair your tacos with a fresh garden salad for a light and crunchy contrast.
- Mexican Rice: Serve with flavorful Mexican rice to soak up all the delicious taco goodness.
- Refreshing Drinks: Enjoy with a chilled glass of iced tea or a fruity margarita for a festive touch.
- Presentation: Serve on a colorful platter, garnished with fresh cilantro for a pop of color!
FAQs about Oven-Baked Cheesy Tacos (Crispy & Loaded)
Can I make Oven-Baked Cheesy Tacos (Crispy & Loaded) ahead of time?
Absolutely! You can prepare the taco filling and assemble the tacos in advance. Just cover them and store them in the fridge. When you’re ready to eat, pop them in the oven for a quick reheat!
What can I use instead of ground beef or turkey?
If you’re looking for a lighter option, try using ground chicken or even plant-based meat alternatives. Black beans or lentils also make for a hearty vegetarian filling!
How do I store leftovers?
Store any leftover Oven-Baked Cheesy Tacos in an airtight container in the fridge for up to three days. Reheat them in the oven to keep the shells crispy!
Can I freeze these tacos?
Yes! You can freeze the assembled tacos before baking. Just wrap them tightly in foil or plastic wrap. When you’re ready to enjoy, bake them straight from the freezer, adding a few extra minutes to the cooking time.
What toppings do you recommend for these tacos?
Get creative! Besides the classic toppings like lettuce and tomatoes, consider adding avocado, salsa, or even a sprinkle of cilantro for a fresh twist. The options are endless!
Final Thoughts
Making Oven-Baked Cheesy Tacos (Crispy & Loaded) is more than just cooking; it’s about creating joyful moments around the dinner table. The aroma of melting cheese and seasoned meat fills the air, inviting everyone to gather and share stories. This recipe is a delightful way to bring your family together, even on the busiest of nights. Plus, the customization options mean everyone can enjoy their perfect taco. So, roll up your sleeves, embrace the mess, and let these cheesy tacos become a cherished tradition in your home. Trust me, they’ll be a hit!
Print
Oven-Baked Cheesy Tacos (Crispy & Loaded) You’ll Love!
- Total Time: 30 minutes
- Yield: 4 servings 1x
- Diet: Gluten Free
Description
Delicious and crispy oven-baked tacos loaded with cheese and your favorite fillings.
Ingredients
- 12 taco shells
- 2 cups shredded cheese (cheddar or Mexican blend)
- 1 lb ground beef or turkey
- 1 packet taco seasoning
- 1 cup diced tomatoes
- 1 cup shredded lettuce
- 1/2 cup sour cream
- 1/4 cup sliced jalapeños (optional)
Instructions
- Preheat the oven to 400°F (200°C).
- In a skillet, cook the ground beef or turkey over medium heat until browned.
- Add the taco seasoning and follow package instructions.
- Arrange the taco shells in a baking dish.
- Fill each taco shell with the meat mixture and top with shredded cheese.
- Bake in the preheated oven for 10-12 minutes or until the cheese is melted and bubbly.
- Remove from the oven and top with diced tomatoes, shredded lettuce, sour cream, and jalapeños.
- Serve immediately and enjoy!
Notes
- Feel free to customize the toppings based on your preferences.
- For a vegetarian option, substitute meat with black beans or lentils.
- These tacos can be made ahead of time and reheated in the oven.
- Prep Time: 15 minutes
- Cook Time: 15 minutes
- Category: Main Dish
- Method: Baking
- Cuisine: Mexican
Nutrition
- Serving Size: 2 tacos
- Calories: 350
- Sugar: 2g
- Sodium: 600mg
- Fat: 20g
- Saturated Fat: 10g
- Unsaturated Fat: 8g
- Trans Fat: 0g
- Carbohydrates: 30g
- Fiber: 3g
- Protein: 20g
- Cholesterol: 50mg
Keywords: Oven-Baked Cheesy Tacos, Crispy Tacos, Loaded Tacos, Easy Taco Recipe