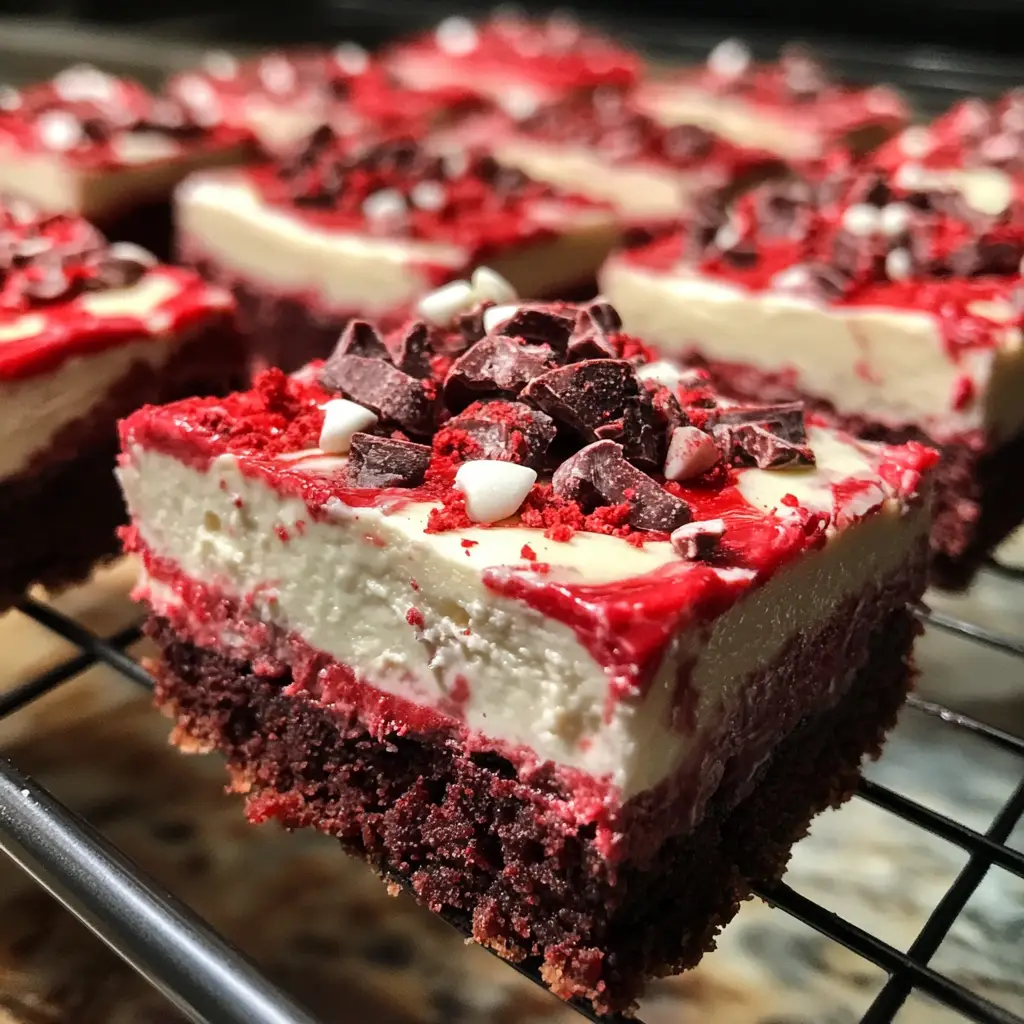
Introduction to No-Bake Red Velvet Dream Bars
Hey there, fellow food lovers! If you’re anything like me, you know that life can get pretty hectic. Between juggling work, family, and everything in between, finding time to whip up a delicious dessert can feel like a daunting task. That’s where these No-Bake Red Velvet Dream Bars come in! They’re not just easy to make; they’re a delightful treat that will impress your loved ones without keeping you in the kitchen for hours. Perfect for any occasion, these bars are a sweet escape that everyone will adore!
Why You’ll Love This No-Bake Red Velvet Dream Bars
These No-Bake Red Velvet Dream Bars are a game-changer for busy moms and professionals alike. They come together in just 20 minutes, making them a quick solution for unexpected guests or a sweet treat after dinner. Plus, the rich, velvety flavor paired with a creamy filling is simply irresistible. You’ll love how easy they are to make, and your family will love devouring every last crumb!
Ingredients for No-Bake Red Velvet Dream Bars
Let’s gather our ingredients for these delightful No-Bake Red Velvet Dream Bars! Each component plays a crucial role in creating that dreamy texture and flavor. Here’s what you’ll need:
- Crushed graham crackers: These form the base of our bars, adding a sweet crunch. You can substitute with digestive biscuits if you prefer.
- Unsweetened cocoa powder: This gives our bars that rich chocolate flavor. For a deeper taste, consider using dark cocoa powder.
- Powdered sugar: This sweetens the crust and filling, making everything taste heavenly. It dissolves easily, ensuring a smooth texture.
- Unsalted butter: Melted butter binds the crust together and adds richness. If you’re looking for a dairy-free option, coconut oil works well.
- Cream cheese: The star of the filling! It provides a creamy, tangy flavor. Make sure it’s softened for easy mixing.
- Milk: This helps achieve the perfect consistency in the filling. You can use any milk you have on hand, including almond or oat milk.
- Vanilla extract: A splash of vanilla enhances the overall flavor, making it even more delightful.
- Red food coloring: This is what gives our bars that iconic red velvet look. Use as much or as little as you like to achieve your desired color.
- Whipped cream: Topping off the bars with whipped cream adds a light, airy finish. You can use store-bought or homemade, depending on your time.
For exact measurements, check the bottom of the article where you can find everything listed for easy printing. Now, let’s get ready to create some magic in the kitchen!
How to Make No-Bake Red Velvet Dream Bars
Now that we have our ingredients ready, let’s dive into the fun part—making these No-Bake Red Velvet Dream Bars! Follow these simple steps, and you’ll have a delicious dessert that’s sure to impress.
Step 1: Prepare the Crust
Start by mixing the crushed graham crackers, cocoa powder, powdered sugar, and melted butter in a large bowl. Use a fork or your hands to combine everything until it resembles wet sand. This mixture should hold together when pressed.
Next, take a greased 9×9 inch pan and firmly press the crust mixture into the bottom. Make sure it’s even and compact. This step is crucial for a sturdy base that won’t crumble when you cut the bars later!
Step 2: Make the Cream Cheese Filling
In another bowl, beat the softened cream cheese until it’s smooth and creamy. This is where the magic happens! Gradually add in the powdered sugar, milk, vanilla extract, and red food coloring. Mix until everything is well combined and you achieve a lovely red hue.
Don’t be afraid to taste the filling! Adjust the sweetness or color to your liking. The filling should be rich and velvety, just like a classic red velvet cake.
Step 3: Assemble the Bars
Once your filling is ready, spread it evenly over the crust in the pan. Use a spatula to smooth it out, ensuring every corner is covered. This layer is where the creamy goodness shines!
Now, it’s time to top it off! Gently spread the whipped cream over the cream cheese layer. This adds a light, fluffy texture that balances the richness of the filling. You can be generous here; who doesn’t love extra whipped cream?
Step 4: Chill and Serve
Cover the pan with plastic wrap and pop it in the refrigerator for at least 2 hours. This chilling time allows the bars to set properly, making them easier to cut.
Once chilled, take them out and cut into squares. Serve them cold, and watch as everyone enjoys these delightful No-Bake Red Velvet Dream Bars. They’re perfect for any occasion, from family gatherings to casual get-togethers!
Tips for Success
- Make sure your cream cheese is at room temperature for easy mixing.
- Press the crust firmly into the pan to prevent crumbling when cutting.
- Use a spatula to spread the filling evenly for a beautiful presentation.
- Chill the bars for at least 2 hours to ensure they set properly.
- For a fun twist, add chocolate chips to the filling for extra flavor!
Equipment Needed
- 9×9 inch pan: A square baking dish works perfectly. You can also use a similar-sized dish if needed.
- Mixing bowls: Have a couple of medium-sized bowls on hand for mixing the crust and filling.
- Spatula: A rubber spatula is great for spreading the filling and whipped cream evenly.
- Fork or hands: Use these to mix the crust ingredients thoroughly.
Variations
- Gluten-Free: Substitute graham crackers with gluten-free cookies or almond flour for a gluten-free version.
- Vegan: Use vegan cream cheese and coconut oil instead of butter to make these bars plant-based.
- Chocolate Lovers: Add mini chocolate chips to the cream cheese filling for an extra chocolatey kick.
- Nutty Twist: Incorporate crushed nuts like walnuts or pecans into the crust for added texture and flavor.
- Fruit Infusion: Top the bars with fresh raspberries or strawberries for a fruity contrast to the rich filling.
Serving Suggestions
- Pair these No-Bake Red Velvet Dream Bars with a scoop of vanilla ice cream for a delightful contrast.
- Serve alongside a cup of rich coffee or a refreshing iced tea to balance the sweetness.
- For a festive touch, garnish with chocolate shavings or fresh berries on top.
- Present them on a beautiful platter for a stunning dessert display at gatherings.
FAQs about No-Bake Red Velvet Dream Bars
As you embark on your journey to create these delightful No-Bake Red Velvet Dream Bars, you might have a few questions. Here are some common queries that I’ve encountered, along with helpful answers!
Can I make these bars ahead of time?
Absolutely! These bars are perfect for making ahead. Just prepare them, chill, and store them in the refrigerator for up to three days. They’ll be ready whenever you need a sweet treat!
What can I use instead of cream cheese?
If you’re looking for a dairy-free option, vegan cream cheese works wonderfully. You can also try using whipped coconut cream for a lighter filling. Just remember, the flavor will vary slightly!
How do I store leftovers?
Store any leftover No-Bake Red Velvet Dream Bars in an airtight container in the refrigerator. They’ll stay fresh for about three days, but I doubt they’ll last that long!
Can I freeze these bars?
Yes, you can freeze them! Just wrap the bars tightly in plastic wrap and then in aluminum foil. They’ll keep well for up to a month. Thaw them in the fridge before serving for the best texture.
What’s the best way to cut these bars?
To get clean cuts, use a sharp knife and dip it in warm water before slicing. Wipe the knife clean between cuts for perfectly shaped bars. Trust me, presentation matters!
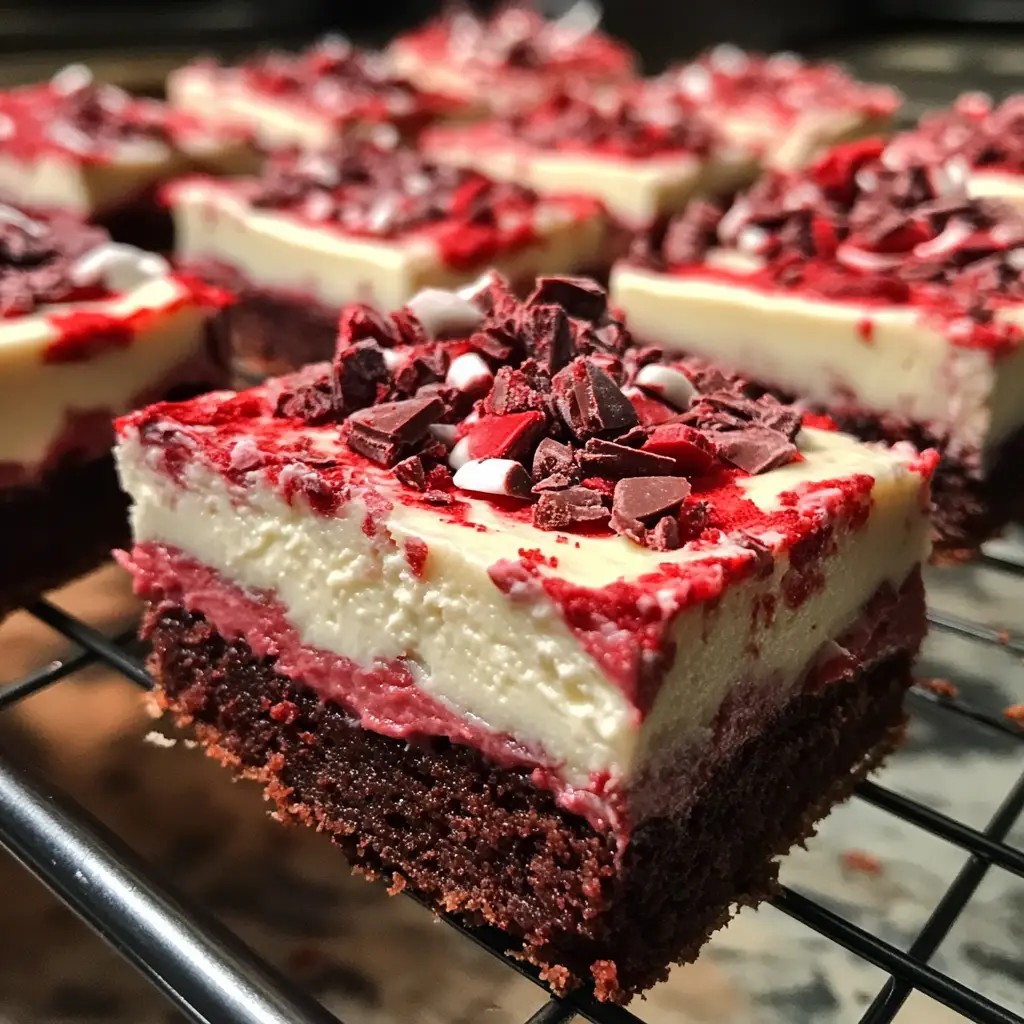
Final Thoughts
Creating these No-Bake Red Velvet Dream Bars is more than just making a dessert; it’s about sharing joy with those you love. The vibrant color and creamy texture bring smiles to faces, making every bite a delightful experience. Whether it’s a family gathering or a quiet evening at home, these bars are a sweet reminder that life’s little pleasures are worth celebrating. Plus, the ease of preparation means you can focus on what truly matters—making memories with your loved ones. So, roll up your sleeves and dive into this delicious adventure; happiness is just a bite away!
Print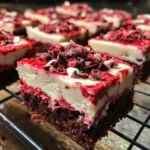
No-Bake Red Velvet Dream Bars that Everyone Will Love!
- Total Time: 2 hours 20 minutes
- Yield: 16 bars 1x
- Diet: Vegetarian
Description
Delicious and easy-to-make No-Bake Red Velvet Dream Bars that are perfect for any occasion.
Ingredients
- 1 cup crushed graham crackers
- 1/2 cup unsweetened cocoa powder
- 1/2 cup powdered sugar
- 1/2 cup unsalted butter, melted
- 1 cup cream cheese, softened
- 1 cup powdered sugar (for filling)
- 1/4 cup milk
- 1 teaspoon vanilla extract
- Red food coloring (to desired color)
- 1 cup whipped cream (for topping)
Instructions
- In a bowl, mix crushed graham crackers, cocoa powder, powdered sugar, and melted butter until well combined.
- Press the mixture into the bottom of a greased 9×9 inch pan to form the crust.
- In another bowl, beat the cream cheese until smooth, then add powdered sugar, milk, vanilla extract, and red food coloring. Mix until well combined.
- Spread the cream cheese mixture over the crust evenly.
- Top with whipped cream and refrigerate for at least 2 hours before serving.
- Cut into bars and enjoy!
Notes
- For a richer flavor, use dark cocoa powder.
- Make sure the cream cheese is at room temperature for easier mixing.
- Store leftovers in the refrigerator for up to 3 days.
- Prep Time: 20 minutes
- Cook Time: 0 minutes
- Category: Dessert
- Method: No-Bake
- Cuisine: American
Nutrition
- Serving Size: 1 bar
- Calories: 250
- Sugar: 15g
- Sodium: 150mg
- Fat: 12g
- Saturated Fat: 7g
- Unsaturated Fat: 3g
- Trans Fat: 0g
- Carbohydrates: 30g
- Fiber: 1g
- Protein: 3g
- Cholesterol: 30mg
Keywords: No-Bake Red Velvet Dream Bars, dessert, easy recipe, red velvet