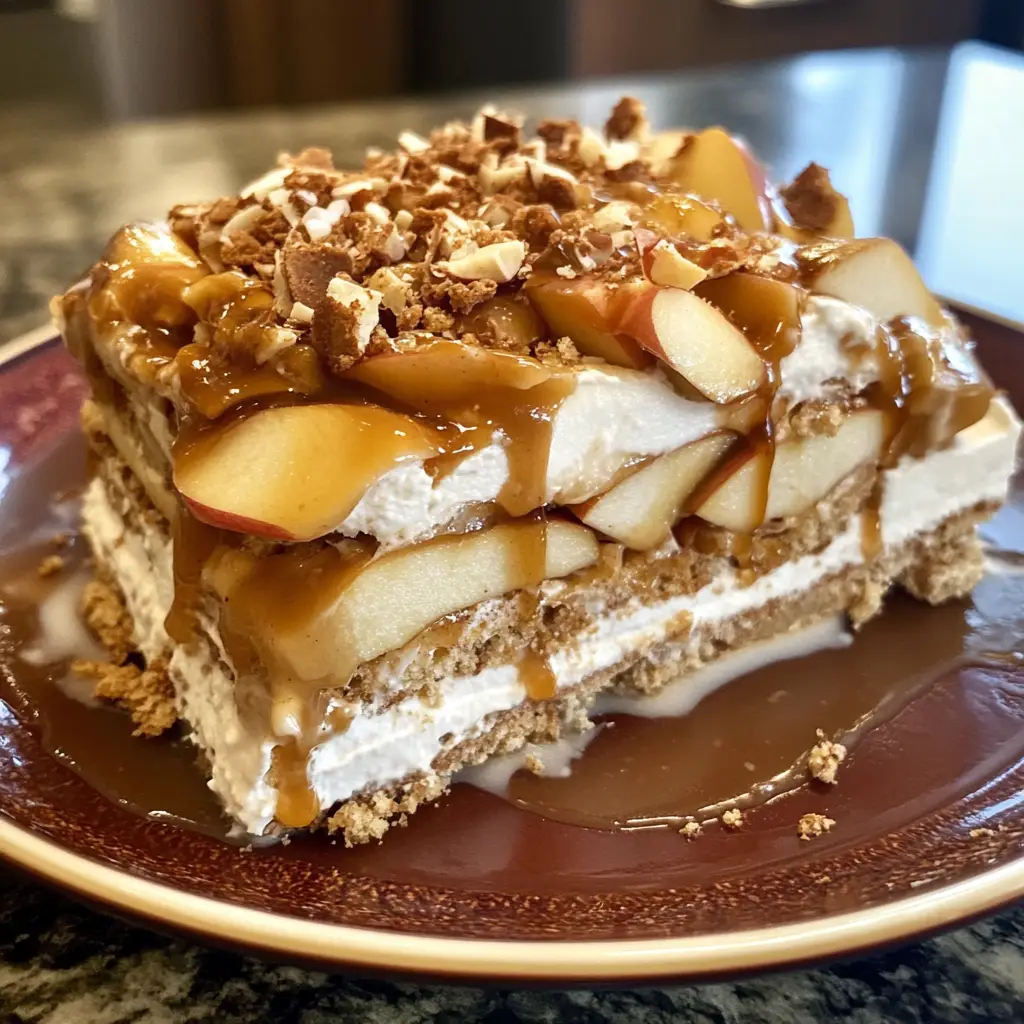
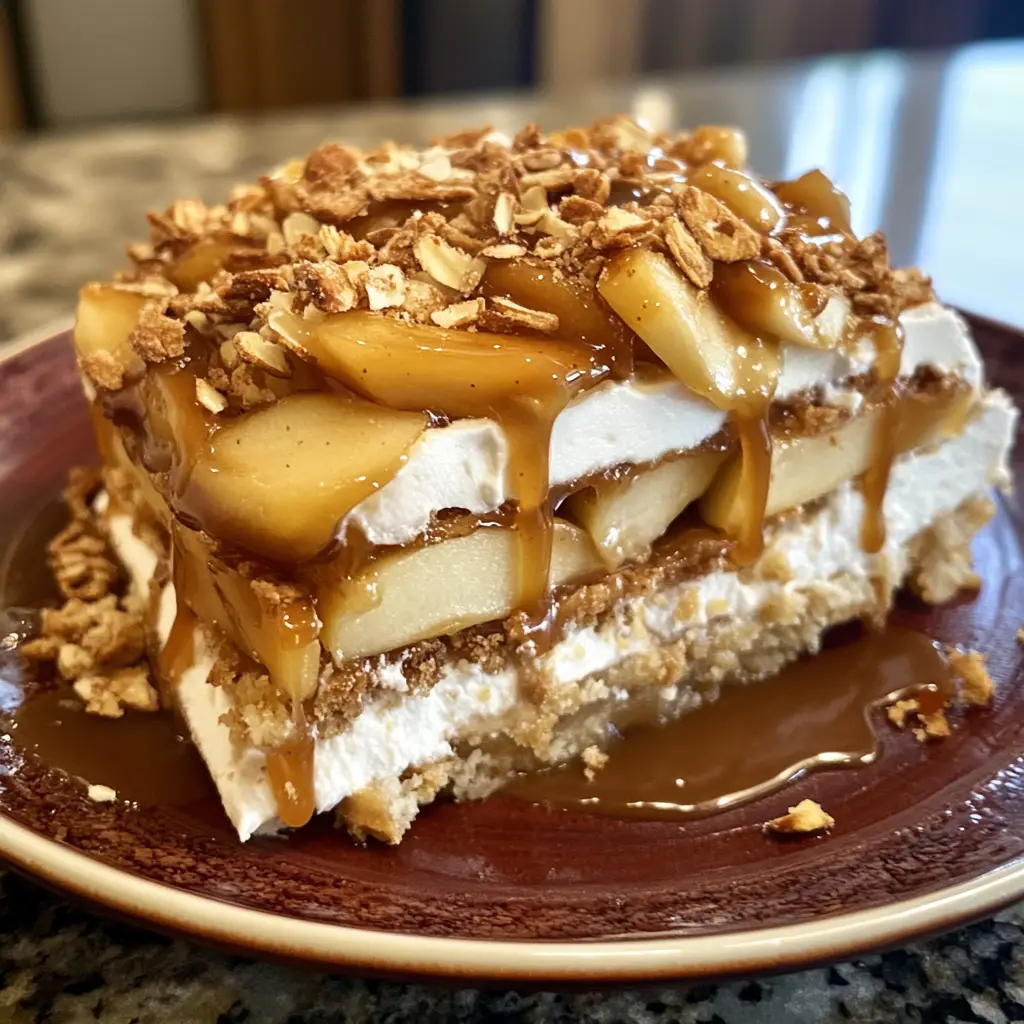
Introduction to No-Bake Caramel Apple Icebox Cake
As a busy mom, I know how precious time can be, especially when it comes to whipping up something sweet. That’s why I absolutely adore this No-Bake Caramel Apple Icebox Cake! It’s a delightful dessert that requires minimal effort but delivers maximum flavor. Imagine layers of creamy caramel, crisp apples, and crunchy graham crackers, all coming together in a chilled masterpiece. Whether you’re hosting a gathering or just want to treat your family, this cake is the perfect solution. It’s quick, easy, and sure to impress everyone at the table!
Why You’ll Love This No-Bake Caramel Apple Icebox Cake
This No-Bake Caramel Apple Icebox Cake is a game-changer for busy days. It’s incredibly easy to make, requiring just a few simple steps. Plus, it’s a crowd-pleaser with its rich caramel flavor and fresh apple crunch. You can prepare it ahead of time, freeing you up for more important things. Trust me, this dessert will become your go-to for any occasion!
Ingredients for No-Bake Caramel Apple Icebox Cake
Gathering the right ingredients is the first step to creating this delightful No-Bake Caramel Apple Icebox Cake. Here’s what you’ll need:
- Graham Crackers: These provide a crunchy base and a hint of sweetness. They’re the perfect foundation for our layers.
- Heavy Whipping Cream: This is the star of the show! Whipping it creates a light and fluffy texture that complements the other ingredients beautifully.
- Caramel Sauce: You can use store-bought or homemade. It adds a rich, gooey sweetness that ties everything together.
- Apples: Fresh, crisp apples bring a refreshing crunch. I love using Granny Smith for their tartness, but feel free to choose your favorite variety!
- Cinnamon: A sprinkle of this warm spice enhances the flavor, giving it that cozy, autumn vibe.
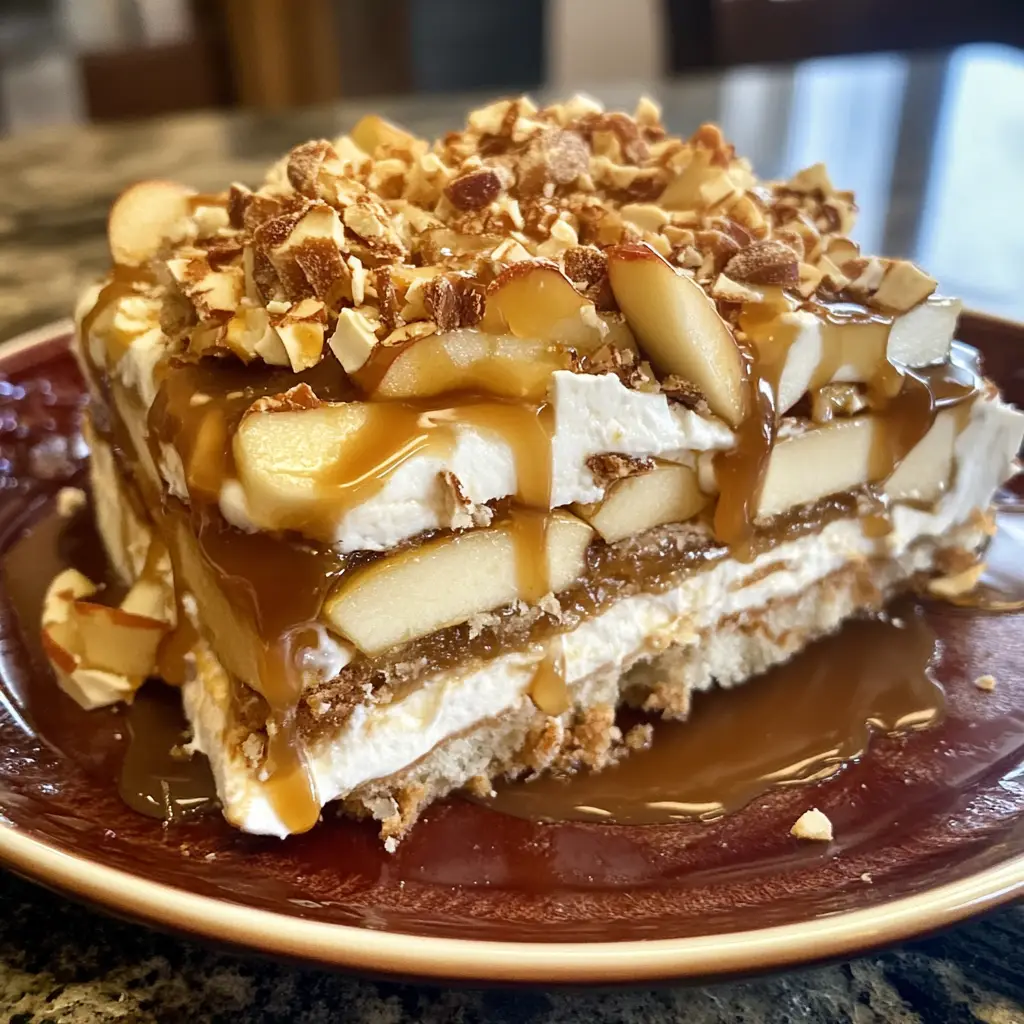
- Chopped Nuts (optional): Walnuts or pecans add a delightful crunch. If you have nut allergies, you can skip this ingredient without losing any charm.
For exact measurements, check the bottom of the article where you can find everything listed for easy printing. Happy cooking!
How to Make No-Bake Caramel Apple Icebox Cake
Now that you have all your ingredients ready, let’s dive into the fun part—making this No-Bake Caramel Apple Icebox Cake! Follow these simple steps, and you’ll have a delicious dessert that will wow your family and friends.
Step 1: Whip the Cream
Start by pouring the heavy whipping cream into a mixing bowl. Using an electric mixer, whip the cream until soft peaks form. This should take about 3-5 minutes. The cream should be fluffy and light, like a cloud! Be careful not to over-whip, or you’ll end up with butter instead of cream.
Step 2: Combine Caramel and Cinnamon
Next, gently fold in the caramel sauce and cinnamon into the whipped cream. Use a spatula to combine everything until it’s smooth and creamy. The caramel adds a luscious sweetness, while the cinnamon gives it that warm, cozy flavor. It’s like a hug in a bowl!
Step 3: Layer the Graham Crackers
Now, grab your 9×13 inch dish and start layering! Place a single layer of graham crackers at the bottom. Make sure they cover the entire base. This crunchy layer is the foundation of your cake, providing a delightful contrast to the creamy filling.
Step 4: Add the Caramel Cream Mixture
Spread a generous layer of the caramel cream mixture over the graham crackers. Use a spatula to smooth it out evenly. This layer is where the magic happens, as it brings all the flavors together. You’ll want to make sure every cracker is covered!
Step 5: Incorporate Diced Apples and Nuts
Now it’s time to add some crunch! Sprinkle a layer of diced apples over the caramel cream. If you’re using nuts, now’s the moment to add them too. The apples provide freshness, while the nuts add a delightful crunch. It’s a perfect balance of textures!
Step 6: Repeat the Layers
Repeat the layering process until you’ve used all your ingredients. Start with graham crackers, then the caramel cream, followed by apples and nuts. Finish with a final layer of the caramel cream on top. This creates a beautiful, multi-layered dessert that looks as good as it tastes!
Step 7: Chill and Set
Cover the dish with plastic wrap and pop it in the refrigerator. Let it chill for at least 4 hours, or overnight if you can wait! This step is crucial, as it allows the flavors to meld and the cake to set. Patience is key here, but trust me, it’s worth it!
Step 8: Serve and Enjoy
Once it’s set, slice the cake into squares and serve chilled. For an extra touch, drizzle some caramel sauce on top before serving. Your No-Bake Caramel Apple Icebox Cake is now ready to be devoured! Enjoy every bite of this sweet delight!
Tips for Success
- Use cold heavy cream for better whipping results.
- For a thicker texture, let the cake chill overnight.
- Experiment with different apple varieties for unique flavors.
- Drizzle extra caramel sauce just before serving for a beautiful presentation.
- Store leftovers in an airtight container in the fridge for up to three days.
Equipment Needed
- Mixing Bowl: A large bowl for whipping cream. A stand mixer bowl works too!
- Electric Mixer: For whipping the cream quickly. A whisk can work, but it’ll take longer.
- 9×13 Inch Dish: Perfect for layering. Any similar-sized dish will do.
- Spatula: Essential for spreading the cream mixture evenly.
Variations
- Fruit Swap: Try using pears or peaches instead of apples for a different flavor profile.
- Nut-Free Option: Omit the nuts for a nut-free dessert, perfect for those with allergies.
- Chocolate Lovers: Add chocolate chips or a layer of chocolate pudding for a decadent twist.
- Spice It Up: Experiment with nutmeg or ginger for a spicier flavor that complements the caramel.
- Vegan Version: Substitute heavy cream with coconut cream and use dairy-free caramel for a vegan-friendly treat.
Serving Suggestions
- Pair with a scoop of vanilla ice cream for a delightful contrast.
- Serve alongside a warm cup of spiced chai or apple cider for a cozy touch.
- Garnish with fresh mint leaves for a pop of color and freshness.
- Present in individual cups for a fun, personal touch at gatherings.
FAQs about No-Bake Caramel Apple Icebox Cake
Can I make this No-Bake Caramel Apple Icebox Cake in advance?
Absolutely! In fact, making it a day ahead enhances the flavors. Just cover it tightly and store it in the fridge until you’re ready to serve.
What type of apples work best for this recipe?
I recommend using Granny Smith apples for their tartness, but feel free to experiment with your favorites. Honeycrisp or Fuji apples also add a lovely sweetness!
Can I use a different type of cream?
While heavy whipping cream gives the best results, you can use a dairy-free alternative like coconut cream for a vegan version. Just make sure it’s well-chilled for whipping!
How long can I store leftovers?
Leftovers can be stored in an airtight container in the fridge for up to three days. Just be sure to keep it covered to maintain its freshness!
Is it possible to freeze this dessert?
While I don’t recommend freezing it, you can freeze individual slices. Just wrap them tightly in plastic wrap and store in a freezer-safe container. Thaw in the fridge before serving!
Final Thoughts
Creating this No-Bake Caramel Apple Icebox Cake is more than just making a dessert; it’s about bringing joy to your table. The layers of creamy caramel, crunchy apples, and graham crackers come together to create a delightful experience for everyone. I love how it can be prepared ahead of time, allowing you to focus on what truly matters—spending time with loved ones. Each slice is a reminder that simple ingredients can create something extraordinary. So, gather your family, slice into this sweet delight, and enjoy the smiles it brings. Happy baking!
Print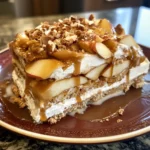
No-Bake Caramel Apple Icebox Cake: A Sweet Delight!
- Total Time: 4 hours 20 minutes
- Yield: 12 servings 1x
- Diet: Vegetarian
Description
A delicious and easy-to-make no-bake dessert featuring layers of caramel, apples, and cream, perfect for any occasion.
Ingredients
- 1 package of graham crackers
- 2 cups of heavy whipping cream
- 1 cup of caramel sauce
- 2 large apples, diced
- 1 teaspoon of cinnamon
- 1/2 cup of chopped nuts (optional)
Instructions
- In a mixing bowl, whip the heavy cream until soft peaks form.
- Fold in the caramel sauce and cinnamon until well combined.
- In a 9×13 inch dish, layer graham crackers at the bottom.
- Spread a layer of the caramel cream mixture over the graham crackers.
- Add a layer of diced apples and sprinkle with nuts if using.
- Repeat the layers until all ingredients are used, finishing with the caramel cream on top.
- Cover and refrigerate for at least 4 hours or overnight to set.
- Slice and serve chilled, drizzled with extra caramel sauce if desired.
Notes
- For a richer flavor, use homemade caramel sauce.
- Feel free to substitute apples with other fruits like pears or peaches.
- This dessert can be made a day in advance for convenience.
- Prep Time: 20 minutes
- Cook Time: 0 minutes
- Category: Dessert
- Method: No-Bake
- Cuisine: American
Nutrition
- Serving Size: 1 slice
- Calories: 250
- Sugar: 20g
- Sodium: 150mg
- Fat: 15g
- Saturated Fat: 10g
- Unsaturated Fat: 3g
- Trans Fat: 0g
- Carbohydrates: 30g
- Fiber: 1g
- Protein: 2g
- Cholesterol: 50mg
Keywords: No-Bake Caramel Apple Icebox Cake, dessert, caramel, apples, easy recipe