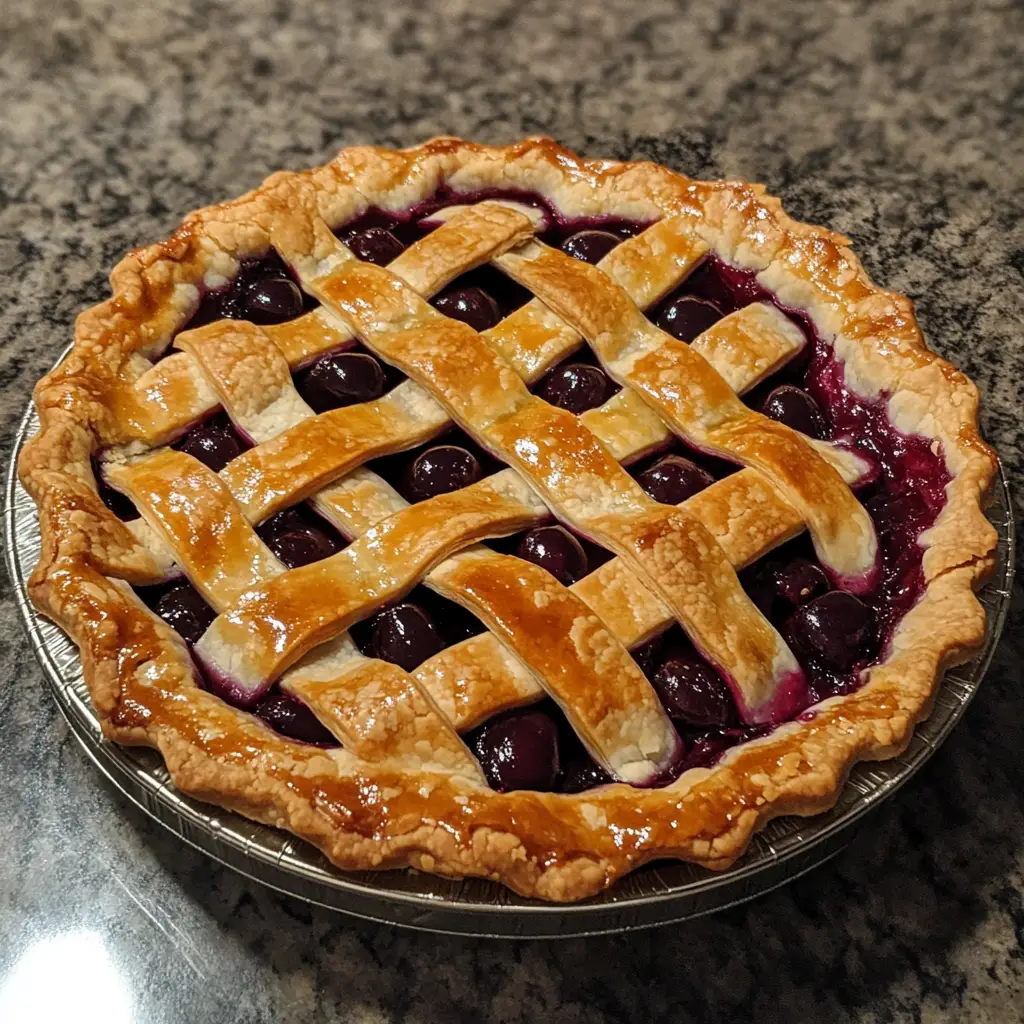
Introduction to Homemade Cherry Pie
There’s something magical about a slice of Homemade Cherry Pie that brings back memories of family gatherings and summer picnics. As a busy mom, I know how precious time can be, yet this delightful dessert is a quick solution for those hectic days when you want to impress your loved ones. The sweet-tart cherries nestled in a flaky crust create a symphony of flavors that will have everyone asking for seconds. Trust me, this recipe is not just about baking; it’s about creating moments that matter, one delicious slice at a time.
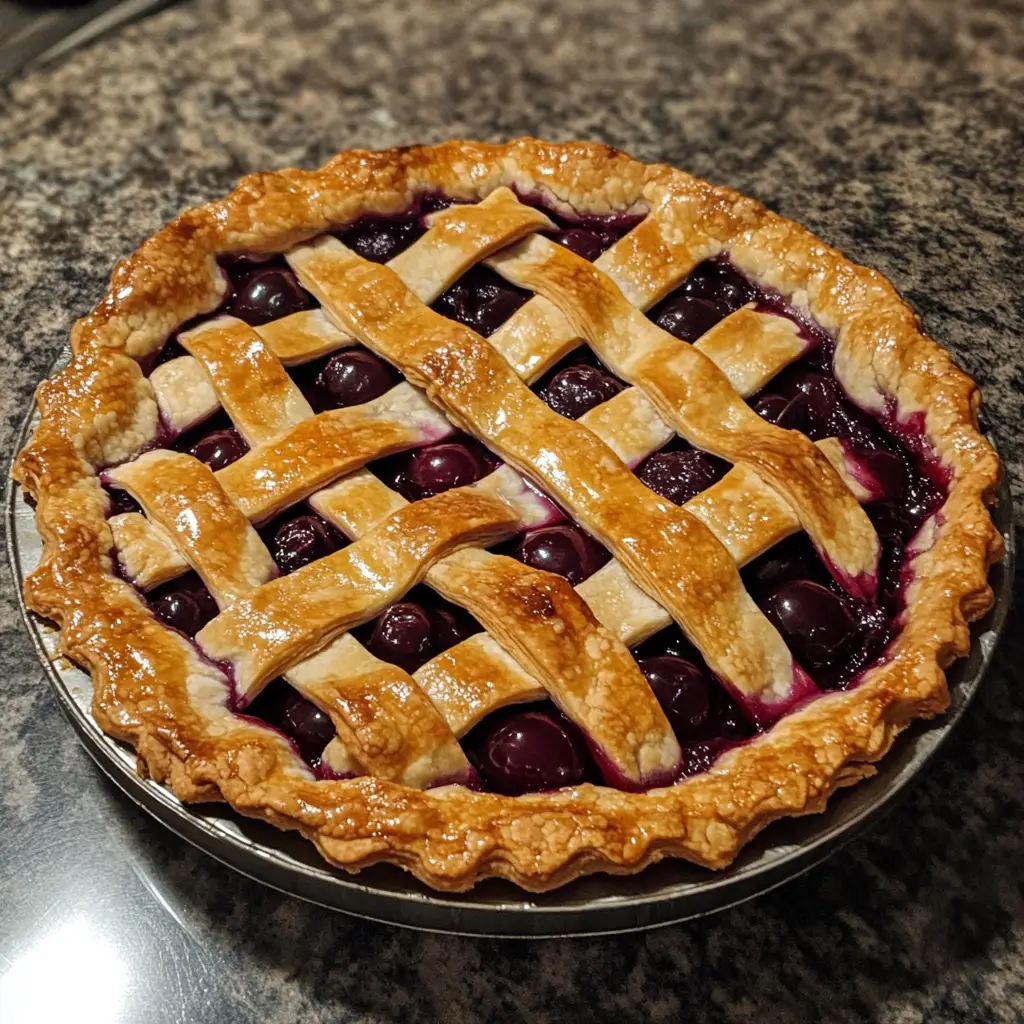
Why You’ll Love This Homemade Cherry Pie
This Homemade Cherry Pie is a delightful blend of simplicity and flavor. It comes together quickly, making it perfect for busy days when you crave something sweet. The vibrant cherries burst with flavor, while the buttery crust adds a comforting crunch. Plus, it’s a crowd-pleaser! Whether it’s a family dinner or a casual get-together, this pie will surely steal the show and warm hearts.
Ingredients for Homemade Cherry Pie
Gathering the right ingredients is the first step to creating your Homemade Cherry Pie. Here’s what you’ll need:
- Fresh or Frozen Cherries: The star of the show! Use ripe, sweet cherries for the best flavor. Frozen cherries work just as well if fresh ones aren’t available.
- Granulated Sugar: This sweetener balances the tartness of the cherries. Adjust the amount based on the sweetness of your fruit.
- Cornstarch: A thickening agent that helps create a luscious filling. It ensures your pie isn’t too runny.
- Lemon Juice: A splash of acidity brightens the flavors and enhances the cherries’ natural sweetness.
- Vanilla Extract: Adds a warm, comforting aroma that complements the cherries beautifully.
- Almond Extract: Just a hint of this nutty flavor elevates the pie to a whole new level. It’s optional but highly recommended!
- Butter: A little dot of butter on top of the filling adds richness and helps create a golden crust.
- Pie Crusts: You can use store-bought for convenience or make your own if you’re feeling adventurous. Either way, it’s the perfect vessel for your cherry filling.
For exact measurements, check the bottom of the article where you can find everything listed for easy printing. Happy baking!
How to Make Homemade Cherry Pie
Step 1: Preheat the Oven
Preheating your oven is a crucial first step in making a perfect Homemade Cherry Pie. Set it to 425°F (220°C). This ensures that your pie bakes evenly and the crust turns golden brown. A hot oven helps the crust rise beautifully, creating that flaky texture we all love. Trust me, you don’t want to skip this step!
Step 2: Prepare the Cherry Filling
Now, let’s dive into the heart of the pie—the cherry filling! In a large bowl, combine your cherries, sugar, cornstarch, lemon juice, vanilla extract, and almond extract. Gently mix everything together until the cherries are well-coated. This step is essential as it allows the flavors to meld beautifully. The cornstarch will help thicken the filling as it bakes, preventing a soggy pie.
Step 3: Roll Out the Pie Crust
Next, it’s time to roll out your pie crust. If you’re using store-bought crusts, take one out and let it sit for a few minutes to soften. Lightly flour your countertop and roll it out to fit your pie dish. Aim for about a 12-inch circle. Carefully place the crust in the dish, pressing it gently into the corners. This is where your cherry filling will shine!
Step 4: Assemble the Pie
Pour the cherry mixture into the pie crust, spreading it evenly. Don’t forget to dot the filling with small pieces of butter; this adds richness and flavor. Now, roll out the second pie crust and place it over the filling. Seal the edges by crimping them with your fingers or a fork. This not only looks pretty but keeps the filling from bubbling over!
Step 5: Cut Slits and Bake
Before baking, cut slits in the top crust. This allows steam to escape and prevents the pie from becoming soggy. You can create a simple lattice pattern or just a few slits for a classic look. Bake your pie in the preheated oven for 30-35 minutes, or until the crust is golden brown and the filling is bubbling. The aroma will fill your kitchen, making it hard to wait!
Step 6: Cool and Serve
Once your pie is out of the oven, let it cool for at least 30 minutes. This cooling time allows the filling to set, making it easier to slice. Serve your Homemade Cherry Pie warm or at room temperature. It’s delightful on its own, but a scoop of vanilla ice cream or a dollop of whipped cream takes it to the next level. Enjoy every bite!
Tips for Success
- Use a mix of sweet and tart cherries for a balanced flavor.
- Chill your pie crust before rolling it out for easier handling.
- Don’t skip the butter on top of the filling; it adds richness.
- Let the pie cool completely before slicing to avoid a runny filling.
- Experiment with spices like cinnamon or nutmeg for added warmth.

Equipment Needed
- Pie Dish: A standard 9-inch pie dish works best. If you don’t have one, a round baking dish will do.
- Rolling Pin: Essential for rolling out your crust. A wine bottle can be a fun alternative!
- Mixing Bowl: Any large bowl will suffice for mixing your cherry filling.
- Knife: For cutting slits in the crust. A pizza cutter can also work wonders!
Variations of Homemade Cherry Pie
- Almond Cherry Pie: Add a handful of sliced almonds to the cherry filling for a delightful crunch and nutty flavor.
- Chocolate Cherry Pie: Mix in some chocolate chips with the cherries for a rich, decadent twist that chocolate lovers will adore.
- Gluten-Free Cherry Pie: Use a gluten-free pie crust to make this dessert suitable for those with gluten sensitivities.
- Vegan Cherry Pie: Substitute butter with coconut oil or vegan butter and use a plant-based pie crust for a delicious vegan option.
- Spiced Cherry Pie: Add a pinch of cinnamon or nutmeg to the filling for a warm, cozy flavor that’s perfect for fall.
Serving Suggestions for Homemade Cherry Pie
- Pair your pie with a scoop of vanilla ice cream for a classic dessert experience.
- Serve with freshly whipped cream for a light and airy touch.
- Drizzle with chocolate sauce for an indulgent twist.
- Accompany with a cup of coffee or tea for a cozy afternoon treat.
- Garnish with mint leaves for a pop of color and freshness.
FAQs about Homemade Cherry Pie
Can I use frozen cherries for my Homemade Cherry Pie?
Absolutely! Frozen cherries work wonderfully in this recipe. Just make sure to thaw and drain them before mixing with the other ingredients. This way, you’ll avoid excess moisture in your pie.
How do I know when my pie is done baking?
Your Homemade Cherry Pie is ready when the crust is golden brown and the filling is bubbling through the slits. The aroma wafting through your kitchen will also be a good indicator!
Can I make the pie crust from scratch?
Of course! Making your own pie crust can add a personal touch. Just remember to keep your ingredients cold for a flaky texture. If you’re short on time, store-bought crusts are a great alternative.
How should I store leftovers?
Store any leftover pie in the refrigerator, covered, for up to three days. Just reheat slices in the oven for a few minutes to enjoy that fresh-baked taste again!
What can I do with leftover cherry filling?
If you have extra filling, it’s perfect for topping pancakes, yogurt, or even ice cream. Get creative and enjoy the sweet cherry goodness in different ways!
Final Thoughts
Baking a Homemade Cherry Pie is more than just a recipe; it’s a heartfelt experience that brings joy to your kitchen. The aroma of cherries mingling with buttery crust fills the air, creating a warm atmosphere that invites family and friends to gather. Each slice tells a story, whether it’s a cherished family tradition or a new memory in the making. So, roll up your sleeves, embrace the mess, and enjoy the process. This pie is not just a dessert; it’s a celebration of love, laughter, and the simple pleasures that make life sweet.
Print
Homemade Cherry Pie: Discover the Secret Recipe Today!
- Total Time: 55 minutes
- Yield: 8 servings 1x
- Diet: Vegetarian
Description
A delicious and easy-to-make homemade cherry pie that is perfect for any occasion.
Ingredients
- 2 cups fresh or frozen cherries
- 1 cup granulated sugar
- 2 tablespoons cornstarch
- 1 tablespoon lemon juice
- 1 teaspoon vanilla extract
- 1/4 teaspoon almond extract
- 1 tablespoon butter
- 1 package pie crusts (2 crusts)
Instructions
- Preheat the oven to 425°F (220°C).
- In a large bowl, combine cherries, sugar, cornstarch, lemon juice, vanilla extract, and almond extract.
- Roll out one pie crust and place it in a pie dish.
- Pour the cherry mixture into the pie crust and dot with butter.
- Roll out the second pie crust and place it over the filling. Seal and flute the edges.
- Cut slits in the top crust to allow steam to escape.
- Bake for 30-35 minutes or until the crust is golden brown.
- Let cool before serving.
Notes
- For a sweeter pie, adjust the sugar according to the tartness of the cherries.
- Serve with whipped cream or vanilla ice cream for added flavor.
- Store leftovers in the refrigerator for up to 3 days.
- Prep Time: 20 minutes
- Cook Time: 35 minutes
- Category: Dessert
- Method: Baking
- Cuisine: American
Nutrition
- Serving Size: 1 slice
- Calories: 250
- Sugar: 20g
- Sodium: 150mg
- Fat: 10g
- Saturated Fat: 4g
- Unsaturated Fat: 6g
- Trans Fat: 0g
- Carbohydrates: 36g
- Fiber: 2g
- Protein: 2g
- Cholesterol: 15mg
Keywords: Homemade Cherry Pie, Cherry Pie Recipe, Easy Cherry Pie