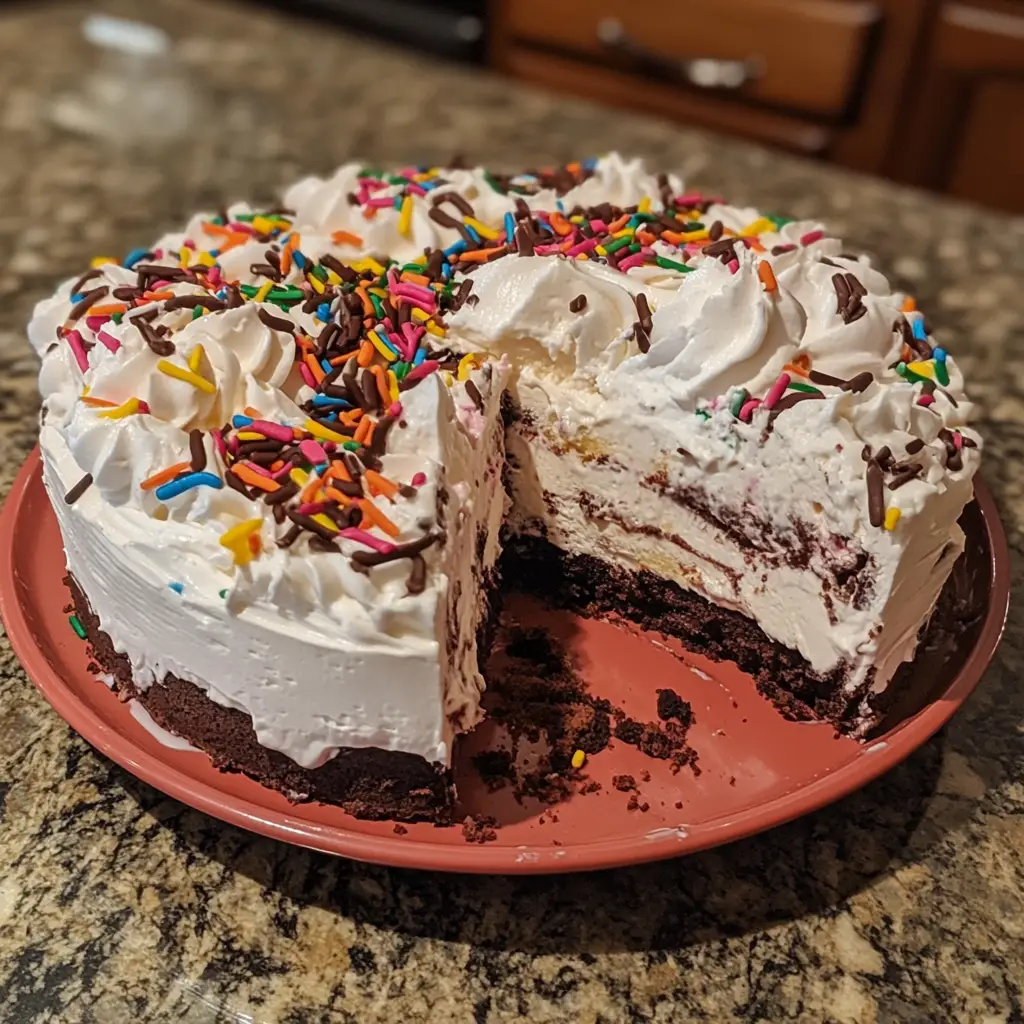
Introduction to Copycat Dairy Queen Ice Cream Cake
As a busy mom, I know how important it is to have quick and delightful desserts on hand. That’s why I absolutely love this Copycat Dairy Queen Ice Cream Cake! It’s a nostalgic treat that brings back sweet memories of childhood celebrations. This recipe is not only easy to whip up, but it also impresses family and friends alike. Whether it’s a birthday, anniversary, or just a Tuesday, this cake is the perfect way to add a little joy to your day. Trust me, everyone will be asking for seconds!
Why You’ll Love This Copycat Dairy Queen Ice Cream Cake
This Copycat Dairy Queen Ice Cream Cake is a lifesaver for busy days. It combines the rich flavors of chocolate and vanilla, creating a delightful harmony that everyone loves. Plus, it’s incredibly easy to make! With just a few simple steps, you can create a stunning dessert that looks like it came from a bakery. It’s the perfect treat to satisfy sweet cravings without the fuss!
Ingredients for Copycat Dairy Queen Ice Cream Cake
Gathering the right ingredients is the first step to creating this delightful Copycat Dairy Queen Ice Cream Cake. Here’s what you’ll need:
- Chocolate cake mix: This is the base of your cake, providing a rich, chocolatey flavor that pairs perfectly with ice cream.
- Vegetable oil: This adds moisture to the cake, ensuring it stays soft and tender.
- Large eggs: Eggs help bind the ingredients together and contribute to the cake’s structure.
- Water: A key ingredient in the cake mix, it helps activate the dry ingredients for a fluffy texture.
- Vanilla ice cream: This creamy layer adds a classic flavor that balances the richness of the chocolate.
- Chocolate ice cream: For that indulgent touch, this layer brings a double dose of chocolate goodness.
- Whipped topping: This light and airy frosting covers the cake, giving it that signature look and taste.
- Chocolate syrup: A drizzle on top adds a sweet finishing touch and makes it visually appealing.
- Sprinkles: These are optional but add a fun, festive flair to your cake.
For exact measurements, check the bottom of the article where you can find everything you need for printing. Feel free to get creative with your ice cream flavors or even try a gluten-free cake mix if you have dietary preferences!
How to Make Copycat Dairy Queen Ice Cream Cake
Now that you have your ingredients ready, let’s dive into the fun part—making this Copycat Dairy Queen Ice Cream Cake! Follow these simple steps, and you’ll have a show-stopping dessert that everyone will love.
Step 1: Preheat the Oven
First things first, preheat your oven to 350°F (175°C). Preheating is crucial because it ensures your cake bakes evenly. A hot oven helps the cake rise beautifully, giving it that perfect fluffy texture we all crave.
Step 2: Prepare the Cake Mix
Next, grab your chocolate cake mix and follow the package instructions. Typically, you’ll mix the cake mix with vegetable oil, eggs, and water. Stir until everything is well combined. Don’t worry if it looks a bit lumpy; that’s normal! Just make sure there are no dry spots.
Step 3: Bake the Cake
Pour the batter evenly into two 9-inch round cake pans. Bake them in your preheated oven for about 30 minutes. To check for doneness, insert a toothpick into the center of the cakes. If it comes out clean, they’re ready! If not, give them a few more minutes.
Step 4: Cool the Cakes
Once baked, remove the cakes from the oven and let them cool in the pans for about 10 minutes. Then, transfer them to a wire rack to cool completely. This step is vital! If you skip it, the ice cream will melt when you assemble the cake.
Step 5: Assemble the Cake
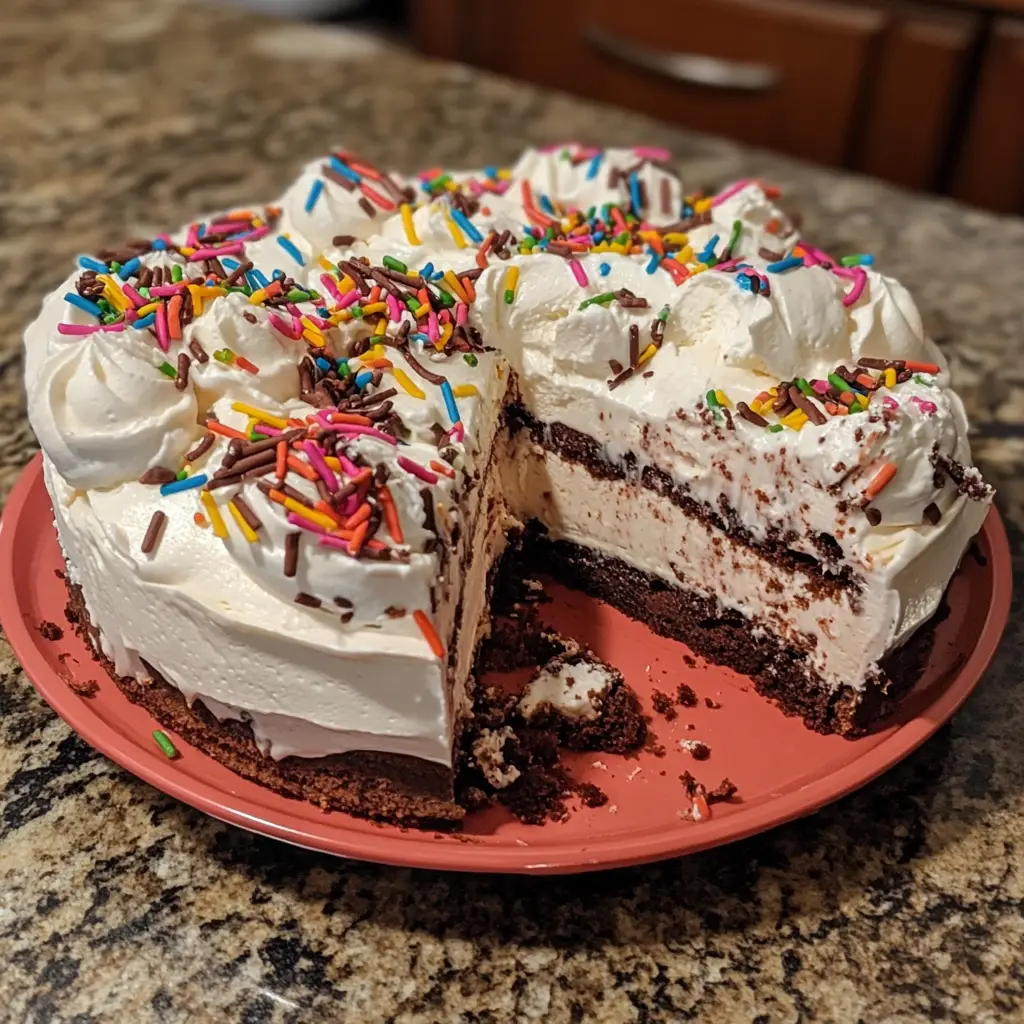
Now comes the fun part! Place one cake layer on a serving plate. Spread a generous layer of vanilla ice cream on top. Then, gently place the second cake layer on top of the ice cream. Next, spread a layer of chocolate ice cream over the second cake layer. This combination of flavors is what makes this Copycat Dairy Queen Ice Cream Cake so special!
Step 6: Frost the Cake
Cover the entire cake with whipped topping. Use a spatula to smooth it out, making it look nice and pretty. Drizzle chocolate syrup over the top and sprinkle with colorful sprinkles for that festive touch. It’s like a party on a plate!
Step 7: Freeze the Cake
Finally, pop the cake into the freezer for at least 2 hours. This step is essential for achieving the right texture. When you slice into it later, you want it to hold its shape and not turn into a melty mess. Trust me, the wait will be worth it!
Tips for Success
- Let the ice cream soften for about 10 minutes before spreading. This makes it easier to work with.
- Use a serrated knife to slice the cake. It helps create clean, even slices.
- For a fun twist, try adding crushed cookies or candy between the layers.
- Keep the cake covered in the freezer to prevent freezer burn.
- Don’t rush the freezing time; it’s key for the perfect texture!\

Equipment Needed
- 9-inch round cake pans: If you don’t have these, any similar-sized baking dish will work.
- Mixing bowl: A large bowl is essential for mixing your cake batter.
- Spatula: Use this for spreading ice cream and frosting; a butter knife can work too.
- Wire rack: This helps cool the cakes evenly; a plate can substitute in a pinch.
- Toothpick: For checking cake doneness; a fork can also do the trick!
Variations of Copycat Dairy Queen Ice Cream Cake
- Fruit Flavors: Swap out the vanilla and chocolate ice cream for strawberry or mint chocolate chip for a refreshing twist.
- Gluten-Free Option: Use a gluten-free chocolate cake mix to make this dessert suitable for those with gluten sensitivities.
- Layered Delight: Add a layer of crushed cookies or brownies between the ice cream layers for extra texture and flavor.
- Nutty Addition: Sprinkle chopped nuts, like almonds or walnuts, between the layers for a delightful crunch.
- Vegan Version: Use a vegan chocolate cake mix and dairy-free ice cream to create a plant-based version of this cake.
Serving Suggestions for Copycat Dairy Queen Ice Cream Cake
- Pair with fresh berries for a burst of color and flavor.
- Serve alongside a scoop of extra ice cream for the ultimate indulgence.
- Drizzle with caramel sauce for a sweet contrast to the chocolate.
- Offer coffee or hot chocolate as a warm beverage option.
- Garnish with mint leaves for a refreshing touch.
FAQs about Copycat Dairy Queen Ice Cream Cake
Can I use different flavors of ice cream for this cake?
Absolutely! One of the best things about this Copycat Dairy Queen Ice Cream Cake is its versatility. You can mix and match your favorite ice cream flavors. Try strawberry, mint chocolate chip, or even cookie dough for a fun twist!
How long can I keep the cake in the freezer?
This cake can be stored in the freezer for up to a week. Just make sure to cover it well to prevent freezer burn. It’s a great make-ahead dessert for busy weeks!
Can I make this cake ahead of time?
<pYes, you can! In fact, making it a day in advance allows the flavors to meld beautifully. Just remember to freeze it for at least 2 hours before serving to ensure it holds its shape.
What can I use instead of whipped topping?
If you prefer a homemade touch, you can whip up some heavy cream with a bit of sugar and vanilla extract. It’s a delicious alternative that adds a personal flair to your Copycat Dairy Queen Ice Cream Cake!
Is this cake suitable for kids?
<pDefinitely! This cake is a hit with kids and adults alike. The combination of chocolate and ice cream is always a crowd-pleaser, making it perfect for birthday parties or family gatherings.
Final Thoughts
Creating this Copycat Dairy Queen Ice Cream Cake is more than just baking; it’s about making memories. The joy on my family’s faces when they take that first bite is priceless. This cake brings everyone together, whether it’s a birthday celebration or a simple family dinner. Plus, it’s so easy to make that even the busiest of moms can whip it up without breaking a sweat. So, gather your loved ones, slice into this delightful dessert, and enjoy the sweet moments that come with it. Trust me, it’s a treat you’ll want to make again and again!
Print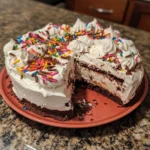
Copycat Dairy Queen Ice Cream Cake Recipe You Must Try!
- Total Time: 3 hours
- Yield: 12 servings 1x
- Diet: Vegetarian
Description
A delicious homemade version of the classic Dairy Queen Ice Cream Cake, perfect for any celebration.
Ingredients
- 1 box chocolate cake mix
- 1/2 cup vegetable oil
- 3 large eggs
- 1 cup water
- 1 quart vanilla ice cream
- 1 quart chocolate ice cream
- 1 container whipped topping
- Chocolate syrup for drizzling
- Sprinkles for decoration
Instructions
- Preheat the oven to 350°F (175°C).
- Prepare the chocolate cake mix according to package instructions and bake in two 9-inch round cake pans.
- Once baked, let the cakes cool completely.
- Remove one cake layer from the pan and place it on a serving plate.
- Spread a layer of vanilla ice cream on top of the first cake layer.
- Place the second cake layer on top of the vanilla ice cream.
- Spread a layer of chocolate ice cream on top of the second cake layer.
- Cover the entire cake with whipped topping.
- Drizzle chocolate syrup over the top and add sprinkles for decoration.
- Freeze the cake for at least 2 hours before serving.
Notes
- For best results, let the ice cream soften slightly before spreading.
- You can customize the cake with different flavors of ice cream.
- Make sure to freeze the cake long enough for it to hold its shape when sliced.
- Prep Time: 30 minutes
- Cook Time: 30 minutes
- Category: Dessert
- Method: Baking and Freezing
- Cuisine: American
Nutrition
- Serving Size: 1 slice
- Calories: 350
- Sugar: 30g
- Sodium: 200mg
- Fat: 15g
- Saturated Fat: 8g
- Unsaturated Fat: 5g
- Trans Fat: 0g
- Carbohydrates: 50g
- Fiber: 1g
- Protein: 4g
- Cholesterol: 50mg
Keywords: Copycat Dairy Queen Ice Cream Cake, Ice Cream Cake Recipe, Homemade Ice Cream Cake