
Introduction to Cookies & Cream Oreo Doughnuts
Hey there, fellow dessert lovers! If you’re anything like me, you know that life can get pretty hectic. Between juggling work, family, and everything in between, finding time to whip up something special can feel impossible. That’s where these Cookies & Cream Oreo Doughnuts come in! They’re not just delicious; they’re a quick solution for a busy day or a delightful treat to impress your loved ones. Imagine biting into a soft, chocolatey doughnut, bursting with the classic flavors of cookies and cream. Trust me, these doughnuts will become your new go-to recipe!
Why You’ll Love This Cookies & Cream Oreo Doughnuts
These Cookies & Cream Oreo Doughnuts are a dream come true for busy moms and professionals alike! They’re incredibly easy to make, taking just 27 minutes from start to finish. Plus, the rich, chocolatey flavor combined with crunchy Oreo bits is simply irresistible. Whether you’re treating yourself or surprising your family, these doughnuts will bring smiles all around. Who knew something so delightful could be so quick and simple?
Ingredients for Cookies & Cream Oreo Doughnuts
Let’s gather our ingredients for these delightful Cookies & Cream Oreo Doughnuts. Each one plays a vital role in creating that perfect balance of flavor and texture. Here’s what you’ll need:
- All-purpose flour: This is the backbone of our doughnuts, giving them structure and a soft crumb.
- Granulated sugar: Sweetness is key! It helps balance the cocoa and enhances the overall flavor.
- Milk: Adds moisture and richness, making the doughnuts tender and delicious.
- Unsweetened cocoa powder: This gives our doughnuts that deep chocolate flavor that pairs perfectly with Oreos.
- Vegetable oil: Keeps the doughnuts moist and adds a lovely texture.
- Large egg: Acts as a binding agent, helping everything come together beautifully.
- Baking powder: This leavening agent ensures our doughnuts rise to fluffy perfection.
- Baking soda: Works alongside the baking powder for that extra lift.
- Salt: Just a pinch enhances all the flavors, making them pop!
- Crushed Oreo cookies: The star of the show! These add that signature cookies and cream flavor and delightful crunch.
- Powdered sugar: Essential for our creamy glaze, giving it that sweet finish.
- Milk (for glaze): Helps achieve the perfect consistency for dipping.
- Vanilla extract: A splash of this adds depth and warmth to the glaze.
For exact measurements, check the bottom of the article where you can find everything listed for easy printing. Feel free to get creative! You can swap in whole wheat flour for a healthier twist or use almond milk for a dairy-free option. The possibilities are endless!

How to Make Cookies & Cream Oreo Doughnuts
Now that we have our ingredients ready, let’s dive into the fun part—making these Cookies & Cream Oreo Doughnuts! Follow these simple steps, and you’ll have a batch of deliciousness in no time.
Step 1: Preheat and Prepare
First things first, preheat your oven to 350°F (175°C). This is crucial for getting those doughnuts perfectly baked. While the oven warms up, grease your doughnut pan. A little oil or cooking spray will do the trick, ensuring your doughnuts pop out easily.
Step 2: Mix Dry Ingredients
In a mixing bowl, combine the all-purpose flour, granulated sugar, unsweetened cocoa powder, baking powder, baking soda, and salt. This mixture creates the base for your doughnuts. Whisk it together until everything is well blended. The cocoa powder will give your doughnuts that rich chocolatey flavor!
Step 3: Combine Wet Ingredients
In another bowl, whisk together the milk, vegetable oil, and egg. This step adds moisture and richness to your doughnuts. Make sure to mix well until everything is combined. You want a smooth, creamy texture that will make your doughnuts tender and delightful.
Step 4: Combine Wet and Dry Mixtures
Now, pour the wet ingredients into the dry ingredients. Gently mix until just combined. Be careful not to overmix; a few lumps are perfectly fine! This step is crucial for fluffy doughnuts, so take your time and enjoy the process.
Step 5: Fold in Crushed Oreos
Here comes the fun part! Gently fold in the crushed Oreo cookies. This is what gives your doughnuts that signature cookies and cream flavor. The little bits of Oreo will add a delightful crunch and sweetness that you won’t be able to resist.
Step 6: Fill the Doughnut Pan
Next, fill your greased doughnut pan with the batter. You can use a piping bag or a spoon to make this easier. Bake for 10-12 minutes, or until a toothpick inserted comes out clean. This is where the magic happens, and your kitchen will start to smell heavenly!
Step 7: Cool and Glaze
Once baked, let the doughnuts cool in the pan for a few minutes before transferring them to a wire rack. This helps them set perfectly. While they cool, prepare the glaze by mixing powdered sugar, milk, and vanilla extract until smooth. This sweet finish is what makes these doughnuts truly irresistible!
Step 8: Final Touches
Finally, dip the cooled doughnuts in the glaze. If you’re feeling extra indulgent, top them with additional crushed Oreos. This final touch not only looks beautiful but adds even more flavor. Trust me, your family and friends will be begging for seconds!
Tips for Success
- Measure your ingredients accurately for the best results.
- Don’t overmix the batter; it should be just combined for fluffy doughnuts.
- Let the doughnuts cool completely before glazing to prevent the glaze from melting.
- Experiment with different toppings like sprinkles or chocolate chips for variety.
- Store leftovers in an airtight container to keep them fresh and delicious.
Equipment Needed
- Doughnut pan: Essential for shaping your doughnuts. If you don’t have one, a muffin tin works in a pinch!
- Mixing bowls: You’ll need a couple for combining wet and dry ingredients.
- Whisk: Perfect for blending ingredients smoothly. A fork can work too!
- Measuring cups and spoons: Accurate measurements are key for baking success.
- Cooling rack: Helps your doughnuts cool evenly. A plate can substitute if needed.
Variations
- Gluten-free: Substitute all-purpose flour with a gluten-free blend to make these doughnuts suitable for gluten-sensitive friends.
- Vegan: Replace the egg with a flax egg (1 tablespoon ground flaxseed mixed with 2.5 tablespoons water) and use almond or soy milk instead of regular milk.
- Minty Oreo Doughnuts: Add a few drops of peppermint extract to the batter for a refreshing twist on the classic flavor.
- Chocolate Glaze: For an extra chocolatey experience, mix cocoa powder into the glaze for a rich chocolate finish.
- Stuffed Doughnuts: Fill the center with a dollop of whipped cream or chocolate ganache for a surprise treat in every bite!
Serving Suggestions
- Pair these Cookies & Cream Oreo Doughnuts with a tall glass of cold milk for a classic treat.
- Serve them alongside fresh fruit for a balanced breakfast or snack.
- For a fun presentation, arrange the doughnuts on a colorful platter and sprinkle with extra crushed Oreos.
- Drizzle some chocolate sauce over the top for an indulgent touch.
- Enjoy them warm for a delightful melt-in-your-mouth experience!
FAQs about Cookies & Cream Oreo Doughnuts
As you embark on your journey to make these delightful Cookies & Cream Oreo Doughnuts, you might have a few questions. Here are some common queries that I’ve encountered, along with helpful answers to guide you along the way!
Can I use a different type of cookie instead of Oreos?
Absolutely! While Oreos are the star of this recipe, feel free to experiment with other cookies like chocolate sandwich cookies or even homemade cookies. Just keep in mind that the flavor will change slightly.
How do I store leftover doughnuts?
To keep your doughnuts fresh, store them in an airtight container at room temperature for up to three days. If you want to keep them longer, you can freeze them for up to a month. Just thaw them at room temperature before enjoying!
Can I make these doughnuts ahead of time?
Yes! You can prepare the batter the night before and store it in the fridge. Just give it a good stir before filling the doughnut pan. Alternatively, bake them ahead of time and glaze them just before serving for the best taste.
What can I use if I don’t have a doughnut pan?
If you don’t have a doughnut pan, don’t fret! You can use a muffin tin instead. Just fill the cups about halfway and bake. You’ll have delicious doughnut muffins that are just as tasty!
Can I make these doughnuts gluten-free?
Yes, you can! Simply substitute the all-purpose flour with a gluten-free flour blend. This way, everyone can enjoy these scrumptious Cookies & Cream Oreo Doughnuts without worry!
Final Thoughts
Making these Cookies & Cream Oreo Doughnuts is more than just baking; it’s about creating joyful moments in your kitchen. The delightful aroma wafting through your home will bring smiles to your family’s faces, and the first bite will transport you back to carefree childhood days. Whether you’re enjoying them with a cup of coffee or sharing them at a gathering, these doughnuts are sure to be a hit. So, roll up your sleeves, embrace the mess, and let the magic of baking fill your heart with happiness. You deserve this sweet treat!
Print
Cookies & Cream Oreo Doughnuts You Can’t Resist!
- Total Time: 27 minutes
- Yield: 12 doughnuts 1x
- Diet: Vegetarian
Description
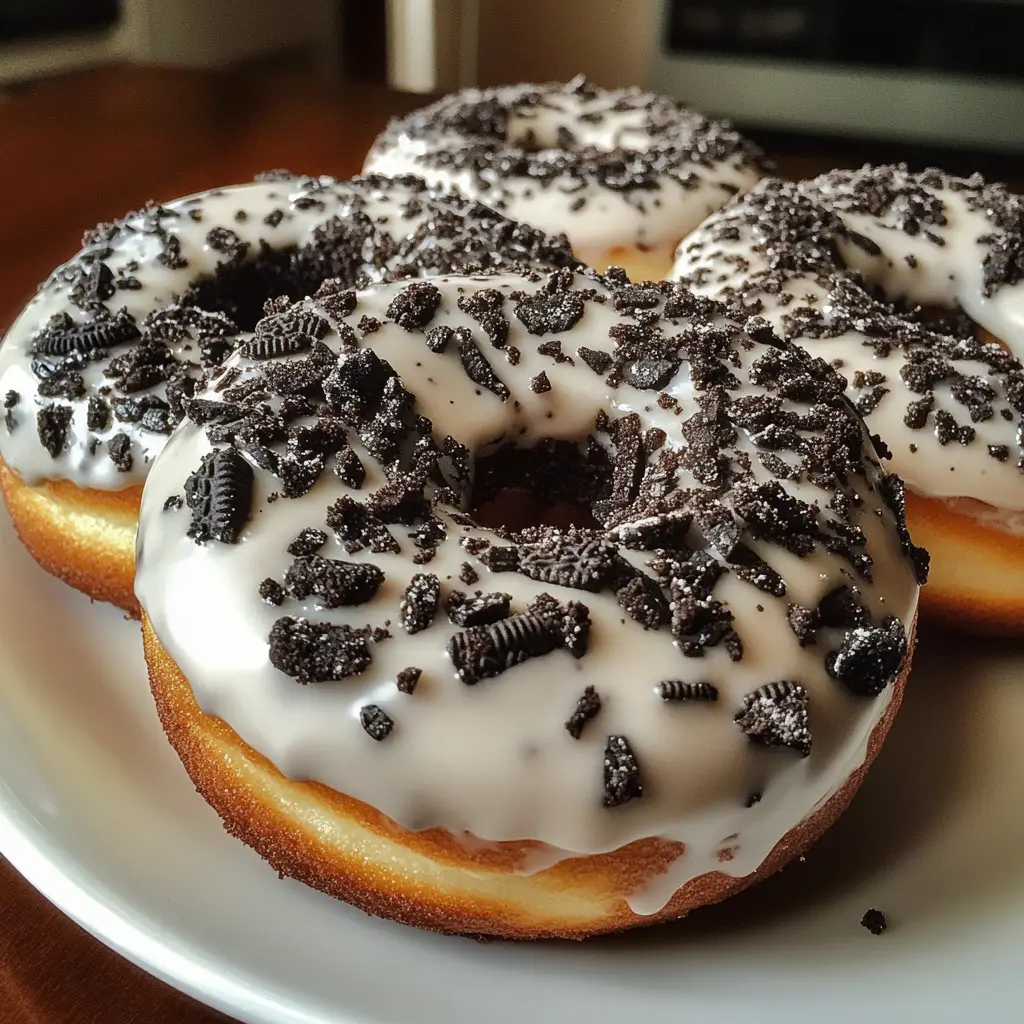
Delicious doughnuts infused with the classic flavors of cookies and cream, featuring crushed Oreo cookies and a creamy glaze.
Ingredients
- 1 cup all-purpose flour
- 1/2 cup granulated sugar
- 1/2 cup milk
- 1/4 cup unsweetened cocoa powder
- 1/4 cup vegetable oil
- 1 large egg
- 1 tsp baking powder
- 1/2 tsp baking soda
- 1/4 tsp salt
- 1 cup crushed Oreo cookies
- 1/2 cup powdered sugar (for glaze)
- 2 tbsp milk (for glaze)
- 1/4 tsp vanilla extract (for glaze)
Instructions
- Preheat the oven to 350°F (175°C) and grease a doughnut pan.
- In a mixing bowl, combine flour, sugar, cocoa powder, baking powder, baking soda, and salt.
- In another bowl, whisk together milk, vegetable oil, and egg.
- Pour the wet ingredients into the dry ingredients and mix until just combined.
- Fold in the crushed Oreo cookies.
- Fill the doughnut pan with the batter and bake for 10-12 minutes.
- Let the doughnuts cool before glazing.
- For the glaze, mix powdered sugar, milk, and vanilla extract until smooth.
- Dip the cooled doughnuts in the glaze and top with additional crushed Oreos if desired.
Notes
- Store leftover doughnuts in an airtight container for up to 3 days.
- For a richer flavor, add more crushed Oreos to the batter.
- These doughnuts can be made ahead of time and frozen.
- Prep Time: 15 minutes
- Cook Time: 12 minutes
- Category: Dessert
- Method: Baking
- Cuisine: American
Nutrition
- Serving Size: 1 doughnut
- Calories: 180
- Sugar: 12g
- Sodium: 150mg
- Fat: 7g
- Saturated Fat: 1g
- Unsaturated Fat: 6g
- Trans Fat: 0g
- Carbohydrates: 25g
- Fiber: 1g
- Protein: 2g
- Cholesterol: 20mg
Keywords: Cookies & Cream, Oreo, Doughnuts, Dessert, Baking


