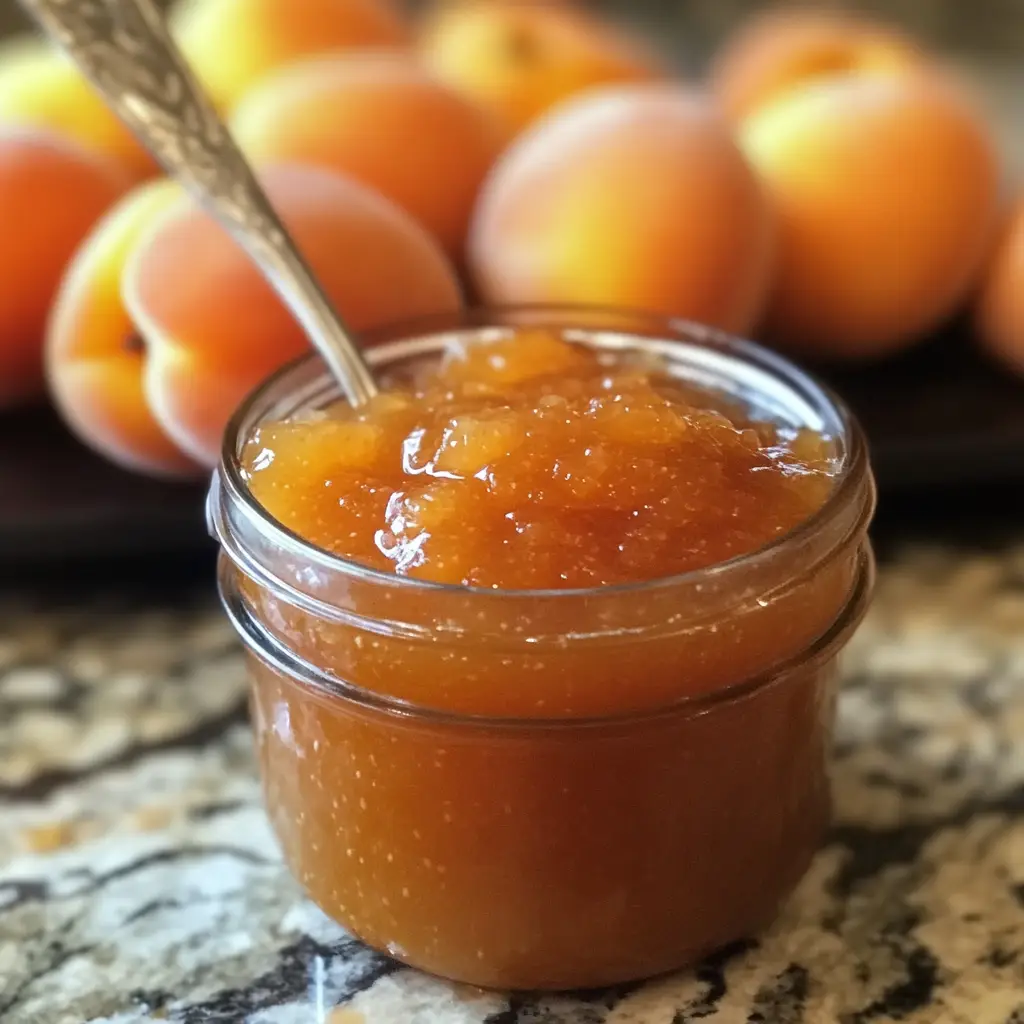
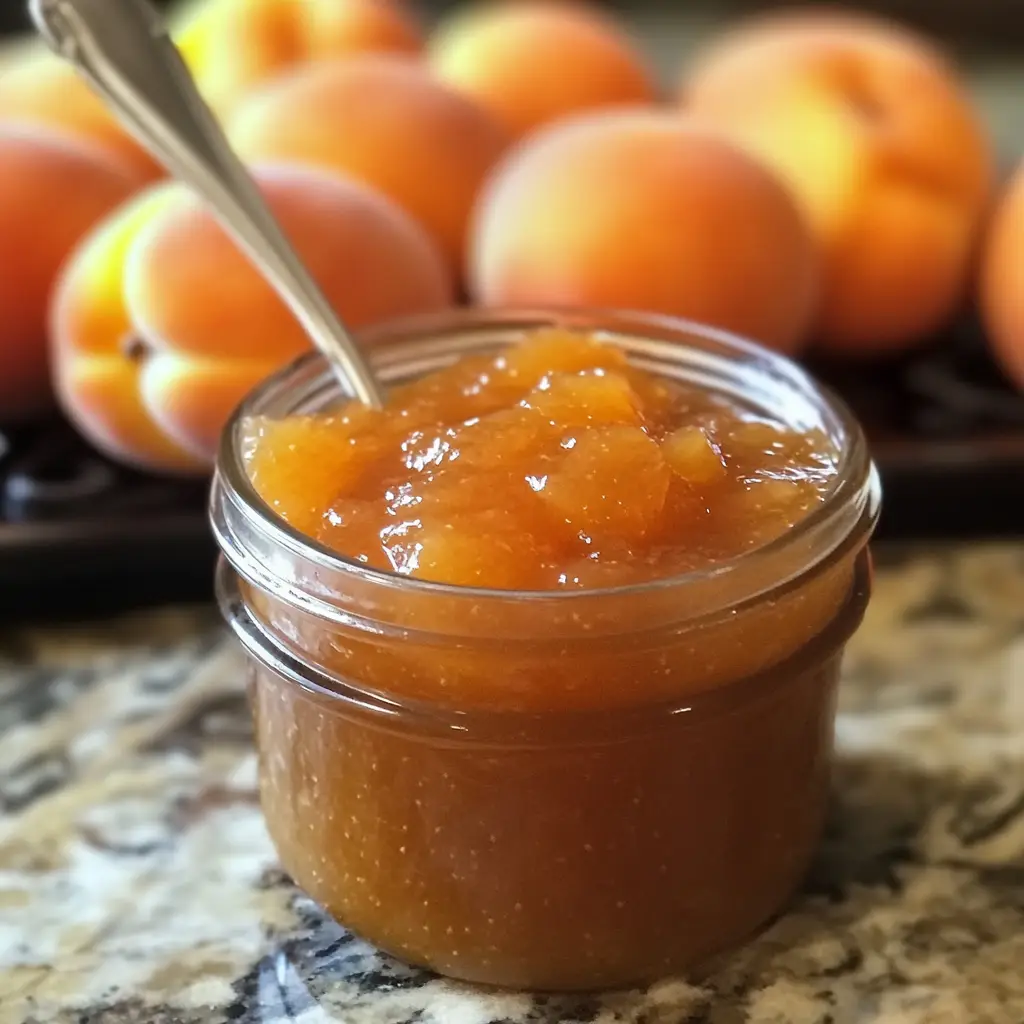
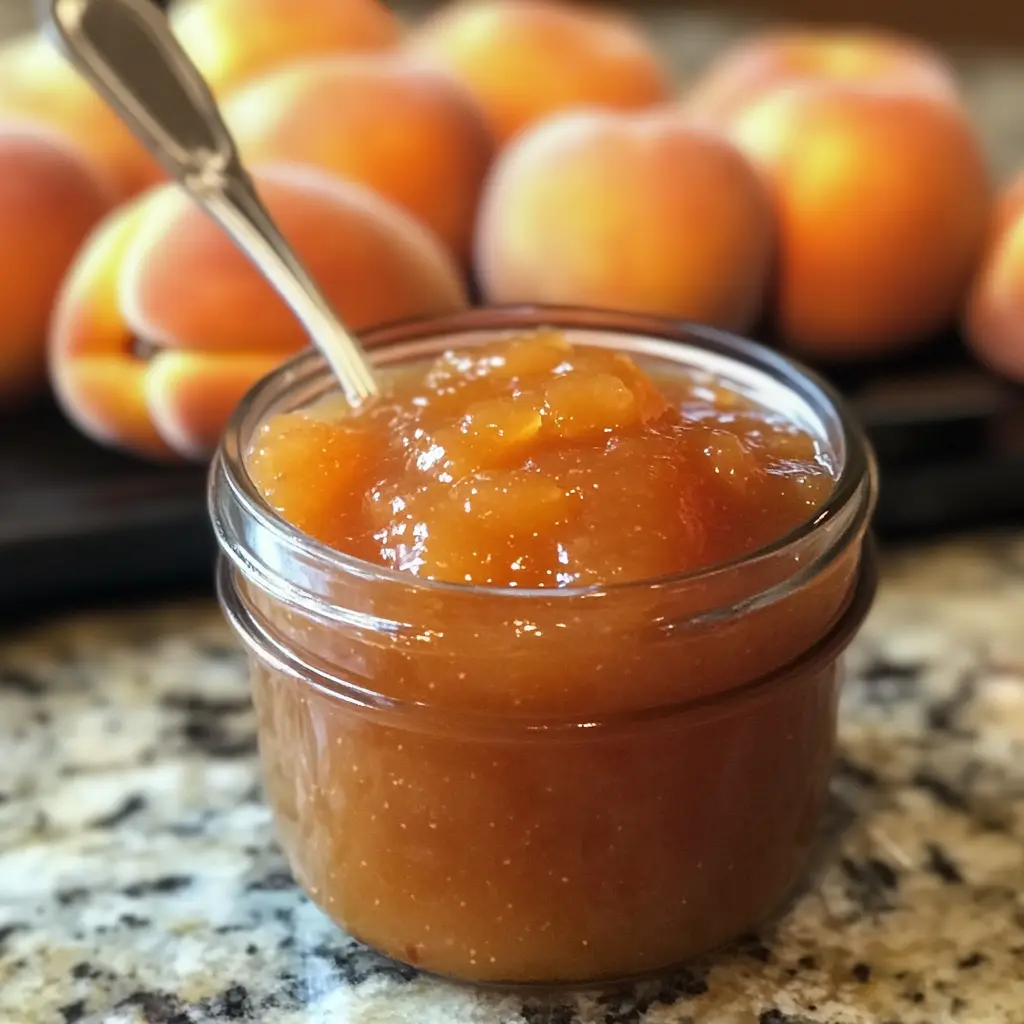
Introduction to Classic Apricot Jam
There’s something magical about making Classic Apricot Jam that brings back memories of summer days spent in the sun. The sweet aroma of ripe apricots fills the kitchen, and suddenly, the hustle and bustle of life fades away. This recipe is perfect for busy moms and professionals like us, offering a quick solution to elevate your breakfast or dessert. Imagine spreading this delightful jam on warm toast or using it in your favorite recipes. It’s not just about the taste; it’s about creating moments that you and your loved ones will cherish.
Why You’ll Love This Classic Apricot Jam
This Classic Apricot Jam is a breeze to make, even on the busiest of days. With just a handful of ingredients, you can whip up a batch that bursts with flavor. The sweet, tangy taste captures the essence of summer, making it a delightful addition to your pantry. Plus, it’s a fantastic way to impress family and friends without spending hours in the kitchen. Trust me, they’ll be asking for more!
Ingredients for Classic Apricot Jam
Gathering the right ingredients is the first step to creating your Classic Apricot Jam. Here’s what you’ll need:
- Fresh apricots: The star of the show! Look for ripe, juicy apricots for the best flavor. They should be slightly soft to the touch.
- Granulated sugar: This sweetener balances the tartness of the apricots. You can adjust the amount based on your taste preference.
- Lemon juice: A splash of acidity brightens the jam and helps with preservation. Freshly squeezed is best, but bottled works too.
- Fruit pectin: This magical ingredient helps the jam set perfectly. You can find it in the baking aisle of your grocery store.
For those looking to experiment, consider adding a pinch of cinnamon or vanilla extract for a unique twist. If apricots aren’t available, peaches or nectarines can be great substitutes. Remember, the exact quantities are listed at the bottom of the article for easy printing!
How to Make Classic Apricot Jam
Making Classic Apricot Jam is a delightful journey that fills your kitchen with sweet aromas. Follow these simple steps, and you’ll have jars of sunshine ready to enjoy!
Step 1: Prepare Your Jars
First things first, let’s talk about jars. Sterilizing them is crucial for food safety. I like to place my jars and lids in a large pot of boiling water for about 10 minutes. This ensures that any bacteria are eliminated. Plus, it keeps the jars warm, which is perfect for pouring in the hot jam later!
Step 2: Combine Ingredients
In a large pot, combine your chopped apricots, lemon juice, and sugar. Stir well to ensure everything is mixed evenly. This step is essential because it allows the sugar to start dissolving and the flavors to meld together. Trust me, the more you stir, the better your jam will taste!
Step 3: Boil the Mixture
Now, it’s time to bring the mixture to a boil over medium heat. Keep stirring frequently to prevent it from sticking to the bottom of the pot. You want to see those bubbles forming! This boiling process helps to break down the apricots and release their natural sweetness.
Step 4: Add Fruit Pectin
Once your mixture is bubbling away, it’s time to add the fruit pectin. Stir it in well and continue boiling for 1-2 minutes. This step is vital because the pectin helps your jam set perfectly. You’ll know it’s ready when the mixture thickens slightly!
Step 5: Skim Off Foam
After boiling, you might notice some foam on the surface. Don’t skip this step! Skimming off the foam ensures your jam looks clear and beautiful. Plus, it helps improve the texture. Just use a spoon to gently remove it.
Step 6: Jar the Jam
Now comes the fun part—jarring the jam! Carefully pour the hot jam into your prepared jars, leaving about 1/4 inch of headspace at the top. This space is important for sealing. Use a funnel if you have one; it makes this step much easier and less messy!
Step 7: Process the Jars
To seal your jars, you’ll need to process them in a boiling water bath. Place the filled jars back into the pot of boiling water, ensuring they’re covered by at least an inch of water. Let them process for 10 minutes. This step is crucial for preserving your jam and ensuring it lasts.
Step 8: Cool and Store
Once the time is up, carefully remove the jars and let them cool completely on a clean towel or cooling rack. You’ll hear the satisfying “pop” as the lids seal. Once cooled, store your jam in a cool, dark place. It’s best enjoyed within a year, but I bet it won’t last that long!
Tips for Success
- Always use ripe apricots for the best flavor and sweetness.
- Don’t rush the boiling process; it’s key for flavor development.
- Keep your jars warm until you’re ready to fill them.
- Label your jars with the date to keep track of freshness.
- Experiment with spices like cinnamon for a unique twist!
Equipment Needed
- Large pot: A heavy-bottomed pot works best for even heating.
- Jars and lids: Use glass canning jars; recycled jars can work too, but ensure they’re clean.
- Funnel: A canning funnel makes pouring easier and less messy.
- Spoon: A long-handled spoon is perfect for stirring and skimming.
- Boiling water bath pot: A large stockpot or canner will do the trick.
Variations of Classic Apricot Jam
- Spiced Apricot Jam: Add a pinch of cinnamon or nutmeg for a warm, cozy flavor that’s perfect for fall.
- Apricot Ginger Jam: Incorporate fresh grated ginger for a zesty kick that pairs beautifully with the sweetness of apricots.
- Apricot Vanilla Jam: Stir in a splash of vanilla extract or a vanilla bean for a rich, aromatic twist.
- Apricot Berry Jam: Mix in some fresh or frozen berries like raspberries or blueberries for a colorful and fruity blend.
- Low-Sugar Apricot Jam: Use a sugar substitute or reduce the sugar amount for a healthier option without sacrificing flavor.
Serving Suggestions for Classic Apricot Jam
- Spread on warm, crusty bread or toast for a delightful breakfast treat.
- Use as a filling for pastries or thumbprint cookies for a sweet surprise.
- Pair with creamy cheeses like brie or goat cheese for a savory-sweet appetizer.
- Drizzle over pancakes or waffles for a fruity twist on brunch.
- Mix into yogurt or oatmeal for a burst of flavor in your morning routine.
FAQs about Classic Apricot Jam
As you embark on your journey to make Classic Apricot Jam, you might have a few questions. Here are some common queries that can help you along the way:
Can I use frozen apricots for this recipe?
Absolutely! Frozen apricots can work just as well. Just make sure to thaw and drain them before using. This way, you’ll still capture that delicious flavor.
How long does homemade jam last?
When stored properly in a cool, dark place, your Classic Apricot Jam can last up to a year. Once opened, keep it in the fridge and enjoy it within a few weeks.
What if my jam doesn’t set?
If your jam is too runny, don’t worry! You can reprocess it by adding more fruit pectin and boiling it again. Just follow the same steps, and you’ll have a perfect set.
Can I reduce the sugar in this recipe?
Yes, you can! Just keep in mind that reducing sugar may affect the jam’s sweetness and preservation. Consider using a low-sugar pectin if you want to cut back.
What are some creative ways to use apricot jam?
Besides spreading it on toast, you can use Classic Apricot Jam as a glaze for meats, a filling for desserts, or even mixed into salad dressings for a fruity twist!
Final Thoughts
Making Classic Apricot Jam is more than just a cooking task; it’s a delightful experience that fills your home with warmth and sweetness. Each jar captures the essence of summer, allowing you to savor those sunny days all year round. Whether you’re spreading it on toast or gifting it to friends, this jam brings joy to every moment. I hope you find as much happiness in making it as I do. So roll up your sleeves, gather your ingredients, and let the magic of apricot jam brighten your kitchen and your heart!
Print
Classic Apricot Jam: Discover the Secret Recipe!
- Total Time: 50 minutes
- Yield: Approximately 6 cups 1x
- Diet: Vegetarian
Description
A delightful and sweet classic apricot jam recipe that captures the essence of summer in every jar.
Ingredients
- 2 pounds fresh apricots, pitted and chopped
- 4 cups granulated sugar
- 1/4 cup lemon juice
- 1 packet fruit pectin
Instructions
- Prepare jars and lids by sterilizing them in boiling water.
- In a large pot, combine the chopped apricots, lemon juice, and sugar. Stir well.
- Bring the mixture to a boil over medium heat, stirring frequently.
- Add the fruit pectin and continue to boil for 1-2 minutes, stirring constantly.
- Remove from heat and skim off any foam that forms on the surface.
- Pour the hot jam into the prepared jars, leaving about 1/4 inch of headspace.
- Seal the jars with lids and process in a boiling water bath for 10 minutes.
- Let the jars cool completely before storing them in a cool, dark place.
Notes
- Ensure apricots are ripe for the best flavor.
- Adjust sugar according to your taste preference.
- Store opened jars in the refrigerator and consume within a few weeks.
- Prep Time: 20 minutes
- Cook Time: 30 minutes
- Category: Preserves
- Method: Canning
- Cuisine: American
Nutrition
- Serving Size: 1 tablespoon
- Calories: 50
- Sugar: 12g
- Sodium: 0mg
- Fat: 0g
- Saturated Fat: 0g
- Unsaturated Fat: 0g
- Trans Fat: 0g
- Carbohydrates: 13g
- Fiber: 0g
- Protein: 0g
- Cholesterol: 0mg
Keywords: Classic Apricot Jam, Apricot Preserves, Homemade Jam, Fruit Jam Recipe